
This article will introduce you to the transition (transition) and transform (animation) properties in CSS. The parameters of these two properties are indeed relatively complex. They can create some basic animation effects of CSS, such as translation, rotation, and tilt. ...Wait a minute, these are also the difficult and unforgettable aspects of my early learning of CSS, and I will summarize them in detail for you today.

transition can make CSS transition effects, such as the name of the attribute to be transitioned, The time to transition, the delay waiting time of the transition, the speed change of the transition (transition type)...etc.
transition Common properties:
- transition-property:Used to specify the name of the property to participate in the transition
- transition-duration:Used to specify the duration of the transition
- transition-delay:Used to specify the delay waiting time of the transition
- transition-timing-function:Used to specify the type of transition
The four common attributes will be explained one by one below. Everyone remember one sentence -------Whoever makes the transition will add transition attributes to whom
1.1 Transition-property specifies the transition property
##transition-propertyis used to specify the name of the property to participate in the transition, for example, you want If you want to transition between length and width, just write width and height at the end. If you want to save trouble, you can write all, that is, all attributes will change.
Copy after login
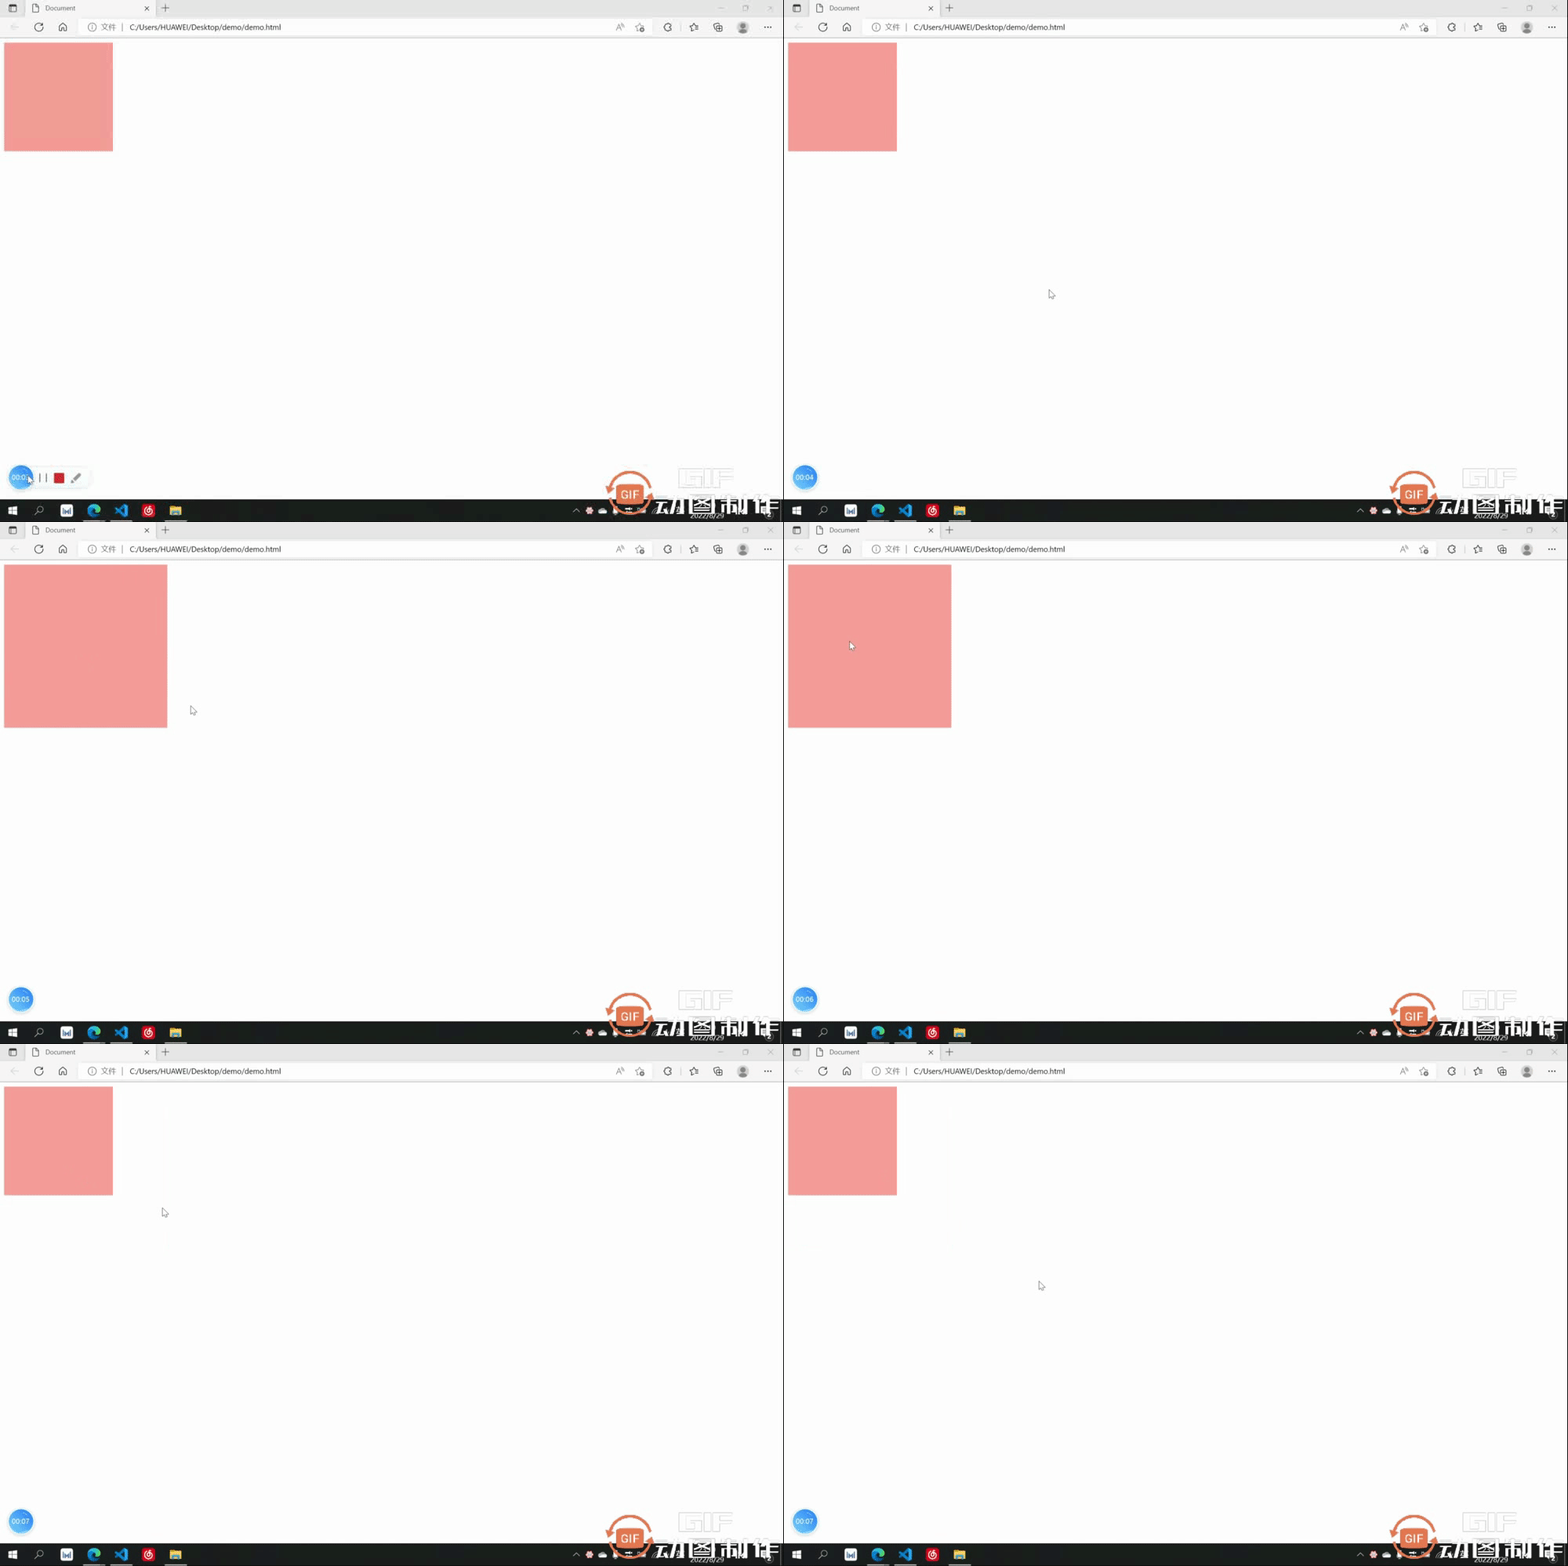
Transition effect: The length and width are both 200 before the transition, and become 300 after the transition
1.2 transition-duration transition time
transition-durationUse To specify the transition time, you only need to add the desired transition time at the end. You can set the transition time corresponding to the property separately, or you can only set one that applies to all
Copy after login
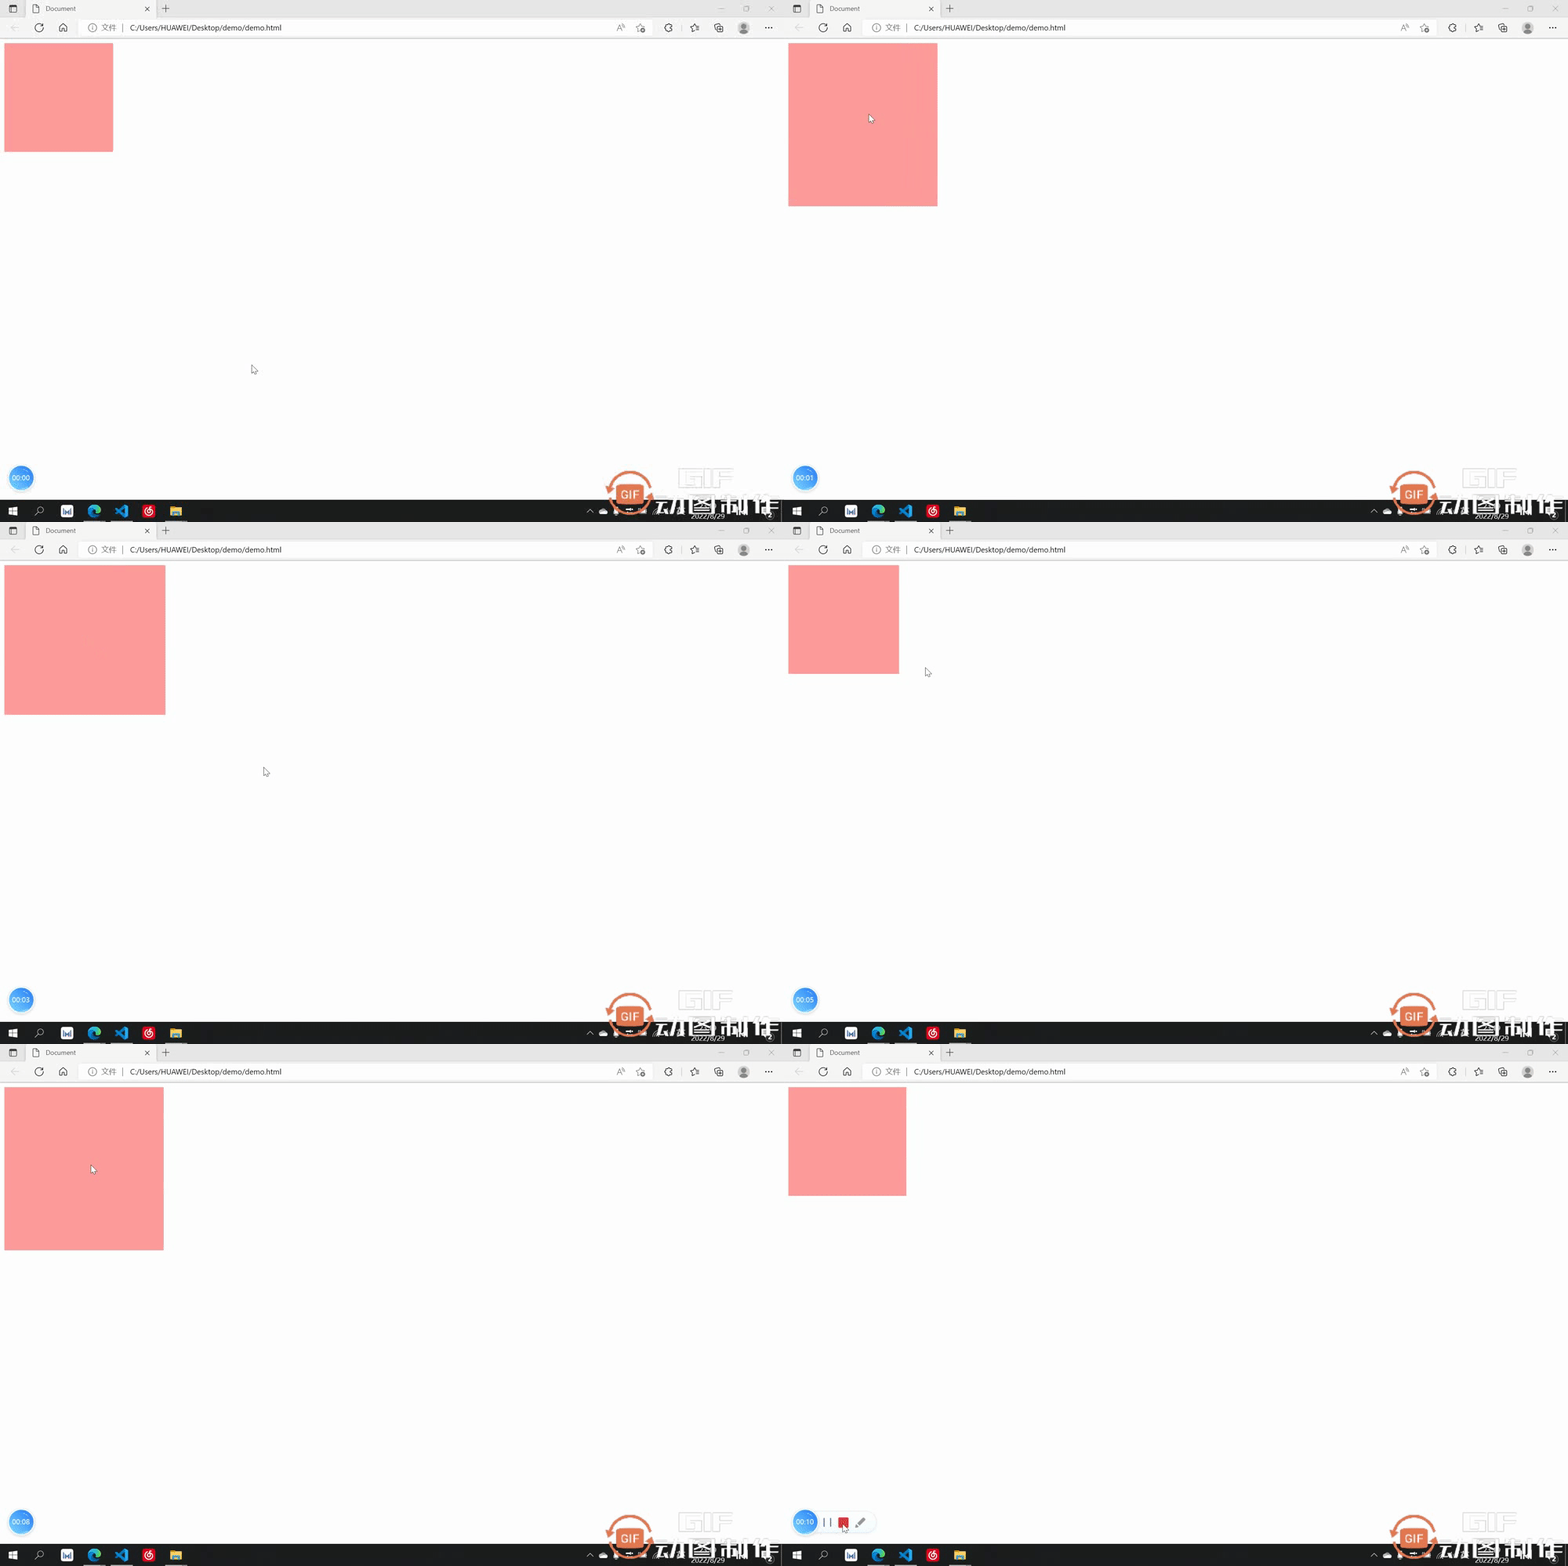
Transition effect: Before the transition, the length and width were both 200. After the transition of length 3s and width 1s, both length and width became 300
1.3 transition-delay Transition delay
##transition-delayUsed to specify the delay waiting time of the transition, that is, how many seconds after which the transition will start. You only need to add the time you want to wait at the end. You can set the waiting time corresponding to the property separately, or you can only set one application. All
Copy after login
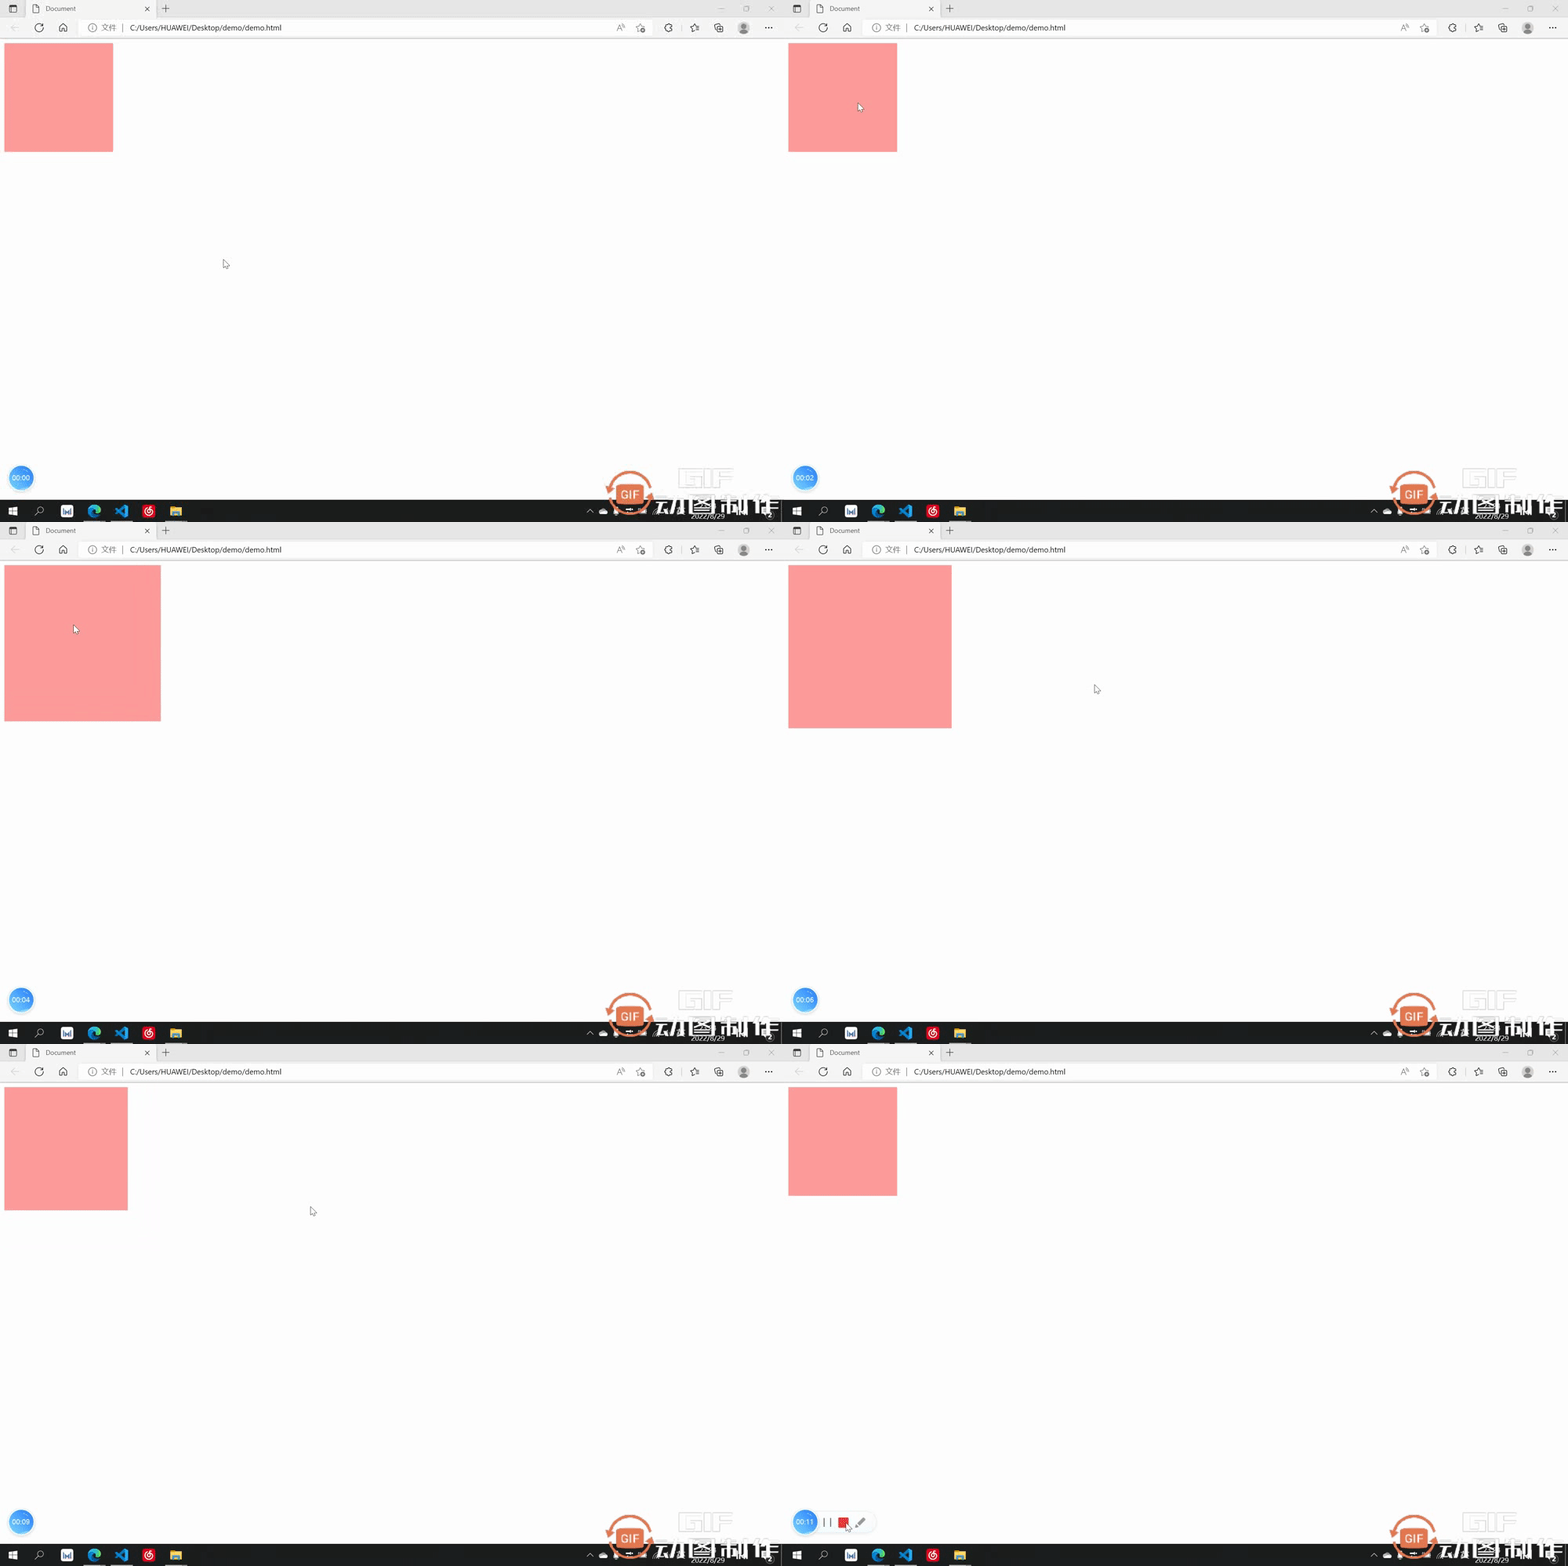
Transition effect: After placing the cursor, wait for 2 seconds before starting the transition
1.4 transition-timing-function transition type
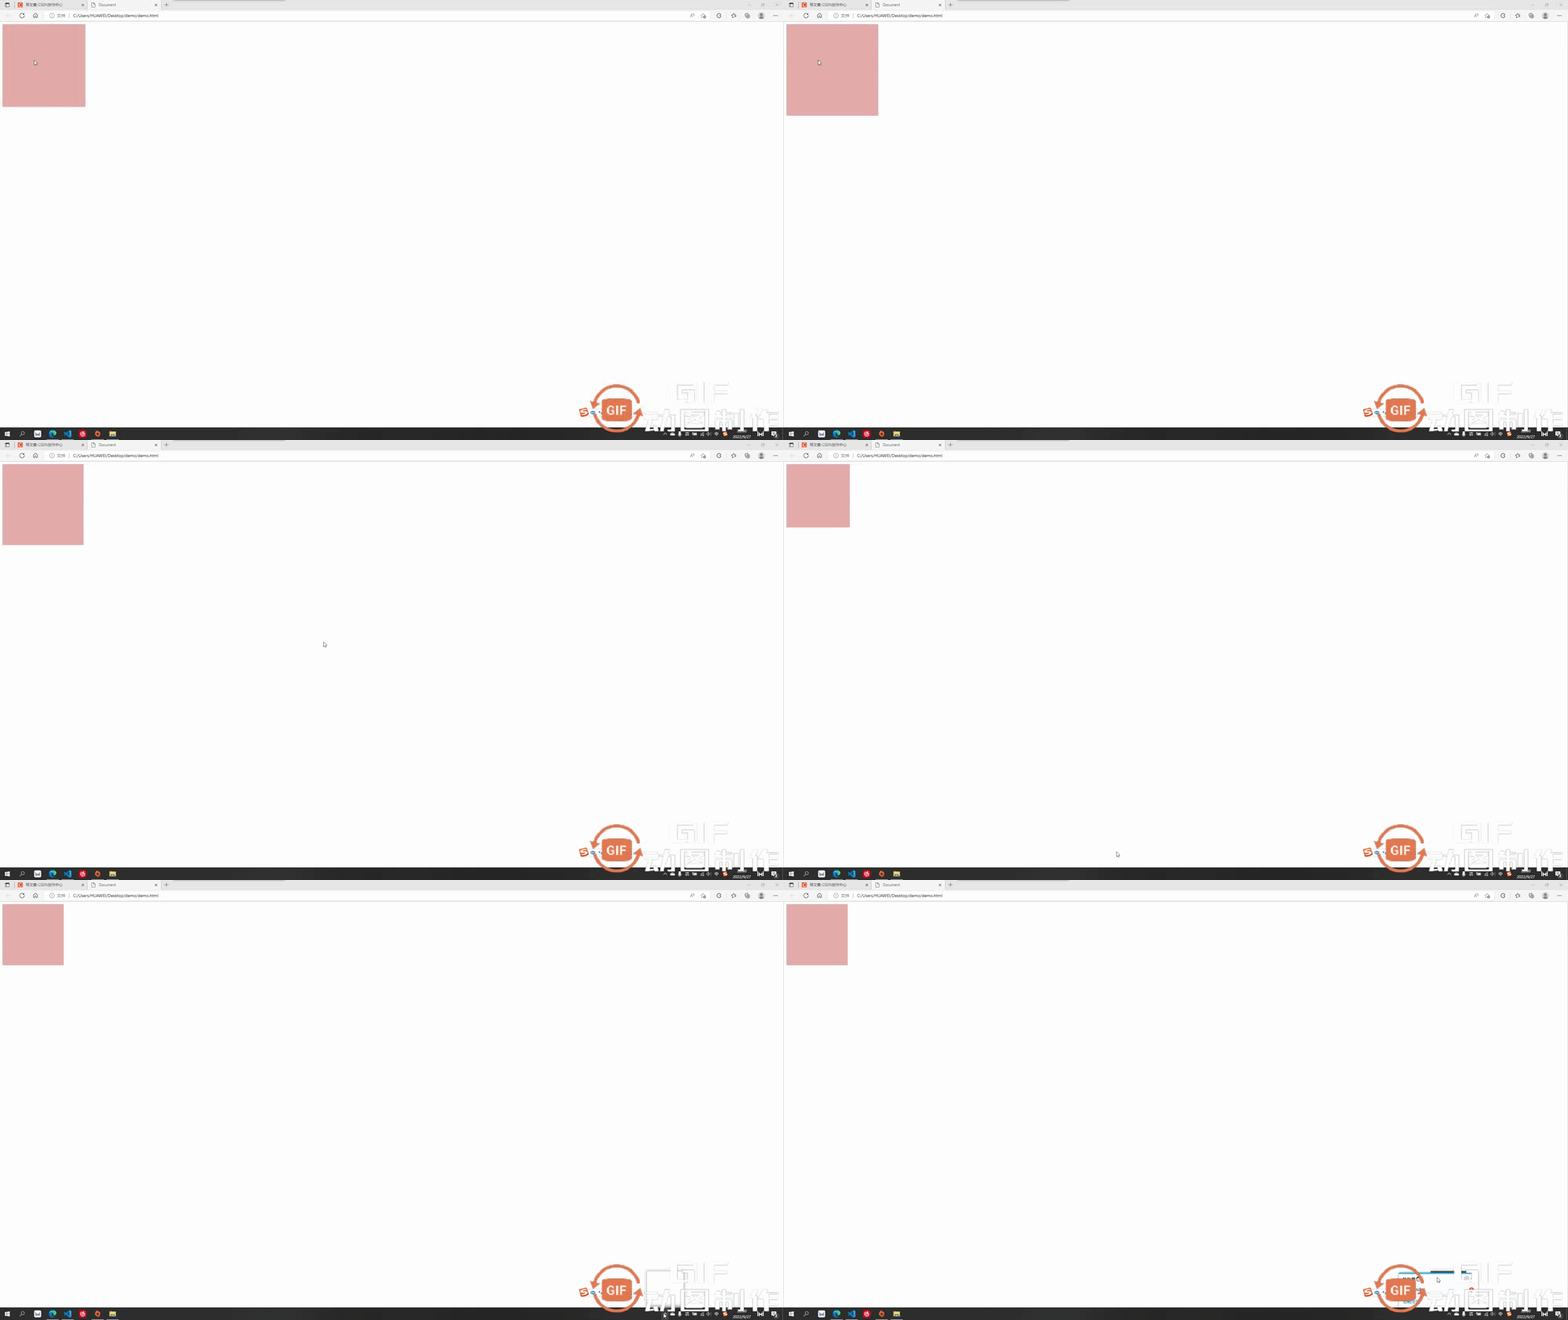
##transition-timing-functionIt can be used to set the type of transition, which has the following common types:Transition effect: The transition type is ease-in and gradually accelerates
ease:
- Accelerate first and then slow down
linear:- Uniform speed
ease-in:- Accelerate
ease- out:- Decelerate
ease-in-out:- Accelerate first and then decelerate (the effect is more obvious than ease speed change)
cubic-bezier:- Bezier Curve
The speed changes are similar but the speed of change is different. The only difference here is Give an example of ease-in
Copy after login
1.5 过渡的连写形式
我们过渡中最常用的还是连写形式,连写形式过渡属性我们方便起见写作 all 即可,然后别的过渡属性跟在后面空格隔开即可,哪个元素要做过渡就把过渡加给哪个元素,此处是div鼠标放上后扩大,但是是div做过渡,所以过渡属性加给div
transform 可以让过渡元素产生一些常规的 2D 动画效果,例如旋转,位移,缩放,扭曲......等等,以及 3D 的立体效果。
transform 2D/3D中常用属性:
- transform-origin:基点
- transform:translate:平移效果
- transform-rotate:旋转效果
- transform-scale:缩放效果
下面会对这六个常用属性做出逐个讲解,有个注意点要提醒:大多数情况下,如果既有旋转也有移动,要先写移动再写旋转
2.1 transform-origin 基点
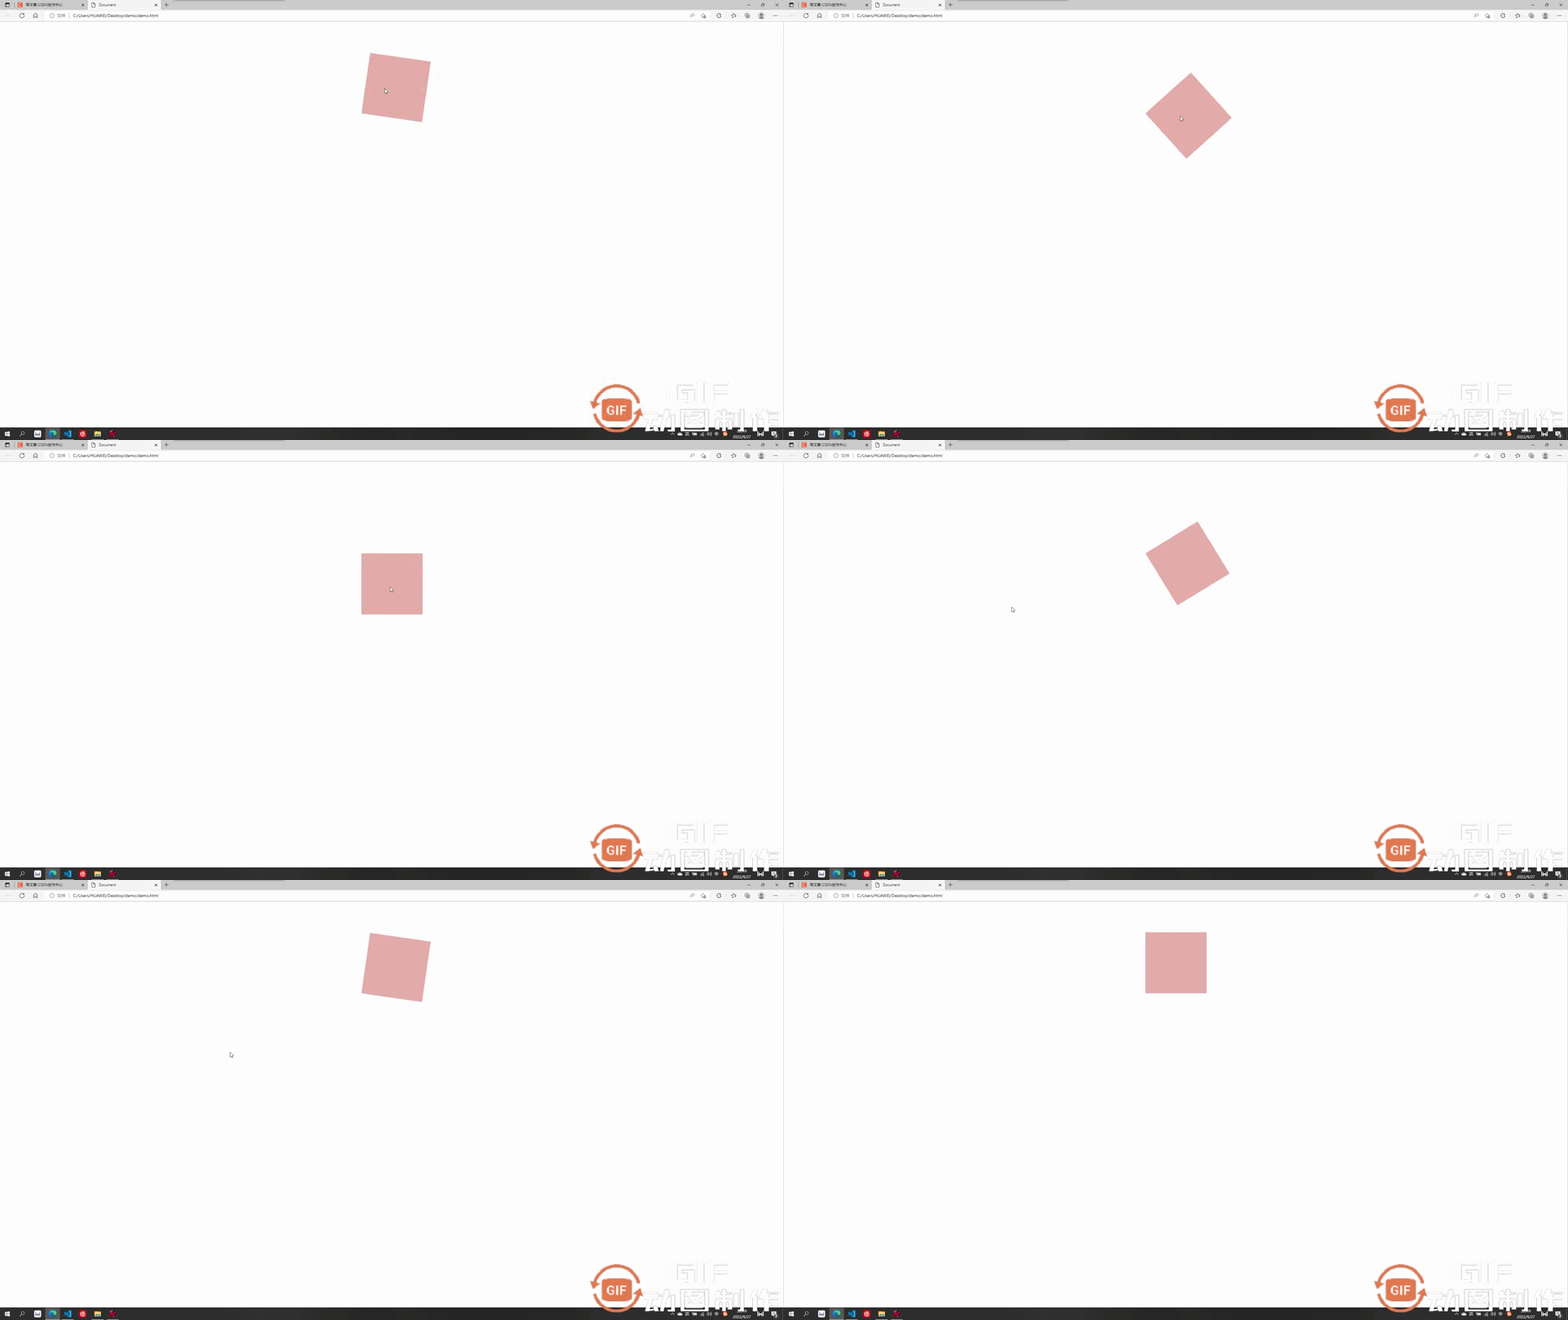
基点就是位移或者旋转等变形围绕的中心,默认都是中心点,例如先举个旋转的例子(旋转后面会讲到)大家体会一下基点的概念。切记:基点设置给要过渡的元素
基点的值:
基点的值可以是具体数值例如transform-origin:20px 30px;第一个为x方向,第二个为y方向,也可以是方位名词transform-origin:top left;此处先写x或先写y方向都可以,此处 top left 表示基点为左上角,bottom right 表示右下角......
默认基点为元素正中心
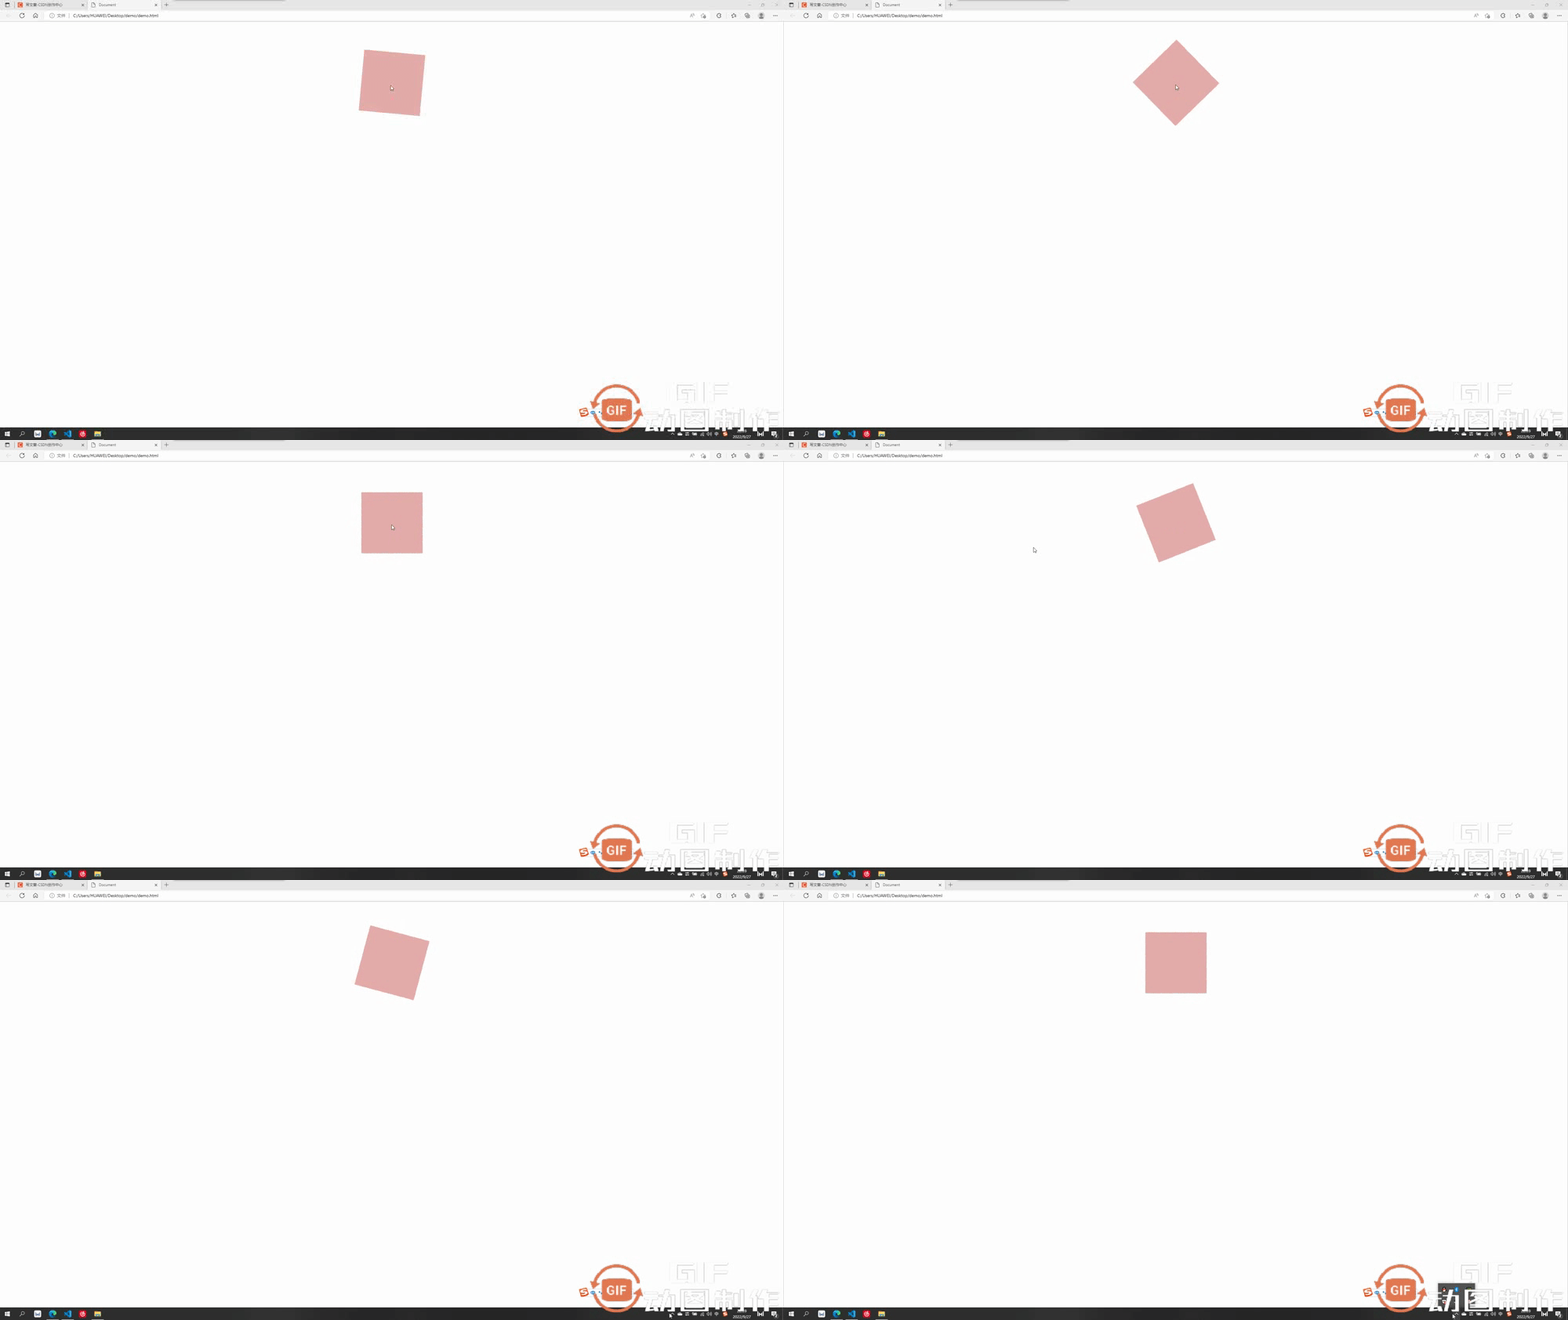
设置基点为transform-origin:bottom left; (左下角)
2.2 transform:translate平移
平移可分为以下几种:
- transform:translateX沿水平方向平移
- transform: translateY沿竖直方向平移
- transform: translateZ沿Z方向移动的距离,不加透视的话看不出来效果,这个放在后面3D板块讲解
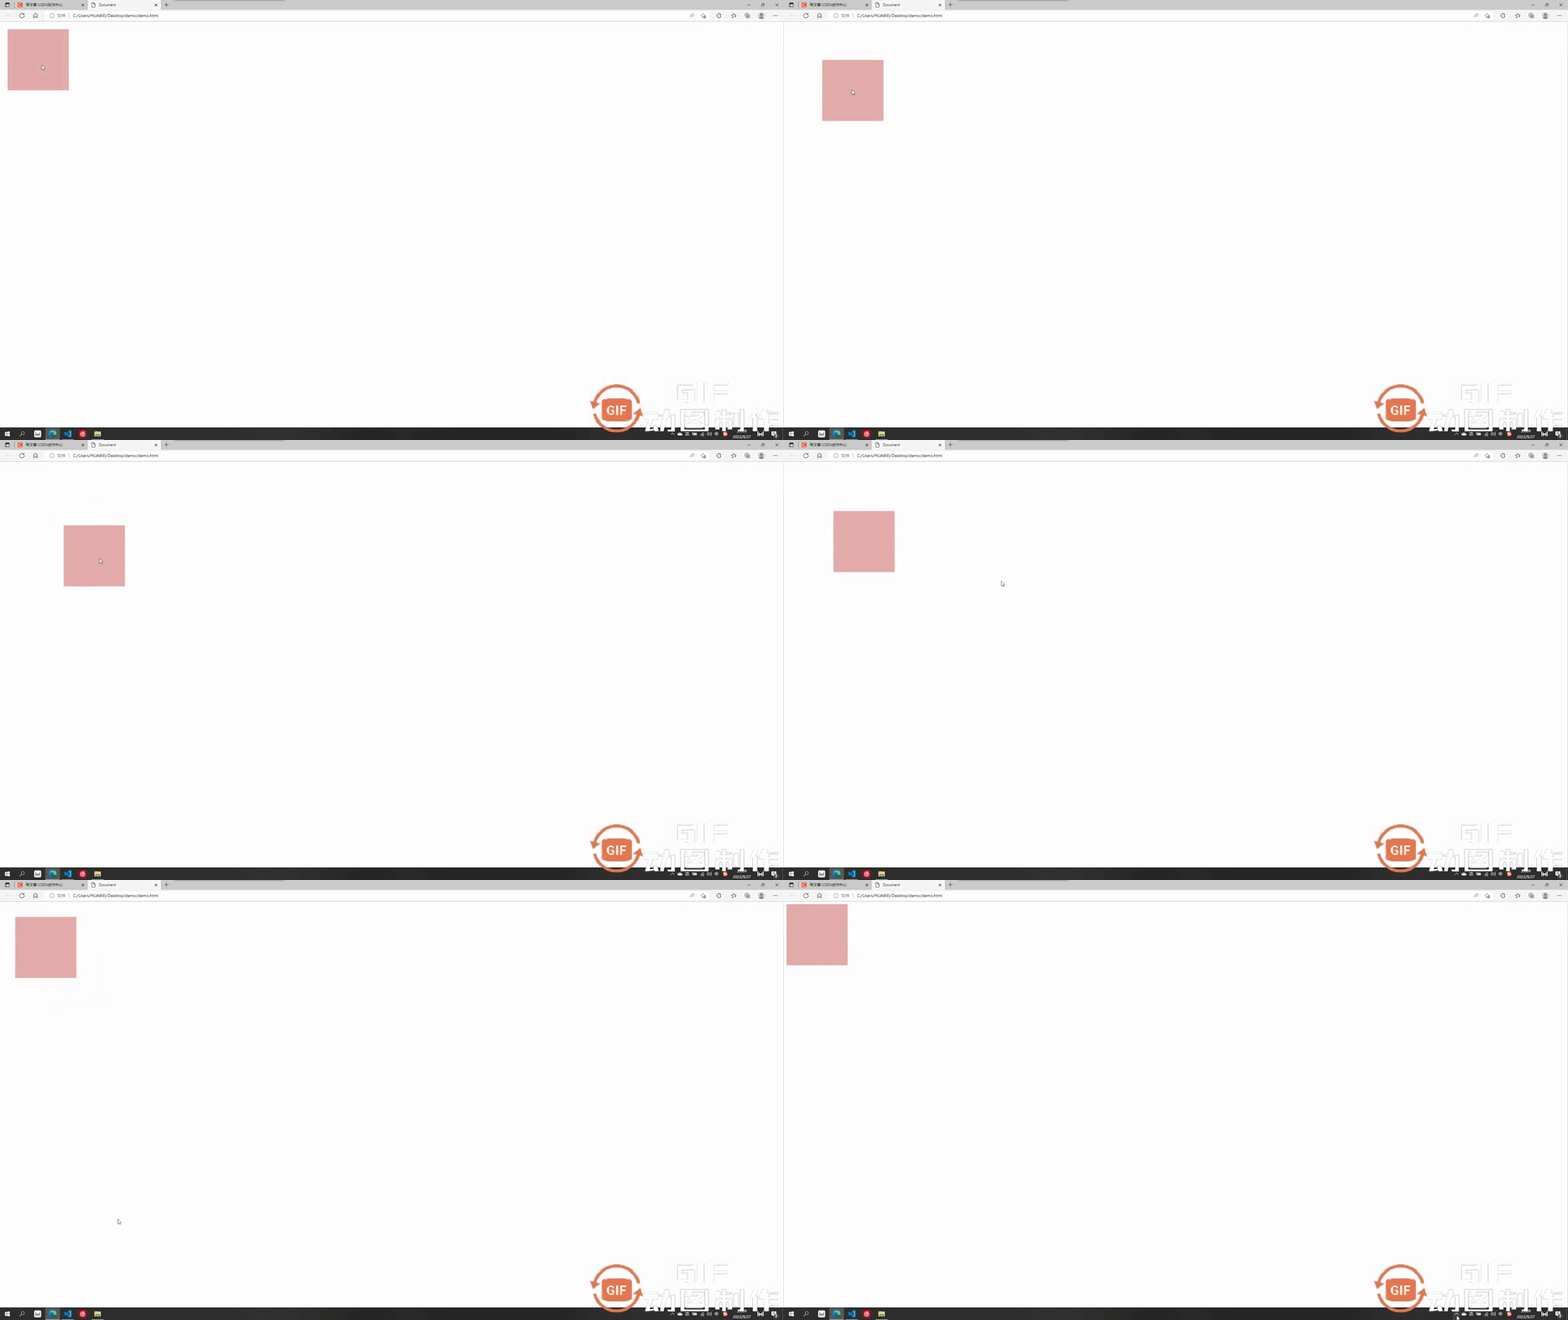
- transform:translate(x, y, z)沿和向量方向平移,第一个为x方向移动距离,第二个为y方向移动的距离,第三个为z轴移动的距离,中间要求逗号隔开
案例中我们只举例第最后一个组合写法,其它都是单独的朝某个方向移动较为简单
效果为水平走200px,竖直走200px
2.3 transform:rotate 旋转
旋转的角度单位为 deg,要旋转360度即为 360deg
旋转可分为以下几种:
- transform:rotateX以x为轴旋转,不加3D透视看不出立体3D效果,后面讲到3D再讲解
- transform: translateY以y为轴旋转,不加3D透视看不出立体3D效果,后面讲到3D再讲解
- transform: translateZ沿Z为轴旋转,为2D平面旋转,可以设置基点
此处先讲第三个不需要加3D透视的沿z轴旋转
效果为绕z轴旋转了90度

2.4 transform:scale 放缩
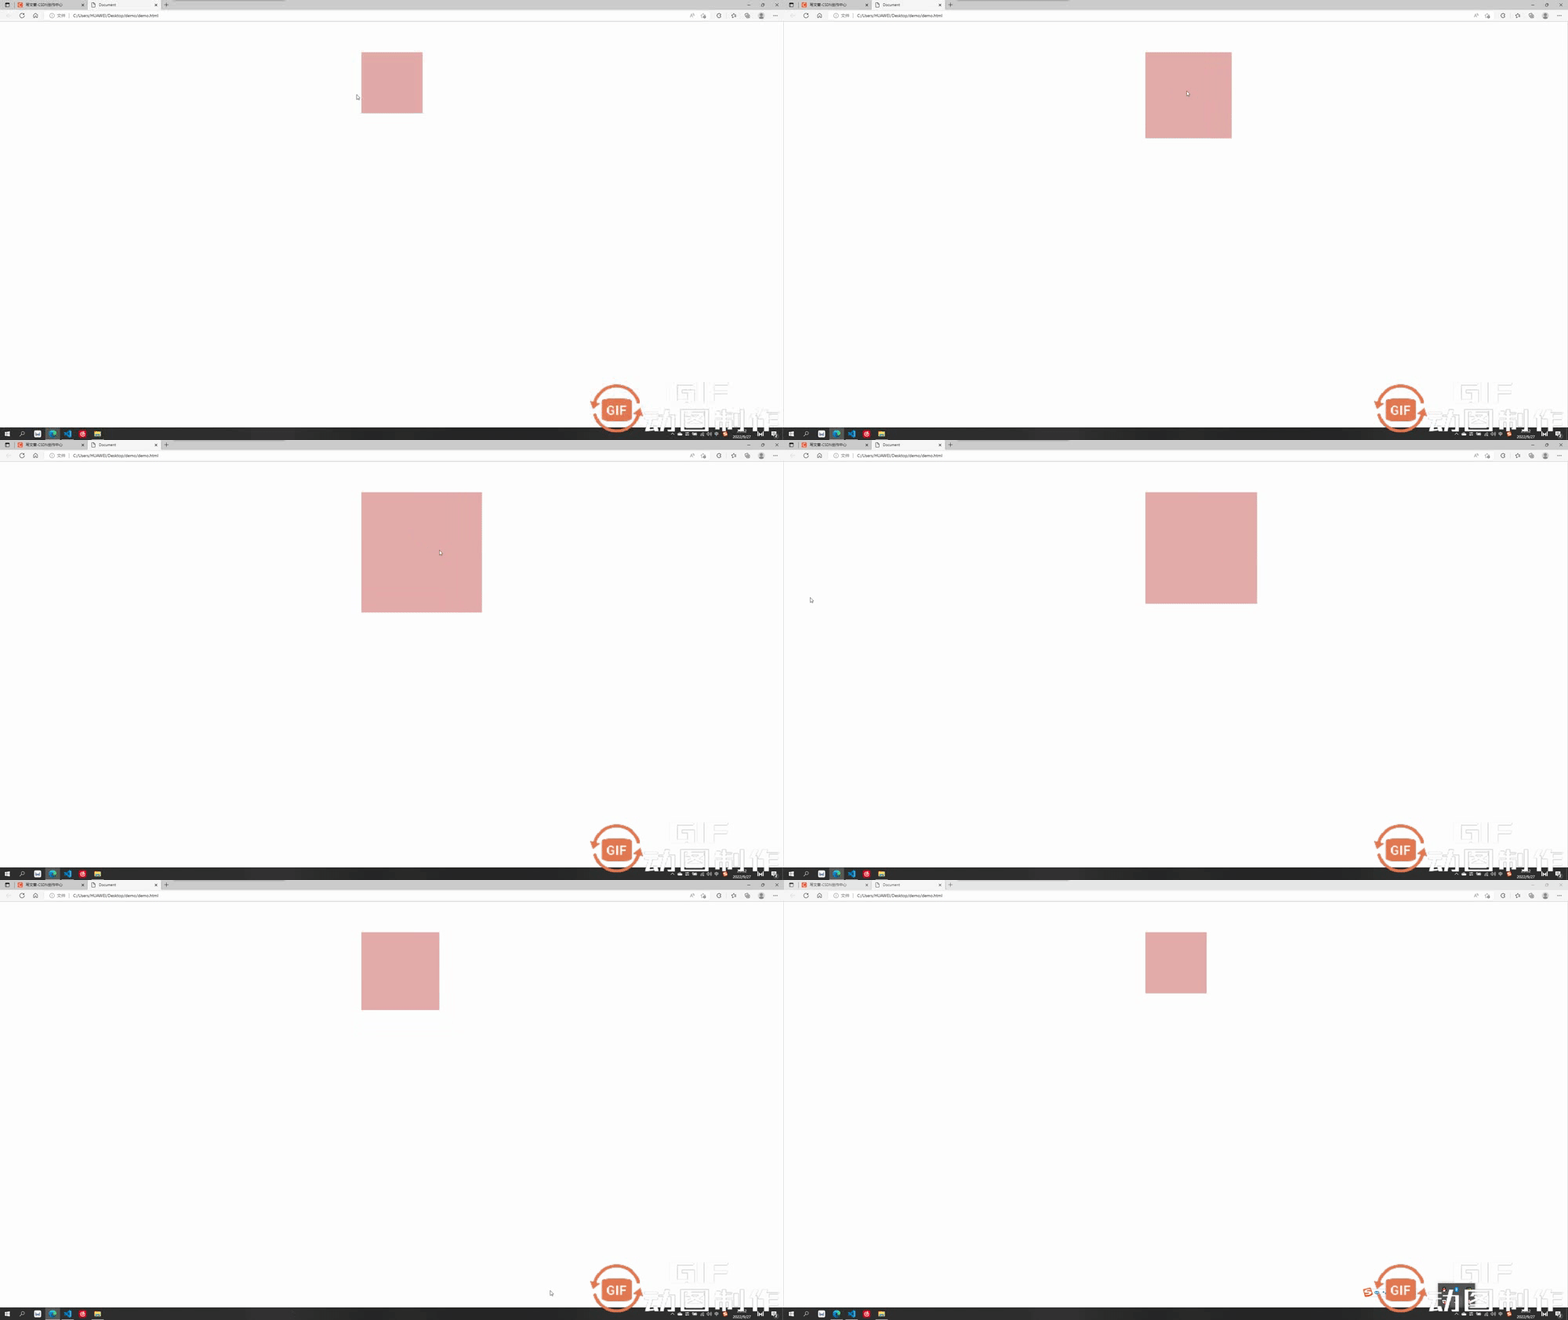
此处放缩的优点在于其是不影响其他页面布局的位置的,并且可以设置基点,默认基点为中心,放缩默认为围绕中心向外扩大或向内缩小,参数直接填写 要放缩的倍数即可,例如要放缩2倍:transform:scale(2)
效果为以左上角为基点扩大了两倍
这一板块就要开始我们的3D效果了,上述案例中的沿z位移,绕x/y旋转等等,其实都是3D的动画效果,我们需要加上透视属性才能有用:perspective: 1000px;数值是视距可以自己设置,这个值大小可以根据自己的视觉感受调整满意即可。
注意:透视要加给需要3D效果的元素的父元素
举个例子感受下透视perspective的重要性:
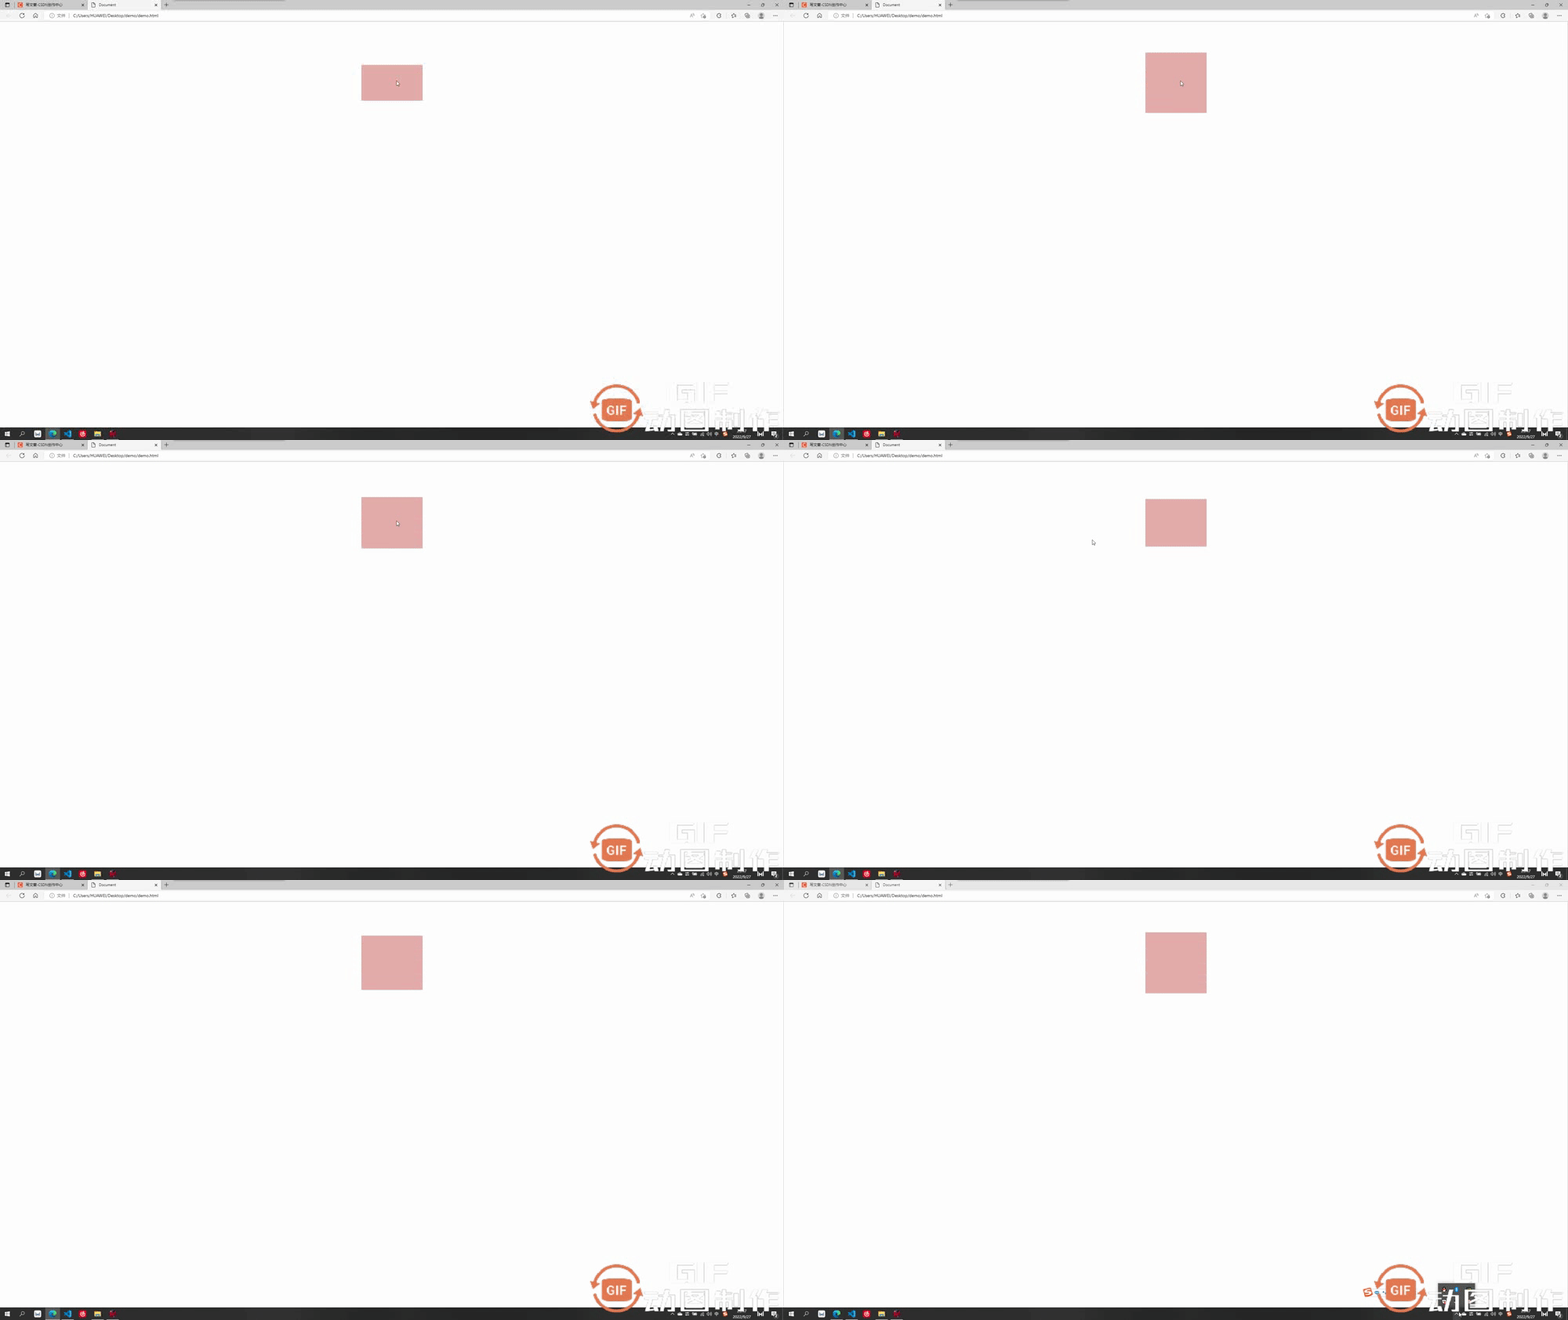
3.1 不加透视的绕x轴旋转
不加透视视觉效果毫无立体感
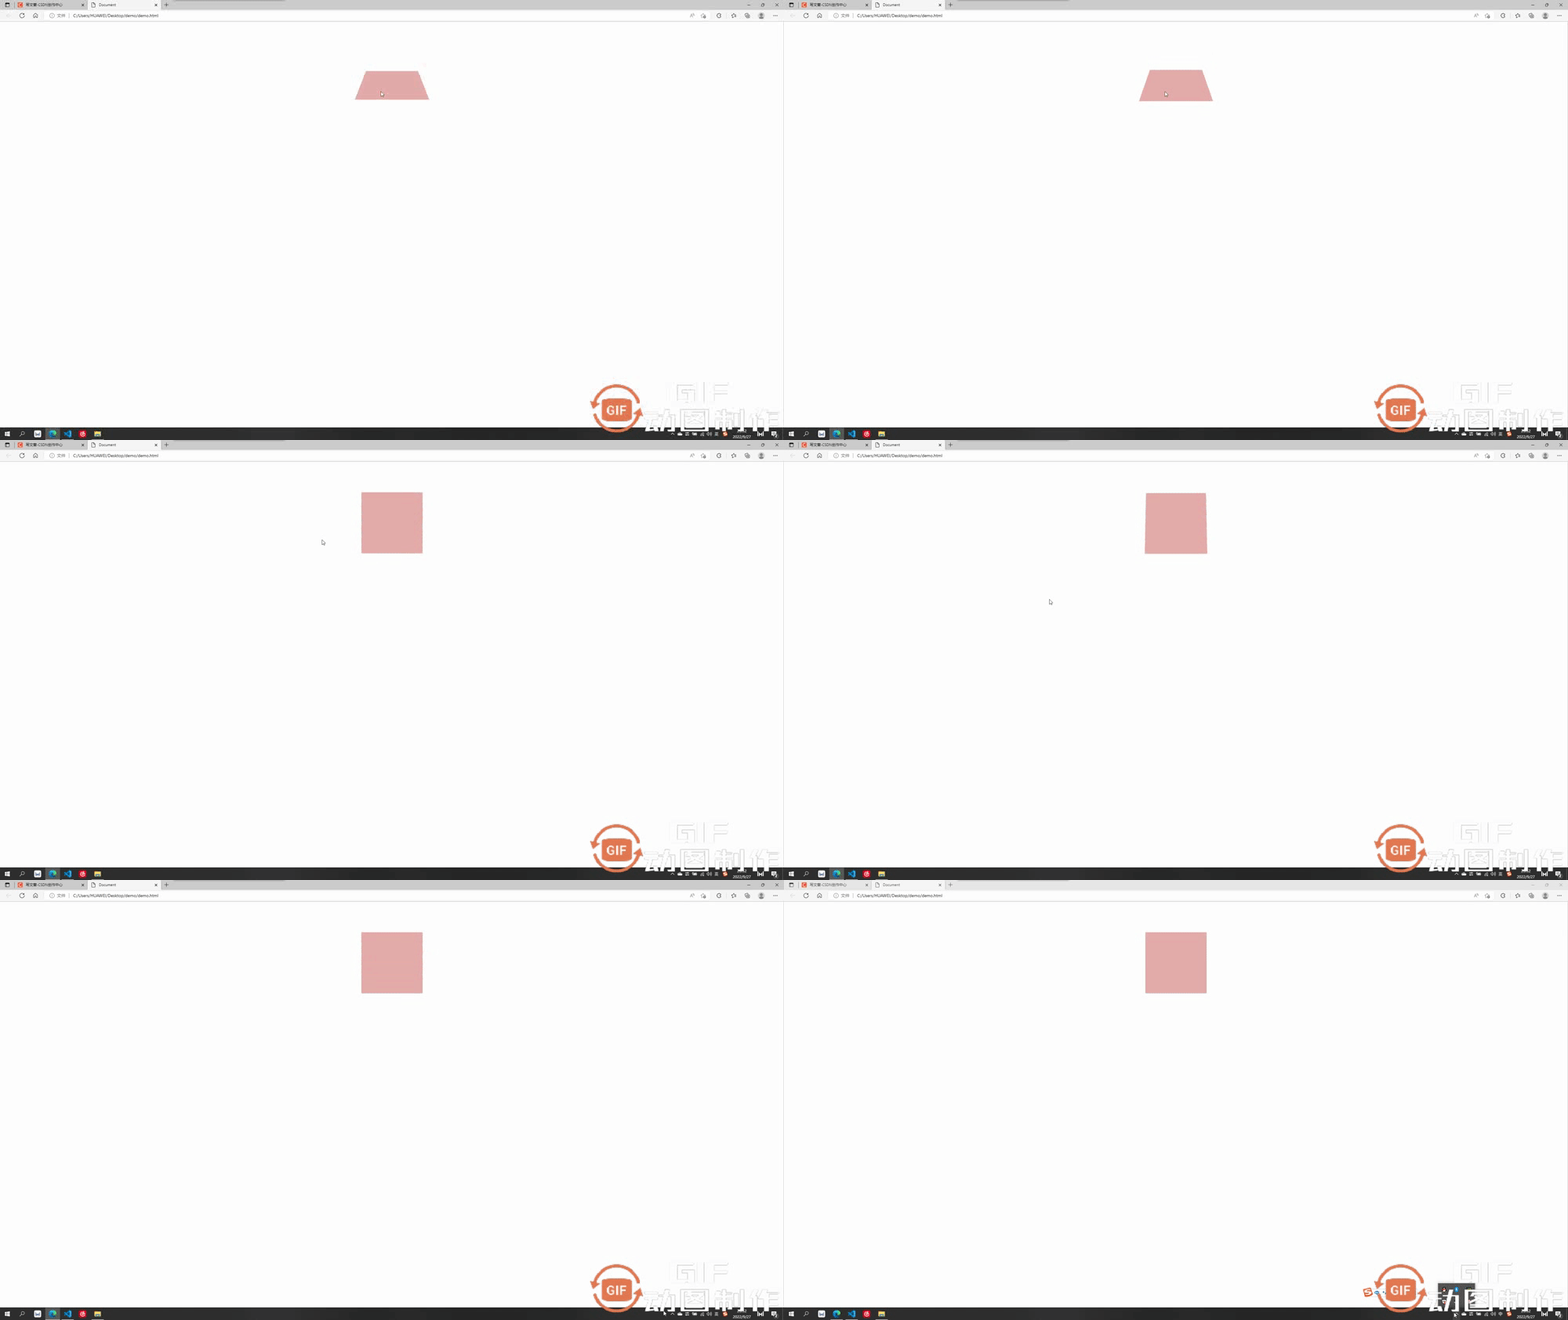
3.2 加透视的绕x轴旋转
透视要加给需要3D效果的元素的父元素,此处div的父元素为body,所以给body加透视
加上透视后有了近大远小的立体呈现感,不同的透视值对应的效果也不同,自己觉得合适即可,绕 y 旋转同理。
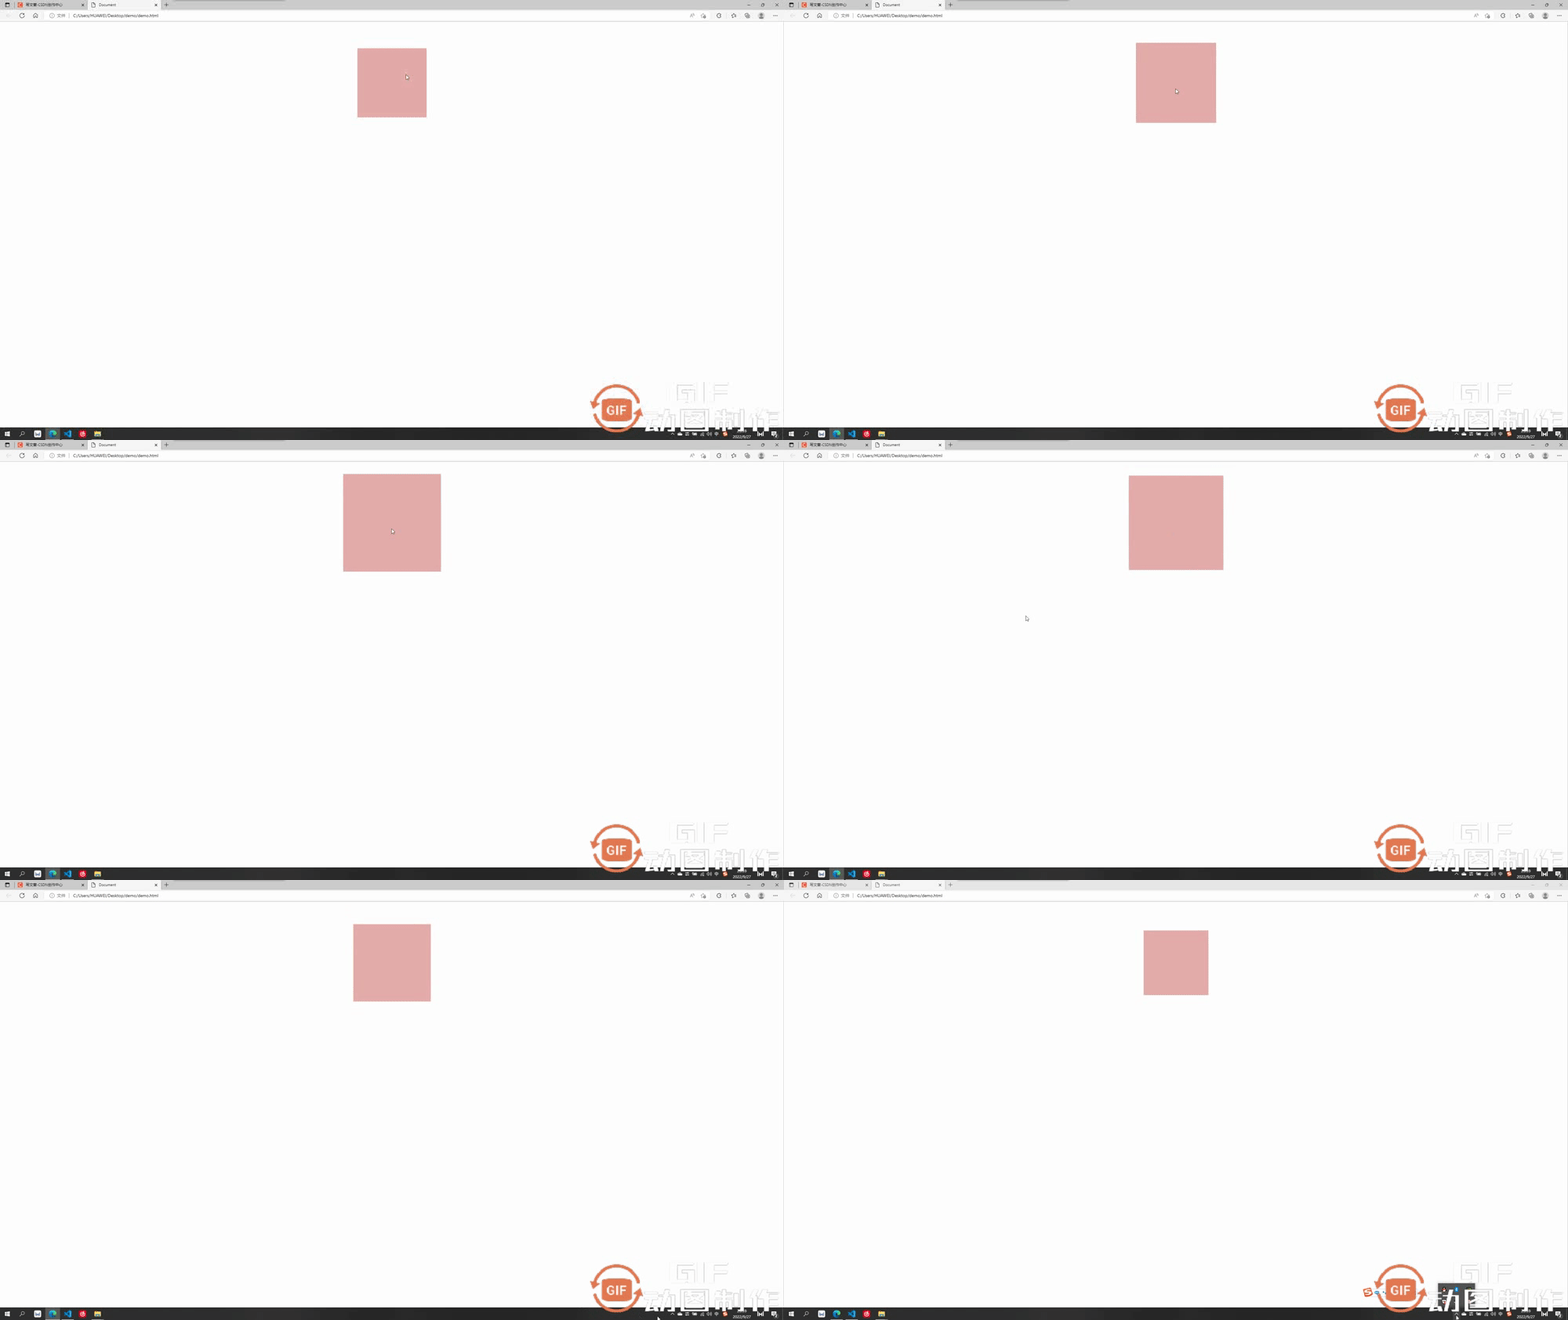
3.3 加透视的沿z轴平移
加上透视后沿z轴移动,我们想想是不是效果应该是慢慢变大或变小
沿z平移200px,视觉上立体感为盒子放大了
3.4 重要属性:是否开启3D效果呈现
这个属性为 transform-style,默认值为 flat ,即不开启子盒子3D效果保持呈现,如果值改为 preserve-3d,则开启子盒子3D效果保持呈现,这个属性和透视一样也是写给父级,但是影响的是子盒子3D效果是否保持呈现
- transform-style:flat默认值,代表不开启保持子盒子3D效果
- transform-style:preserve-3d代表开启保持子盒子3D效果
举例子说明一下 :
例如我们想做出这个效果,理论上只需要让蓝色的子盒子绕x旋转一定角度,再让外部粉色大盒子绕y旋转一定角度即可呈现
第一步:
让蓝色子盒子绕x旋转一定角度,并且记得父盒子添加透视
.out{ width: 200px; height: 200px; background-color: rgb(229, 171, 171); margin: 100px auto; perspective: 500px; } .inner{ width: 200px; height: 200px; background-color: rgb(71, 142, 219); transform: rotateX(60deg); }Copy after login成功呈现出以下效果:
第二步:
让外部粉色父盒子绕y旋转一定角度即可,由于外部大盒子也需要透视效果,所以给其父元素body也要加上透视
Copy after login出现了很严重的问题,蓝色子盒子的透视效果没有呈现出来
这时候就需要我们这个很重要的属性了transform-style:preserve-3d开启子元素的3D效果保持
第三步:
开启内部蓝色盒子的3D效果保持transform-style:preserve-3d,注意要写给父级。另外我们的透视可以写给父亲的父亲,所以此处当父子两个盒子都需要透视时,只需要给父亲的父亲body加上透视即可,父亲不需要再加透视。
Copy after login
更多编程相关知识,请访问:编程视频!!
The above is the detailed content of Take you through CSS3 properties: transition and transform. For more information, please follow other related articles on the PHP Chinese website!