
In the previous article "Tutorial: How to use PS to make a cutting facial effect poster (skill sharing)", I introduced you to a quick little trick on how to use PS to make it How to cut a poster with a cosmetic effect. The following article will introduce to you how to use PS to add a wormhole effect to cloudy images. Let’s see how to do it together.

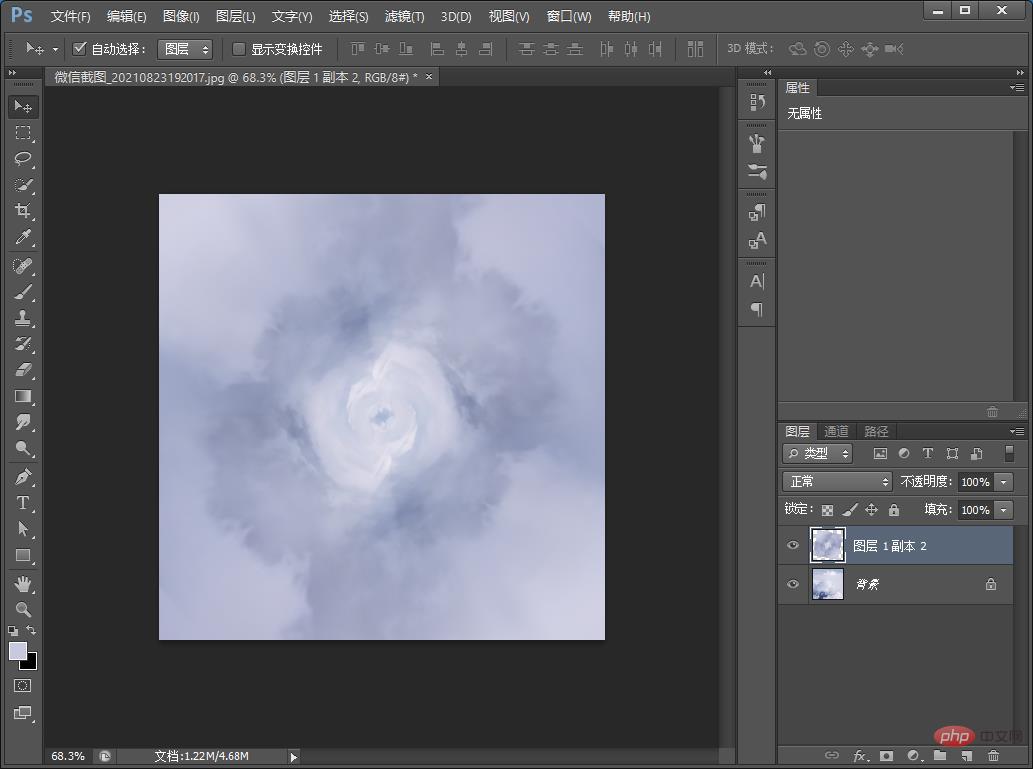
The cloudy picture wormhole effect is as follows
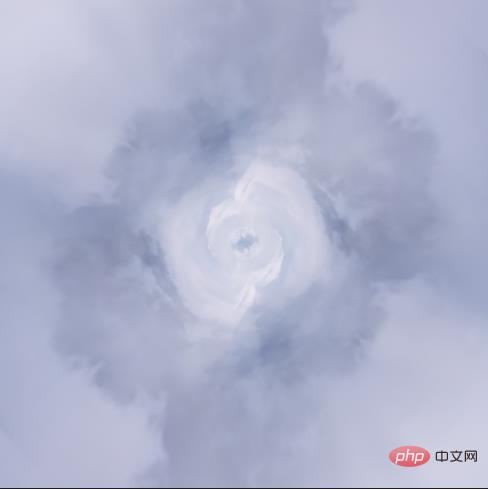
1. Open ps, create a new 500*500 canvas, and drag in a cloud material.
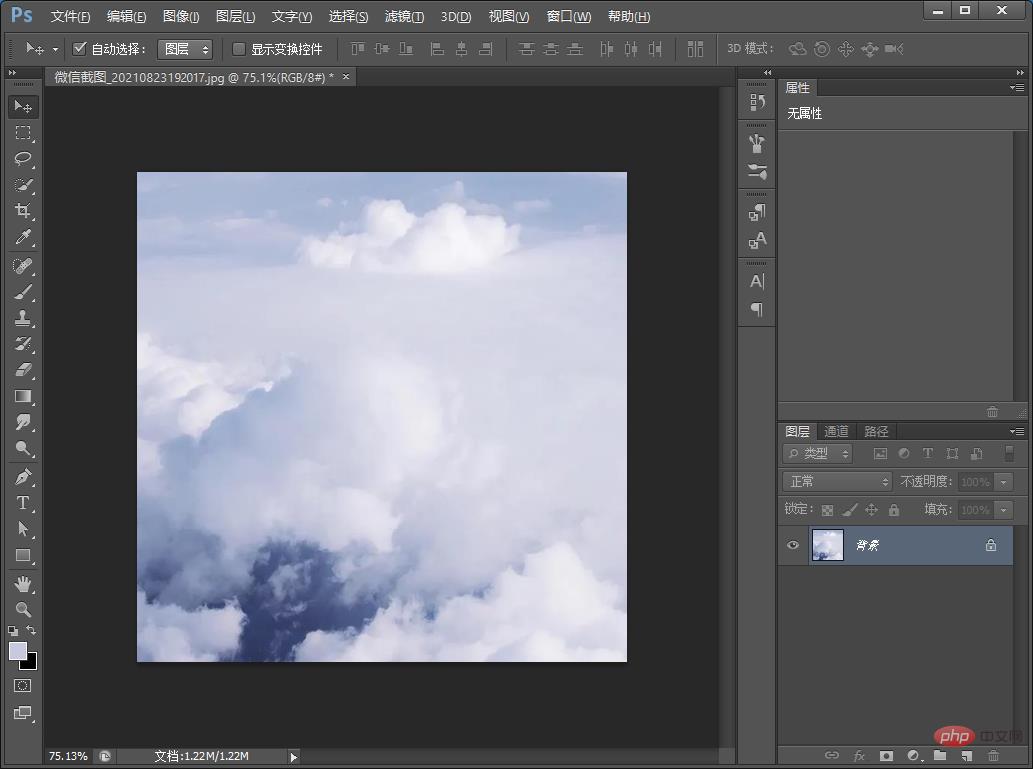
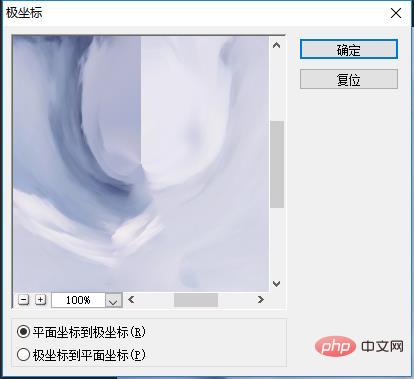
#2. Duplicate a layer, click [Filter]-[Distort]-[Polar Coordinates] as shown.
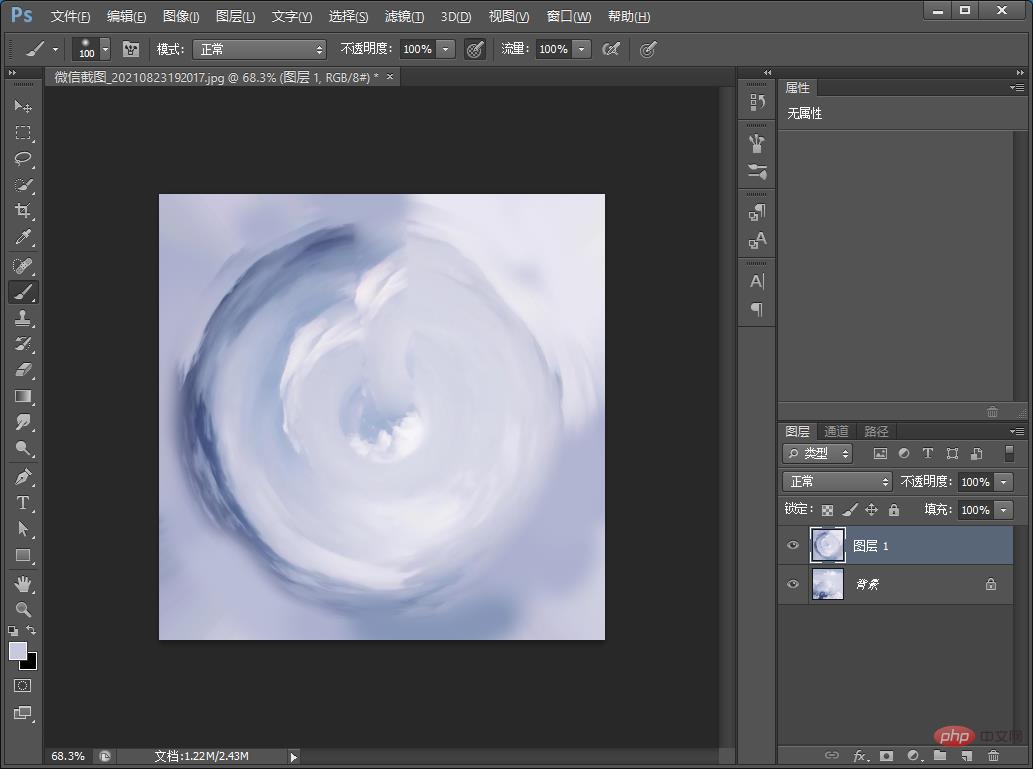
#3. Use the [Imitation Stamp Tool] to repair or remove the creases on this layer.
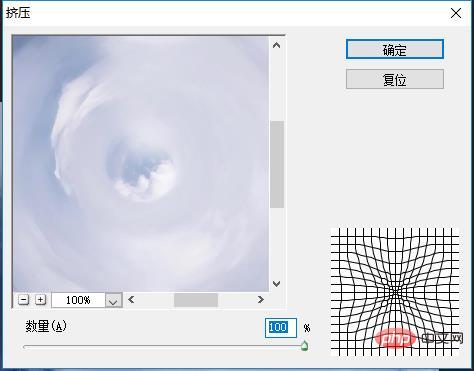
4. Click [Filter]-[Distort]-[Squeeze] and adjust the value to the maximum, as shown in the figure.
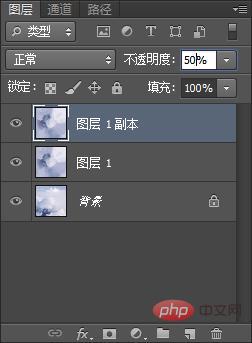
5. Duplicate a layer and adjust the opacity to 50%.
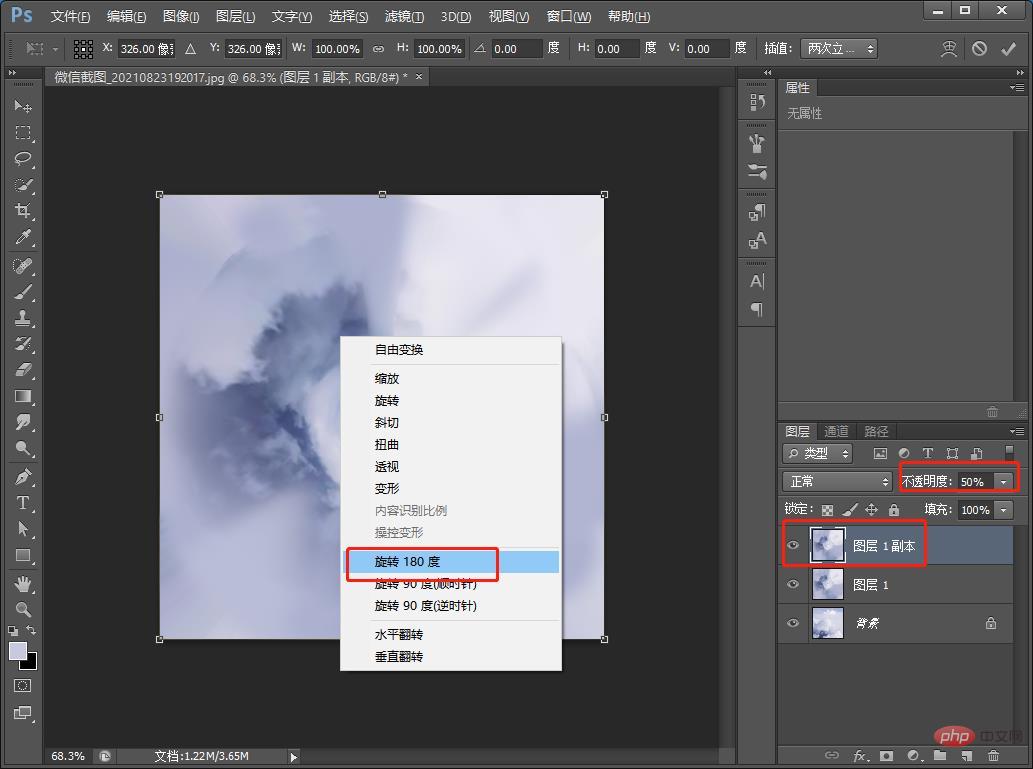
#6. Shortcut key [Ctrl T] to rotate 180 degrees, as shown in the figure.
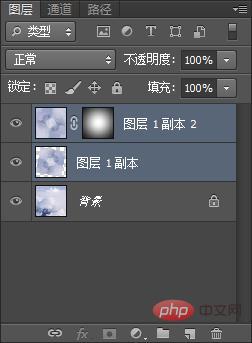
7. Merge the layers and then copy one layer, add a black mask, and use the [Brush Tool] to click on the mask, as shown in the picture
8. Click on the copy of layer 2, zoom in and rotate it 90 degrees counterclockwise, merge the layers, and the effect will appear.
Recommended learning:PS video tutorial
The above is the detailed content of Teach you step by step how to use PS to add wormhole effect to cloudy pictures (share). For more information, please follow other related articles on the PHP Chinese website!