In the previous article "Teach you how to use PS to add a lens effect to text (skill sharing)", I introduced you to a little trick on how to add a lens effect to text. The following article will share how to use PS to convert pictures into hand-drawn effects. Let’s see how to do it together.

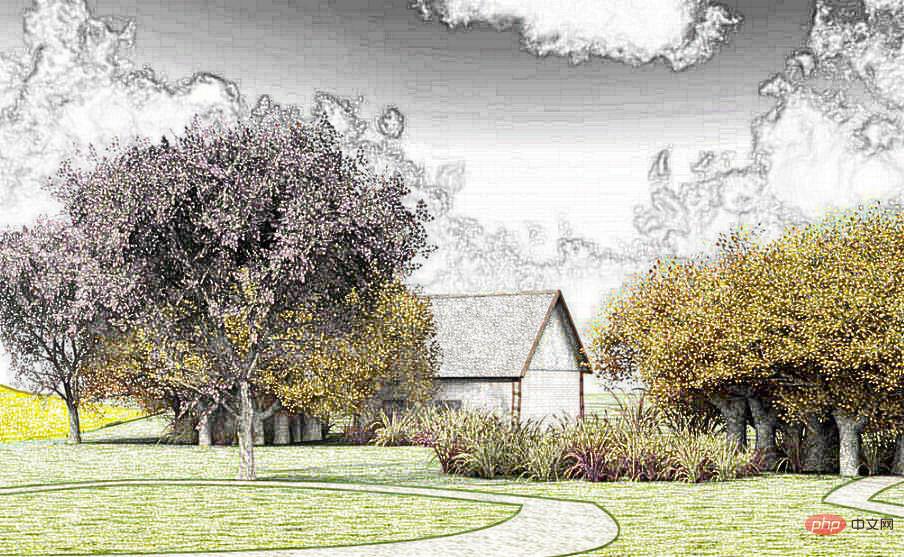
The hand-painted renderings are as follows:

1. Open ps, import the material and copy a layer.

2. Click [Image]-[Adjustment]-[Reverse] shortcut key [Ctrl I]

3. Set the layer mode to [Color Dodge]

4. Click [Filter]-[Others]-[Minimum]

5. In the dialog box, set the radius to 2 pixels and click OK.

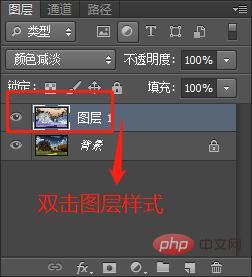
#6. Double-click the layer thumbnail.

#7. On the layer style, hold down [Alt] to adjust the effect.
8. The effect is like this. Look at the edge, which is a little bad. How can I make the cyan color disappear from the edge?
9. When processing edges, select [Hue/Saturation]
10. Adjust [Hue/Saturation] by yourself. You can see the parameter setting diagram below. The effect is completed. .
Recommended learning: PS video tutorial
The above is the detailed content of PS tips: How to convert pictures into hand-drawn effects (detailed explanations with pictures and text). For more information, please follow other related articles on the PHP Chinese website!