
Previous article "How to improve the clarity of PS? Methods of sharpening pictures with PS to improve clarity (implementation steps)" introduces how to use sharpening with PS to improve clarity. The following article will introduce you to the commonly used function - layer mask, and show you how to use the PS layer mask tool.

Masks are also a very important tool in PS. Usually masks are used in conjunction with brushes. Here is a brief introduction to the function of masks. and simple usage.
1. Open the picture. I will open two pictures here and give a demonstration, so as to better understand the meaning of layer mask.
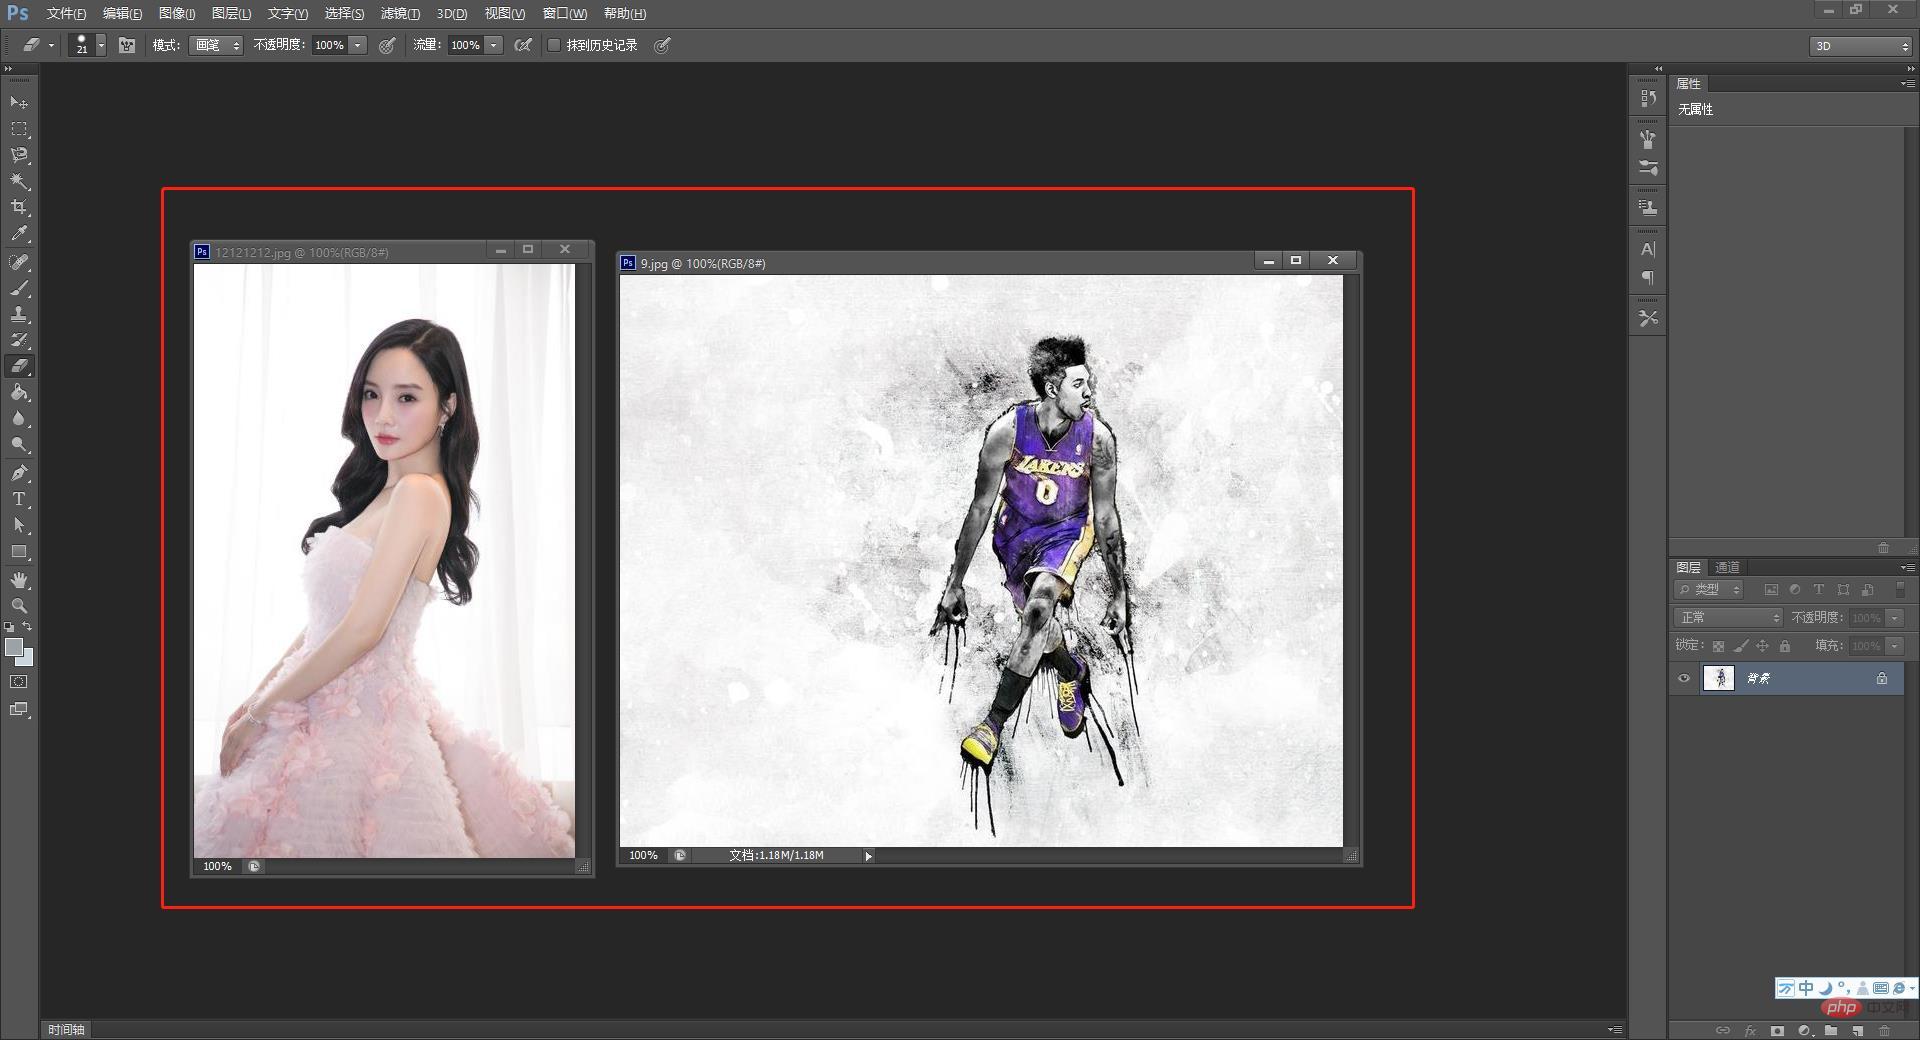
2. Just drag one of them into the other one and drag it in directly. Then there will be two pictures in the layer panel. Adjust the two pictures to the appropriate Location.
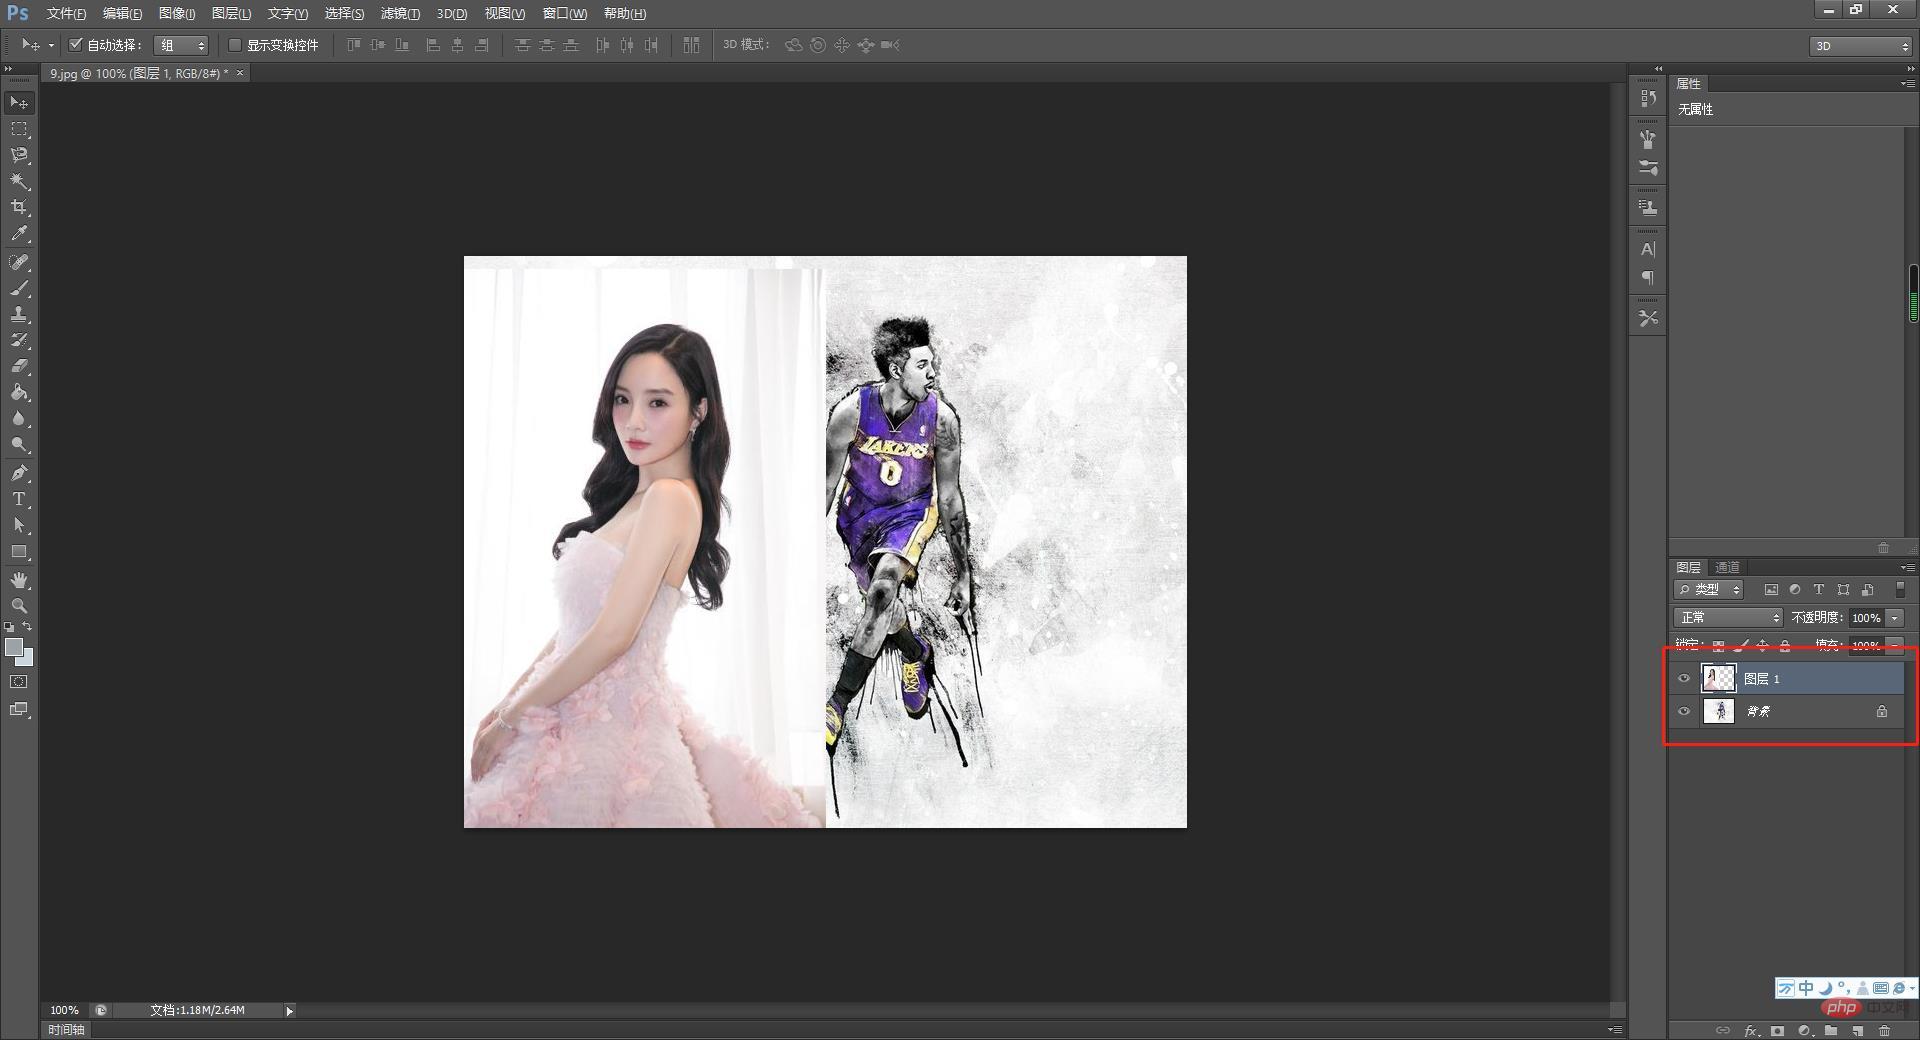
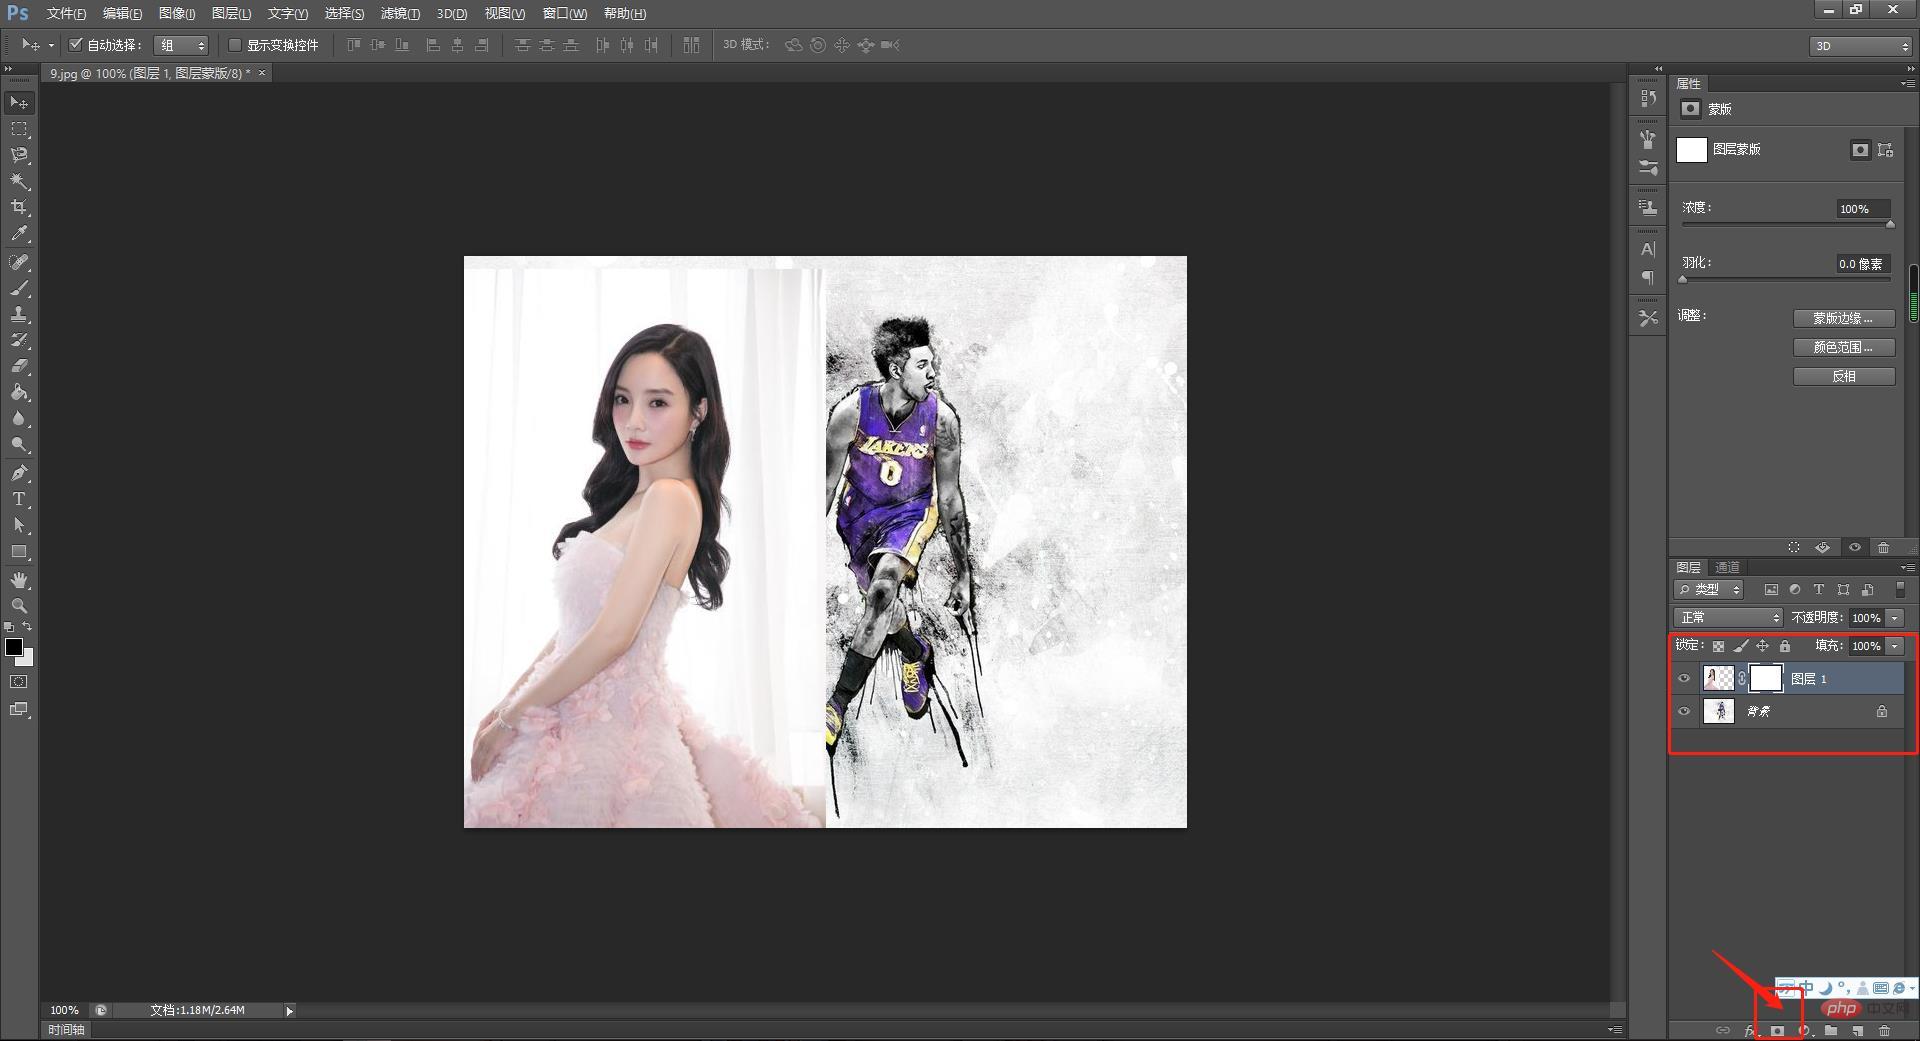
#3. Press and hold the upper layer, click the mark below to add a layer mask, and you can add it. The mask will be created behind the layer by itself.
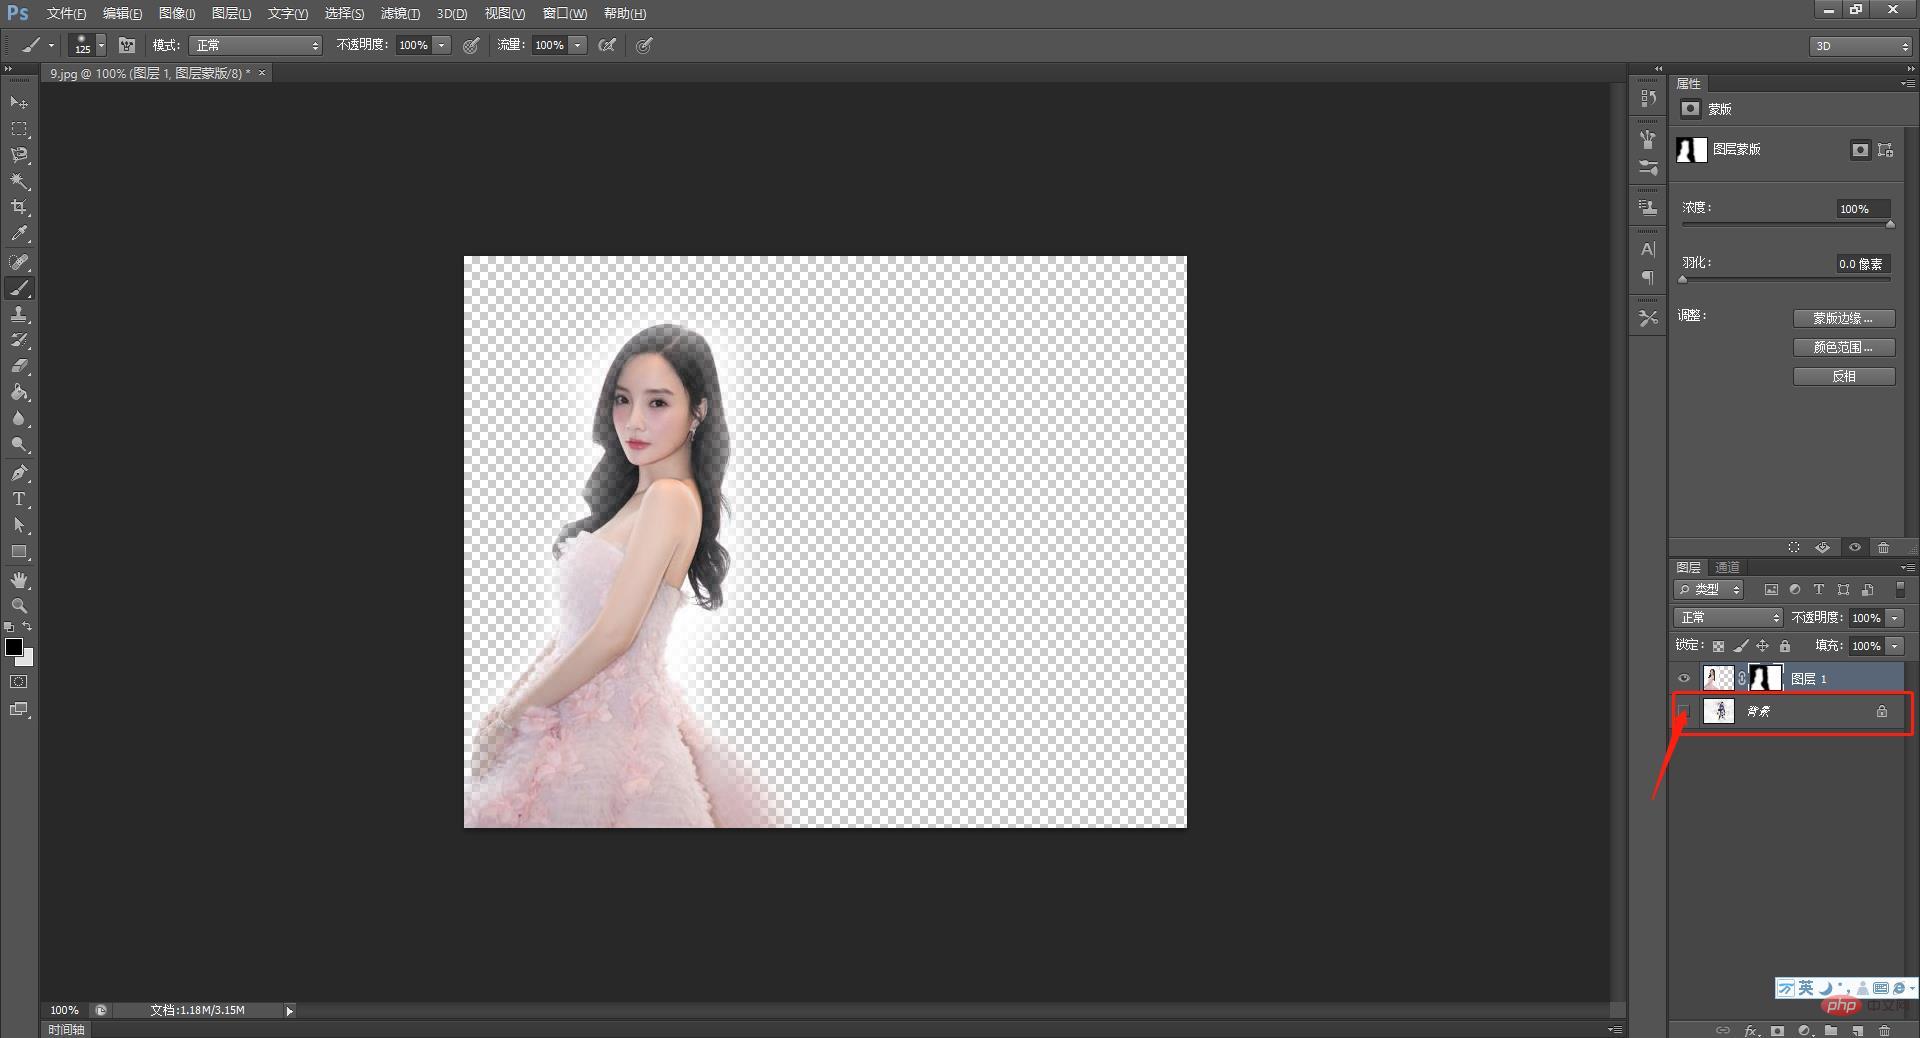
#4. Select the [Brush Tool] and the mouse will turn into a circle. Click [Layer Mask] and select a color. Black means no and white means yes. , be optimistic about the layer you selected. The picture below is what I simply brushed.
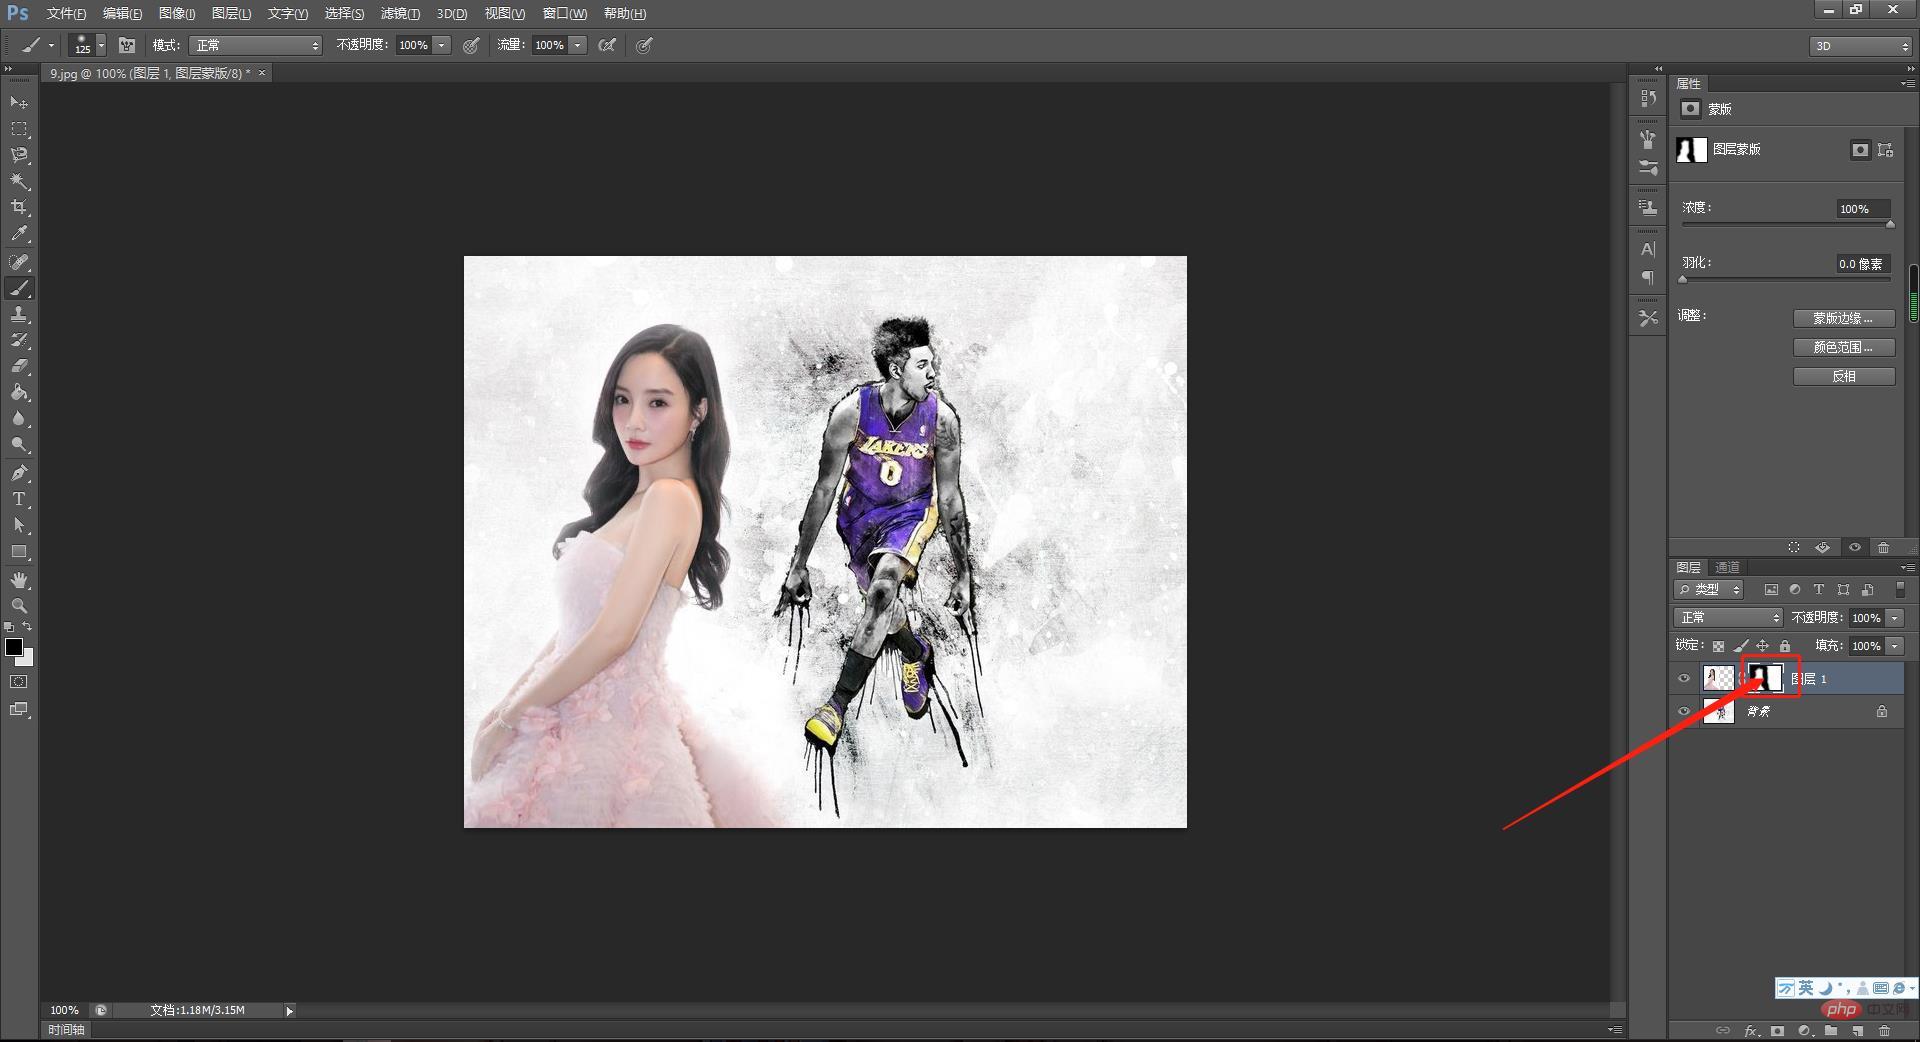
#5. You can see it when you turn off the glasses. This is what it looks like after the mask is used. Because it is just two pictures, it actually has an impact.
Recommended learning:PS video tutorial
The above is the detailed content of Quickly learn how to use PS layer masks in one article (picture and text introduction). For more information, please follow other related articles on the PHP Chinese website!