To extend the functionality of Visual Studio 2019, adding extension components is essential. PHP editor Xinyi will introduce you in detail how to add extension components in Visual Studio 2019. This article will guide you step by step to download, install and manage extension components, allowing you to make full use of the powerful scalability of Visual Studio. Read on for details below to learn how to easily add Visual Studio 2019 extensions.
First, open the Visual Studio 2019 software, click the [Extensions] option at the top of the main interface, and select the [Manage Extensions] option that pops up (as shown in the picture).
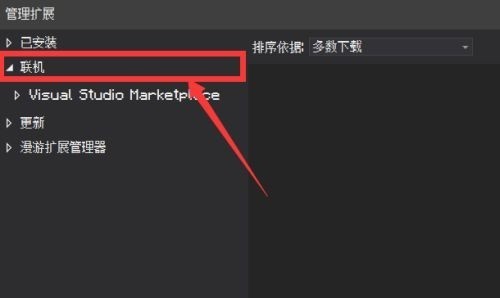
Then, after entering the management extension page, click the [Online] option to enter the online extension interface (as shown in the figure).

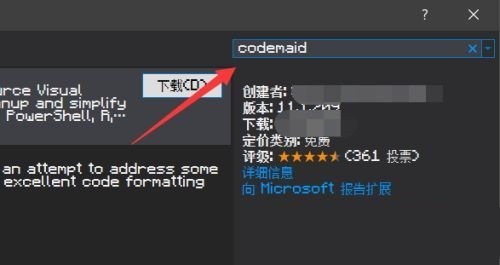
After entering the online extension page, we can search for the component we want to add in the search bar in the upper right corner (as shown in the picture).

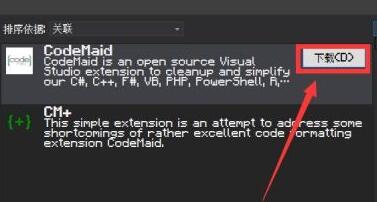
Finally, the components you want to add will be displayed in the interface. We can download and install the components by clicking the [Download] button (as shown in the picture).

The above is the detailed content of How to add extension components to Visual Studio 2019 How to add extension components to Visual Studio 2019. For more information, please follow other related articles on the PHP Chinese website!


