In the process of using Revit software, it is often necessary to set the startup view to optimize the workflow. This article aims to introduce you to the method of setting startup views in Revit in detail to help you start your design journey quickly and efficiently. This article will cover the key steps of creating a custom view, setting the custom view as the default startup view, and setting other startup view-related options. By reading this guide, you'll be able to easily set up Revit launch views to increase your design efficiency.
Click the Start View command in the management project column of the management tab.

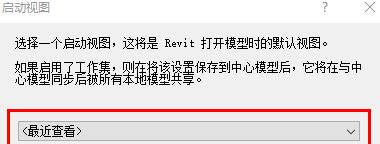
Then the startup view dialog box will pop up, and the drop-down dialog box displays the current settings (recently viewed).

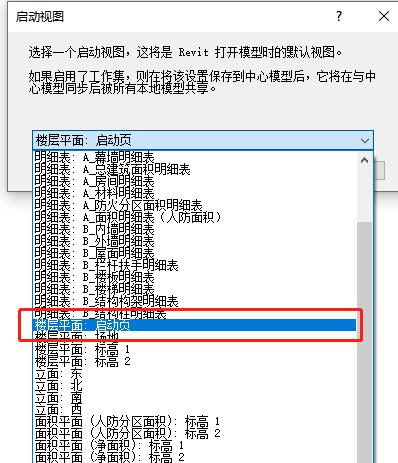
Select the startup page that has been set and click OK.

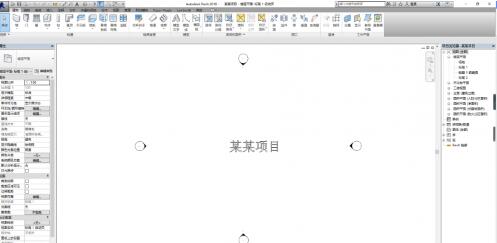
As shown in the figure after the setting is completed.

Meaning: During the presentation process to the owner after the project is completed, a beautiful startup interface needs to be set. Through the above explanation, a view can be selected as the startup view of the project, and at the same time, you can Insert renderings into the corresponding views or add text as the project's startup page to make the project more beautiful.
The above is the detailed content of Detailed method of setting startup view in Revit. For more information, please follow other related articles on the PHP Chinese website!


