
In the previous article "Tips: How to use PS to add raw embroidery effect to gear photos (Summary)", I introduced you to a little trick, how to use PS to add raw embroidery effects to gear photos. Add raw embroidery effect. The following article will introduce to you how to use the PS polygon tool to create a poster background. Let’s see how to do it together.

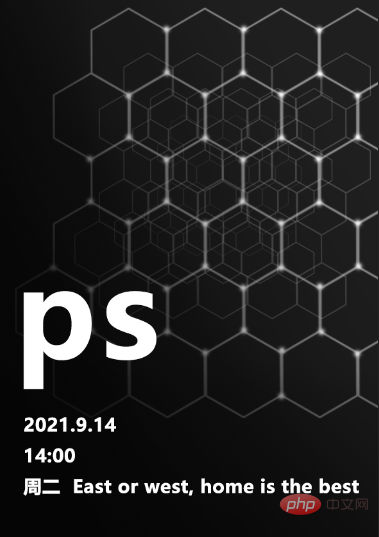
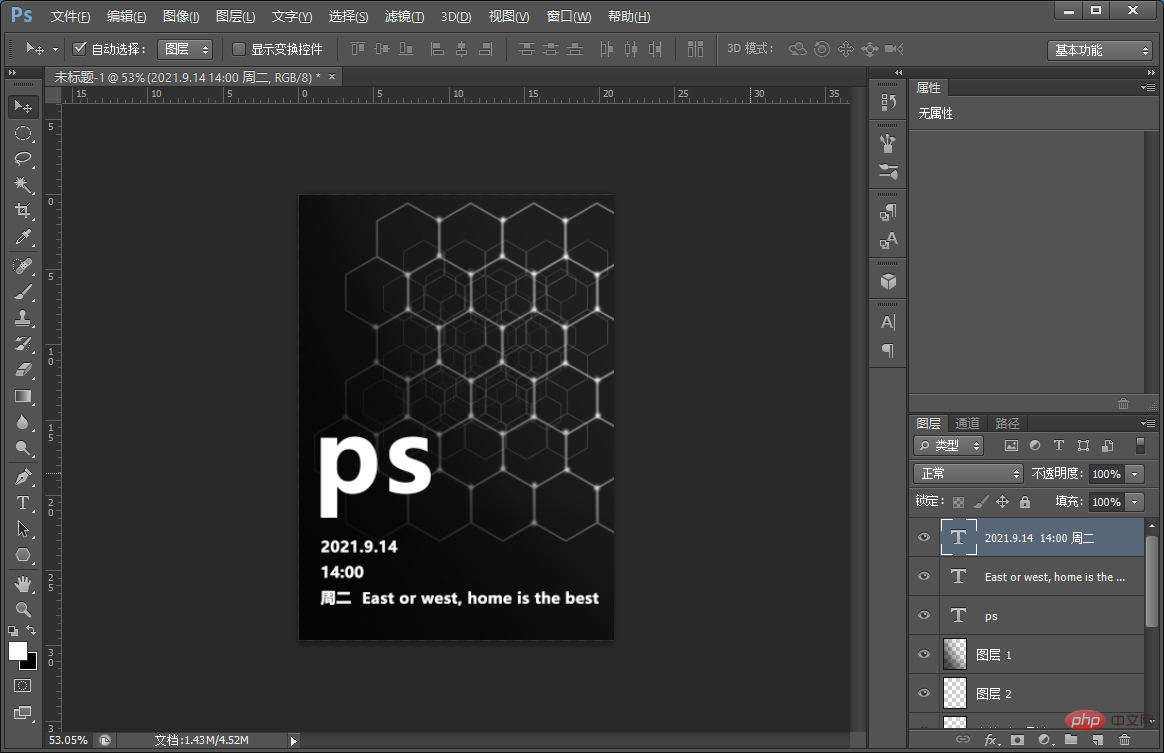
The renderings of making a poster background are as follows
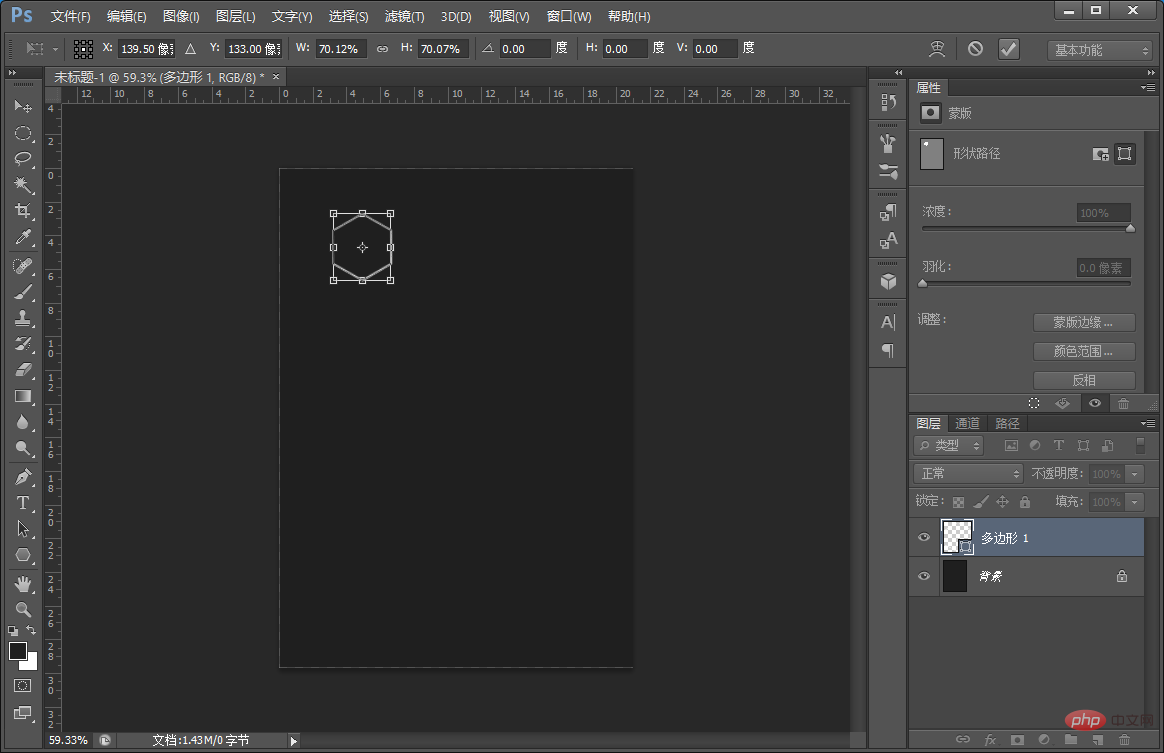
1. First, open PS, create a new canvas, fill it with black, use the [Polygon Tool] to set the number of sides to 6, width 70px, and height 70px.
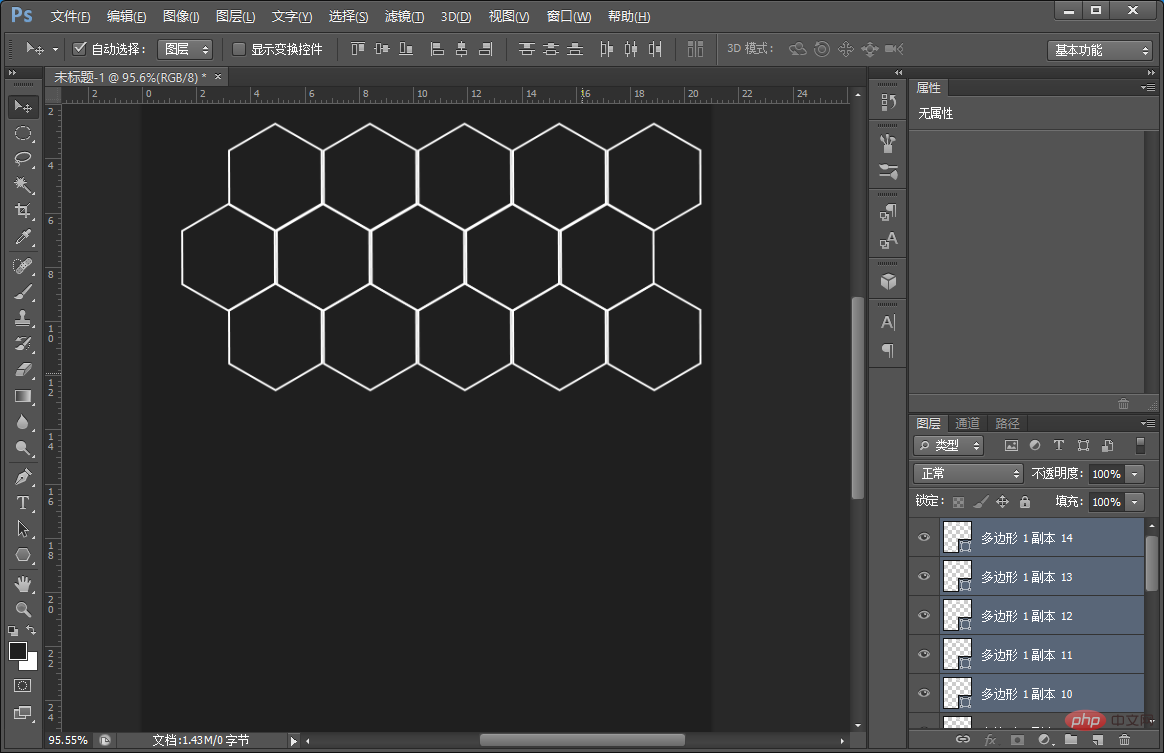
#2. Copy a few polygons and drag them with the mouse until you adjust the direct effect.
#3. After the polygon effect, select the polygon layer to merge the layers.
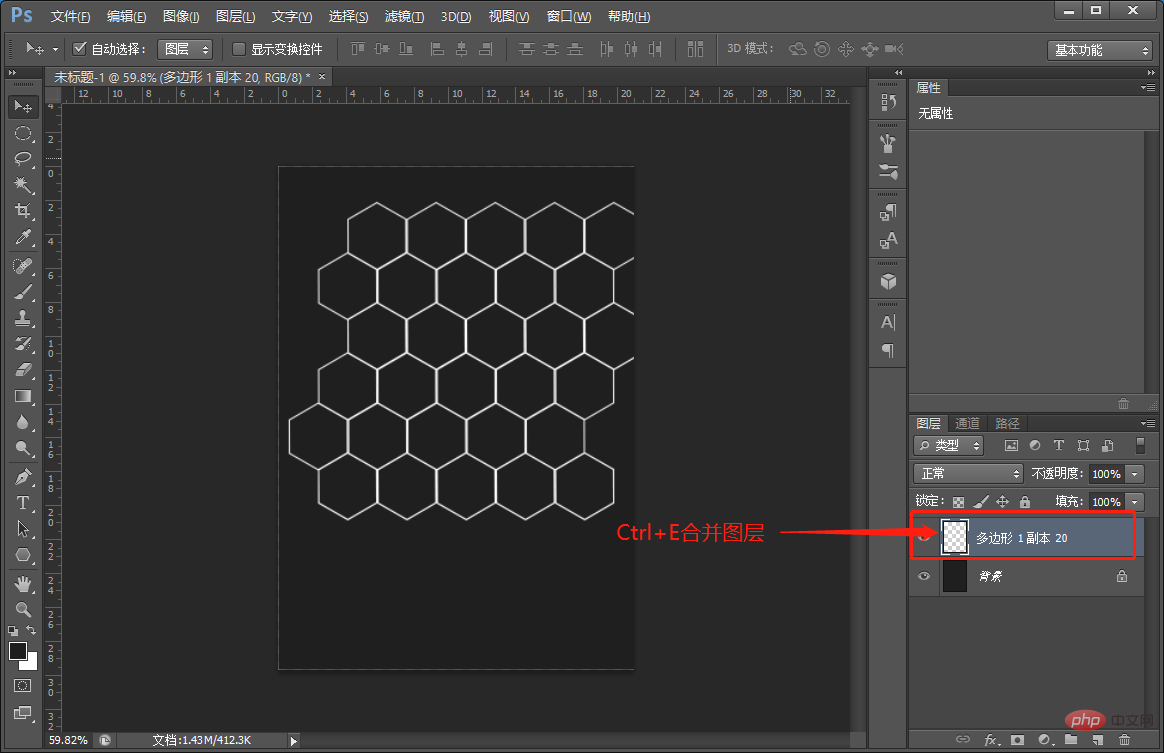
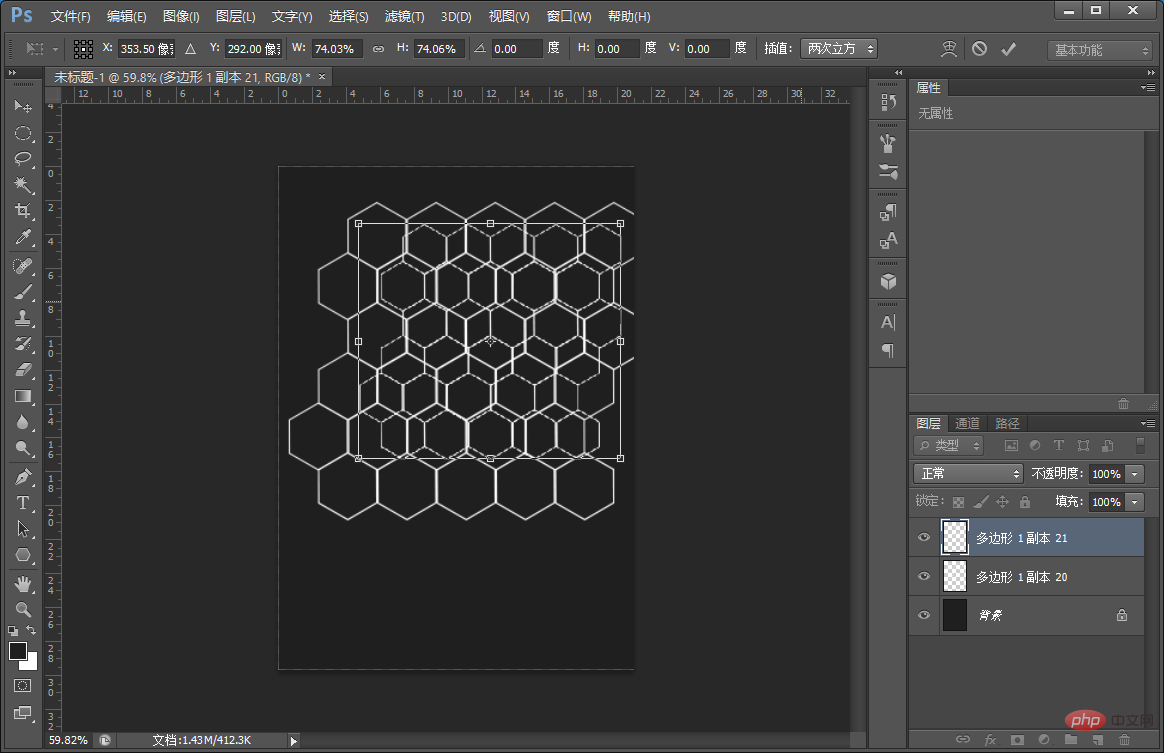
#4. After merging the layers, just copy several layers and press Ctrl T to zoom out.
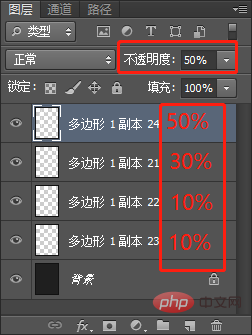
#5. Set the numerical parameters for the opacity of the polygon layer, as shown below.
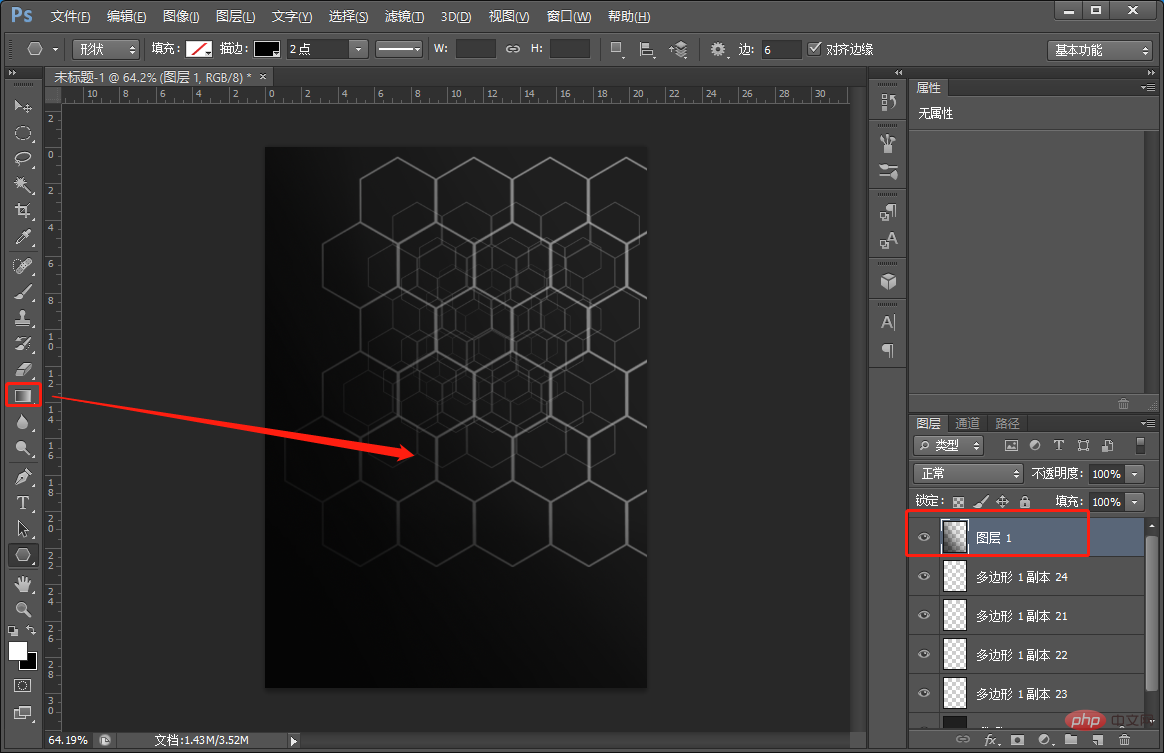
#6. Create a blank layer and use the [Gradient Tool] to draw it once.
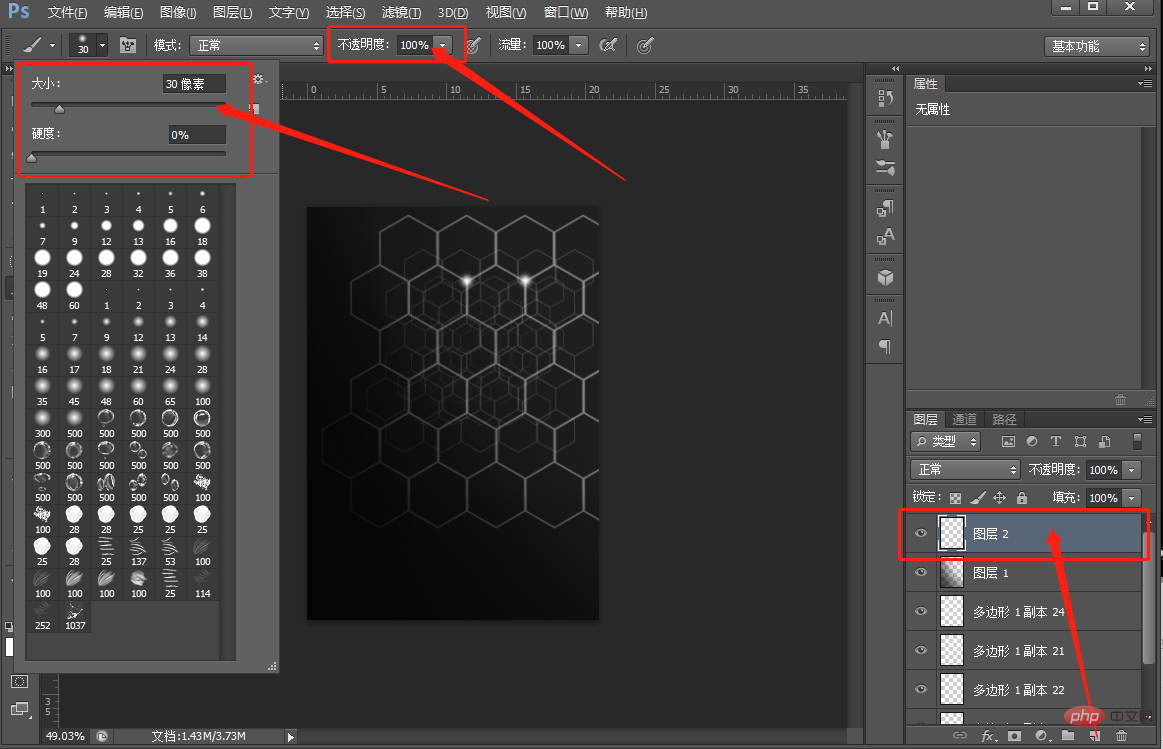
7. Create a new blank layer, use the [Brush Tool] to select the soft edge, and set the size to 30 pixels.
8. You can add copywriting to complete the effect.
Recommended learning: PS video tutorial
The above is the detailed content of Beginner's article: How to use PS polygon tools to create a poster background (share). For more information, please follow other related articles on the PHP Chinese website!