
In the previous article "Teach you how to use PS to convert photos into antique-style meticulous painting effects (share)", I introduced you to a technique, how to use PS to convert photos Transformed into a gongbi painting effect with an antique charm. The following article will introduce to you how to use PS to create a realistic cloth texture background. Let’s take a look at the specific steps!

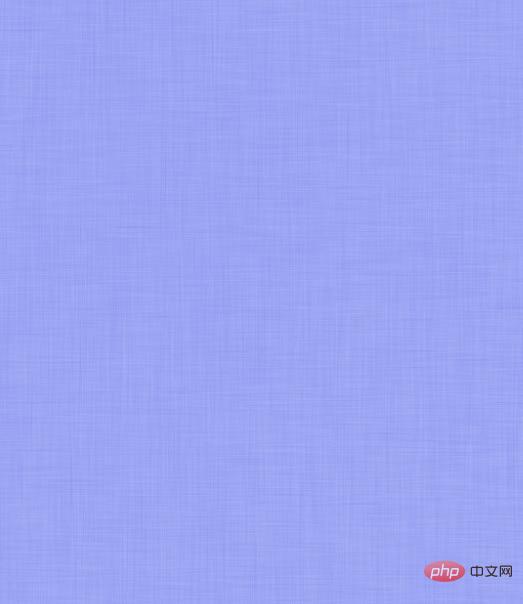
The cloth texture background effect picture is as follows
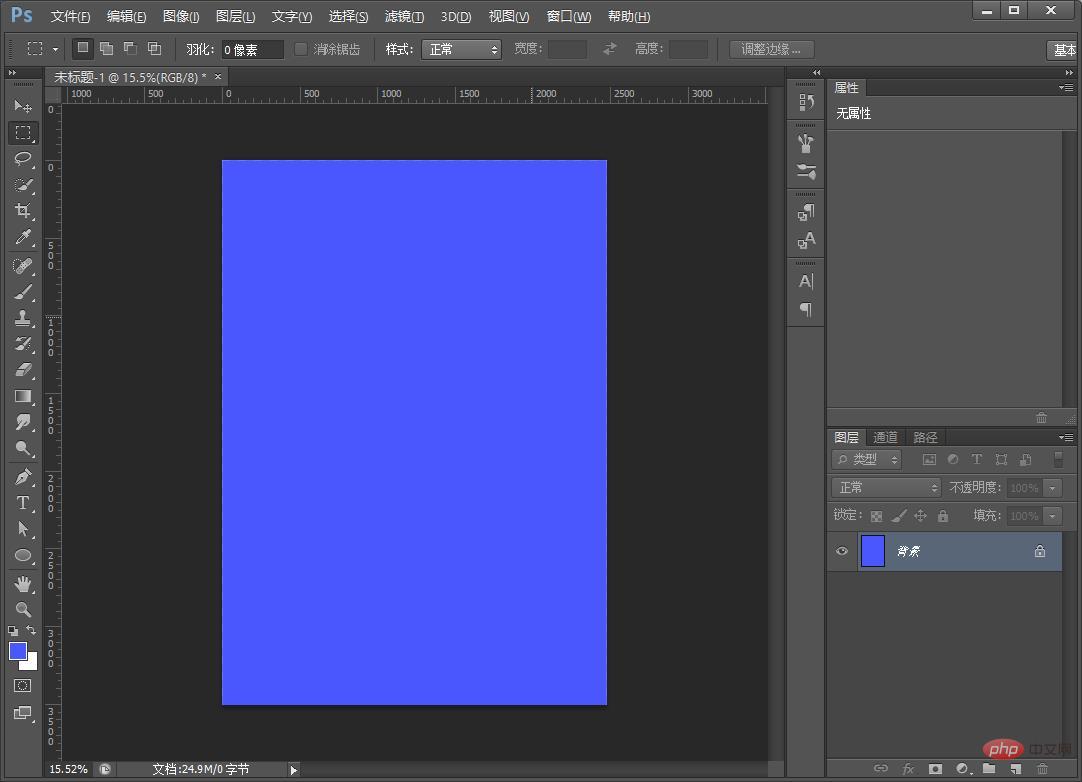
1. Open the ps software, use the shortcut key Ctrl N to create a new document and fill it with blue.
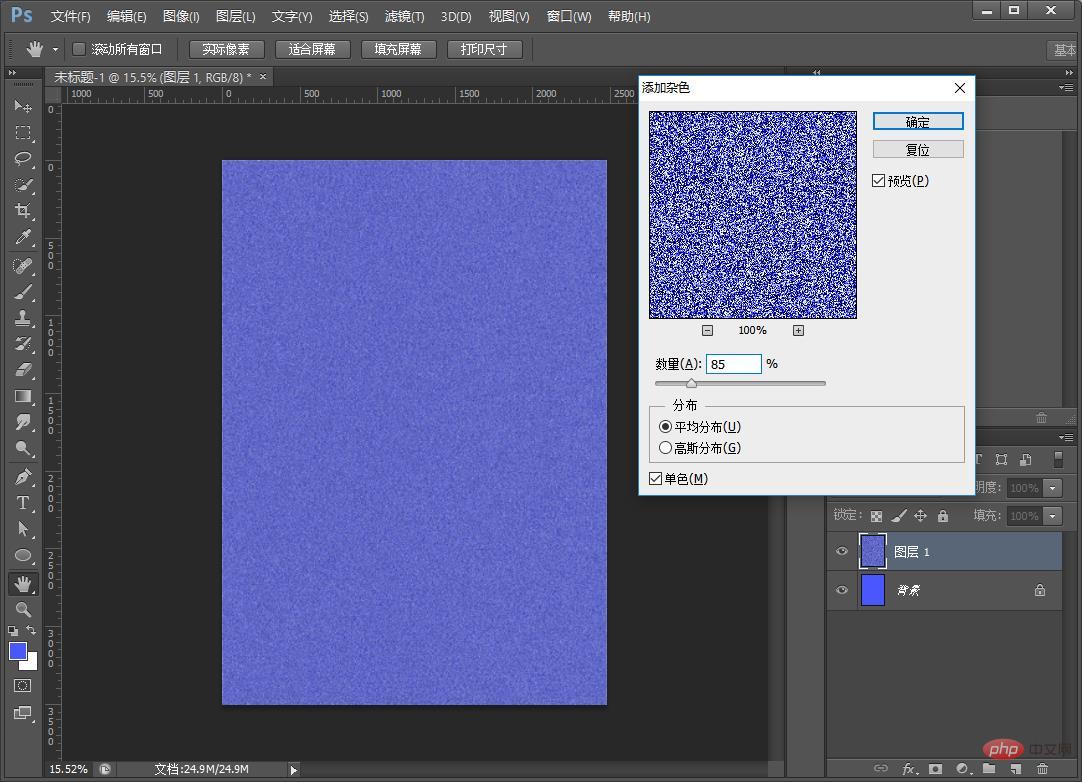
2. Press the shortcut key [Ctrl J] to create a new background layer, and execute: [Filter]-[Noise]-[Add Noise] parameters, as shown below .
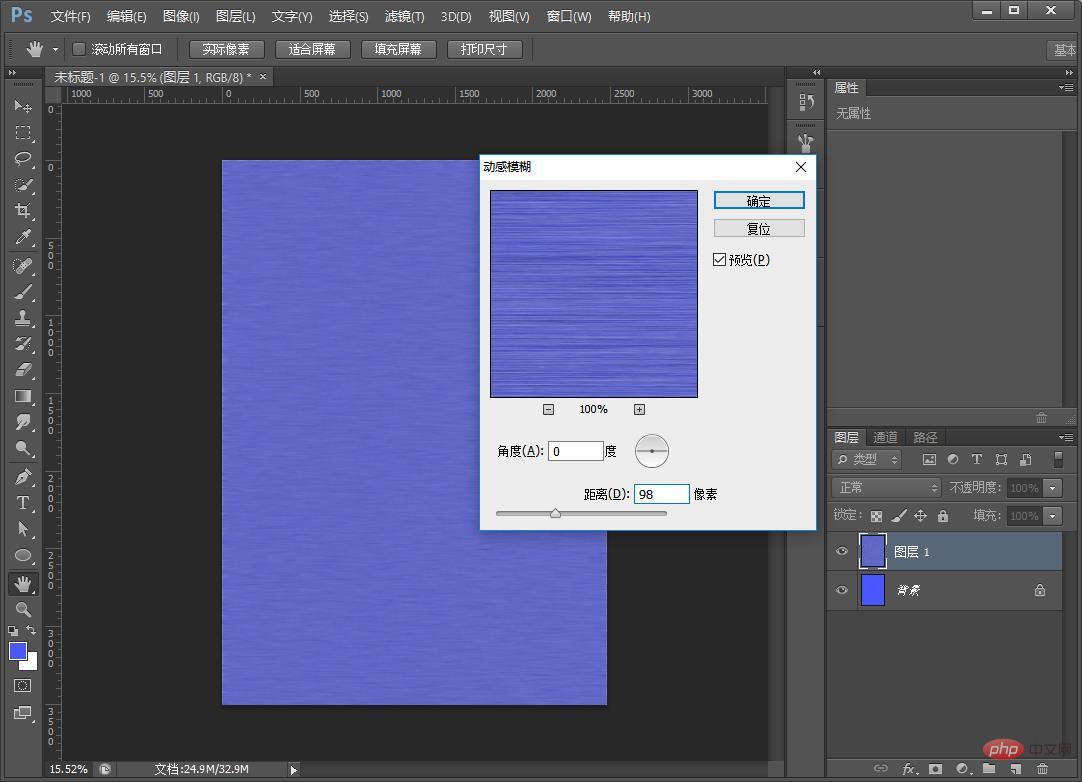
3. Execute again: [Filter]-[Blur]-[Motion Blur] Set the angle of motion blur to 90 degrees, as shown below.
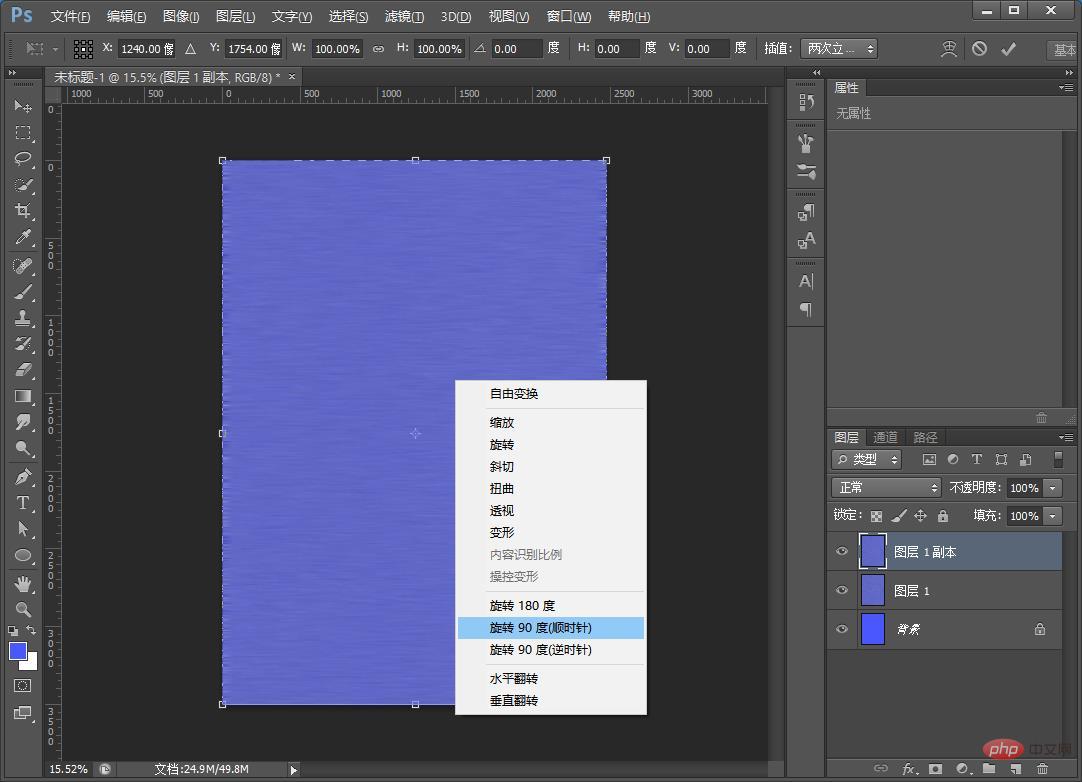
#4. Left-click on the duplicate layer and select Rotate 90 degrees, as shown below.
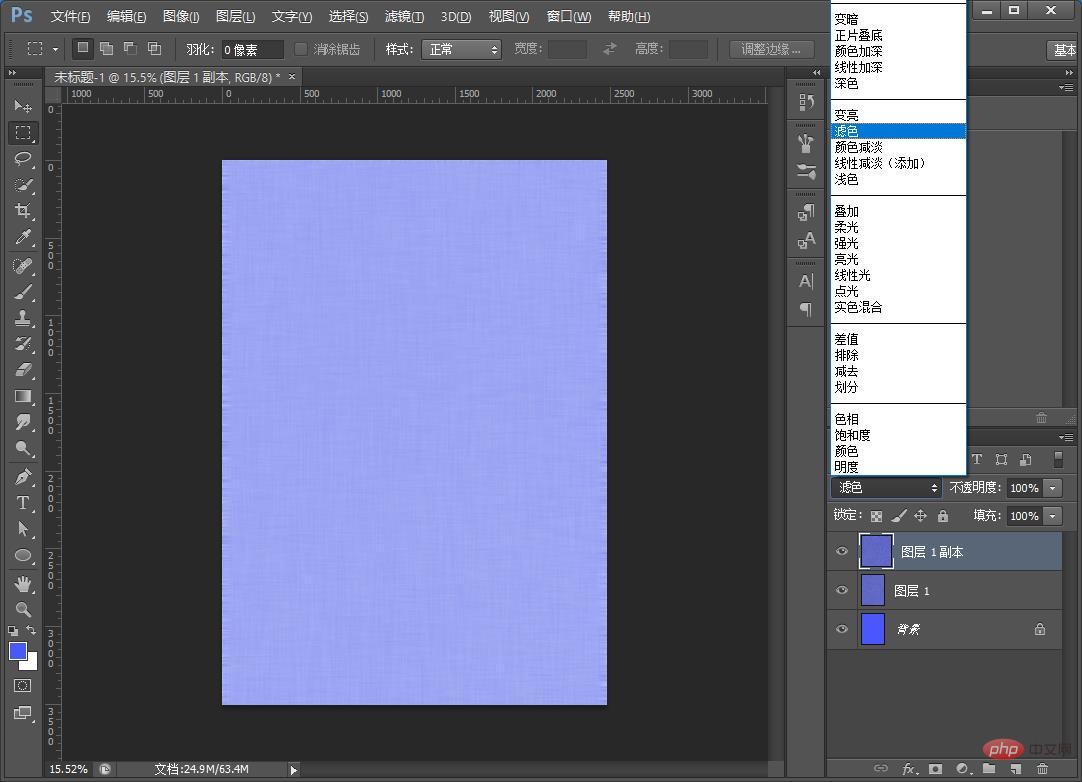
#5. The last step is to change the blending mode to [Screen] to complete the effect.
Recommended learning:ps advanced tutorial
The above is the detailed content of One trick to teach you how to use PS to create a realistic cloth texture background (share). For more information, please follow other related articles on the PHP Chinese website!