
In the previous article "PS Skills: How to Use PS to Simply Make a Creative Cover (Skill Sharing)", I will introduce you to a small technique on how to use PS to make a creative cover method. The following article will introduce to you how to use PS to add cutting effects to pictures. Let’s see how to do it together.

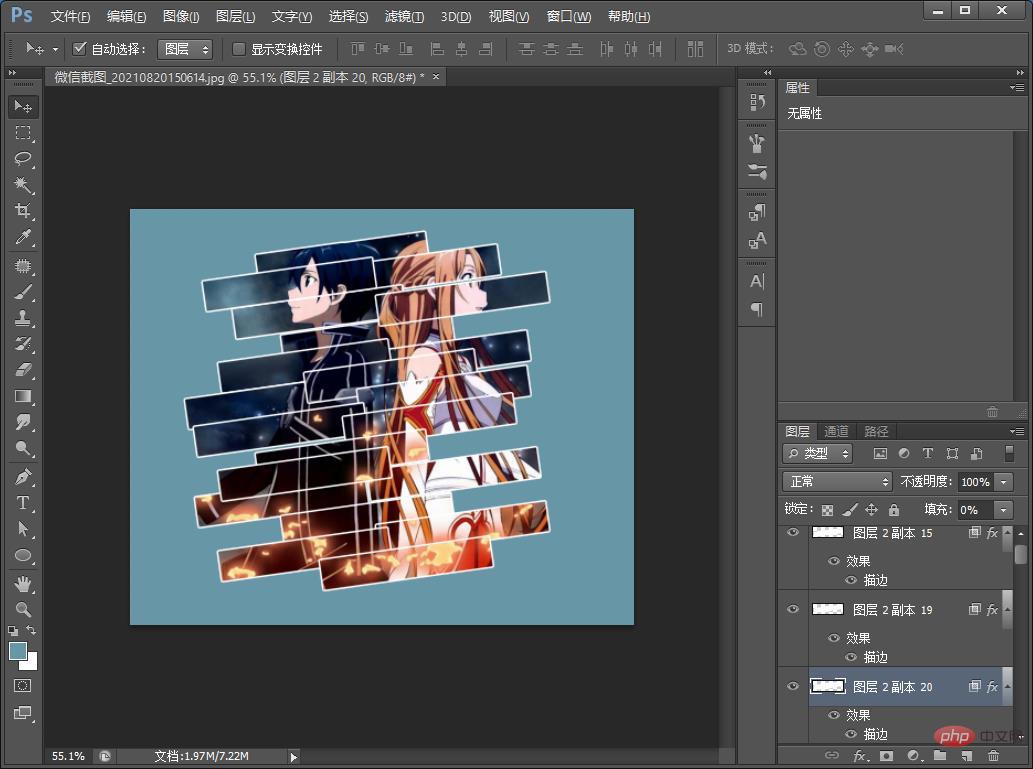
Picture cutting effect, as shown in the picture below
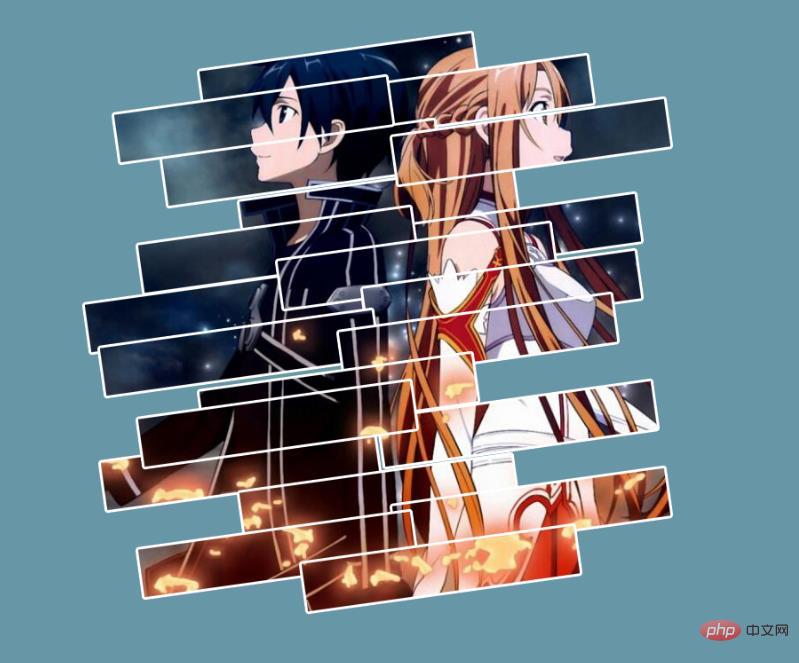
Picture cutting effect, you can achieve it with just one move To make the picture more colorful, you can try changing the shape.
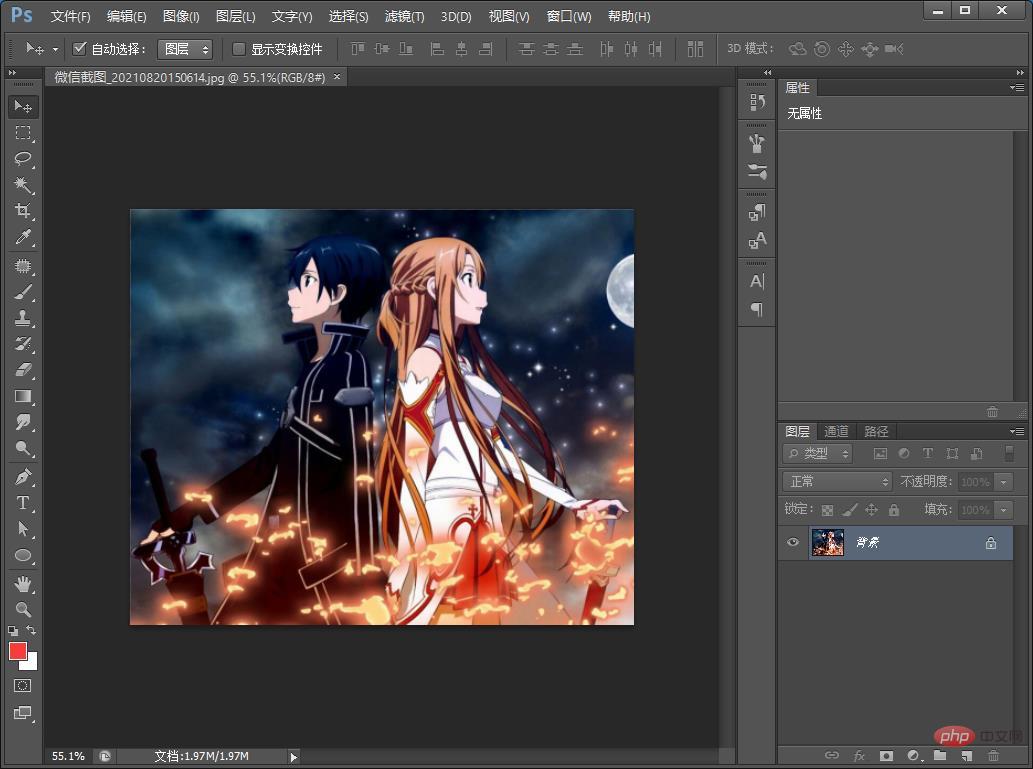
1. Open ps and drag the material into it.
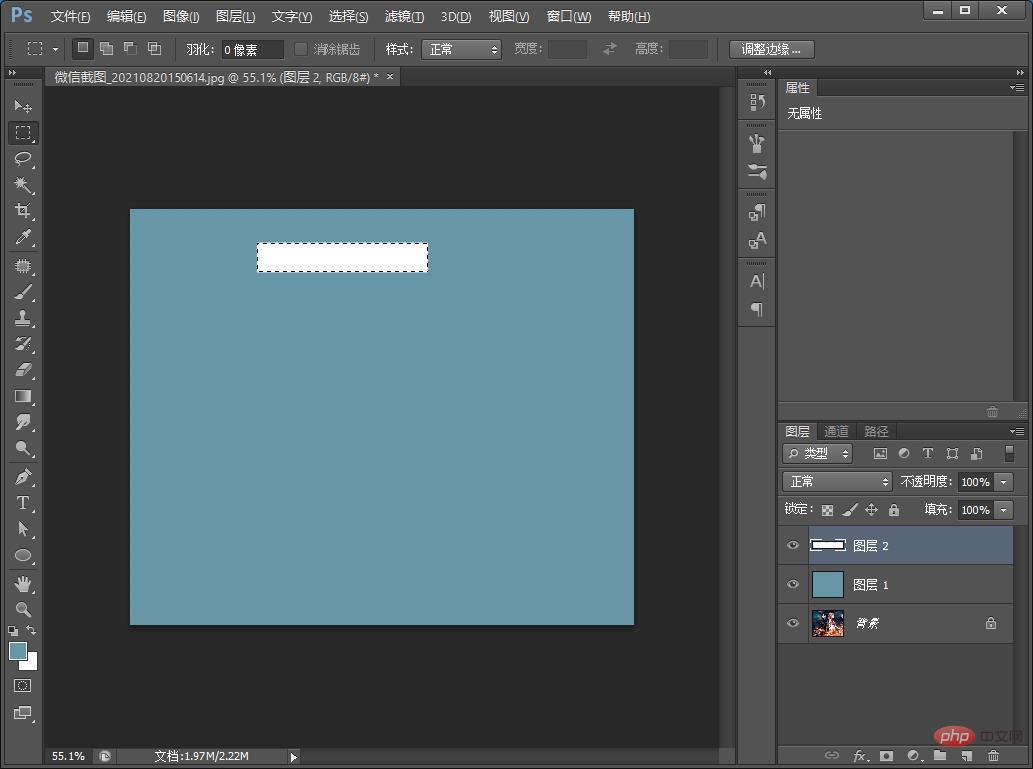
#2. Let’s create a new layer at the top and fill it with your favorite color.

#3. Use the rectangular marquee tool to create a new blank layer above the layer and fill it with white. The length and width are according to your preference.
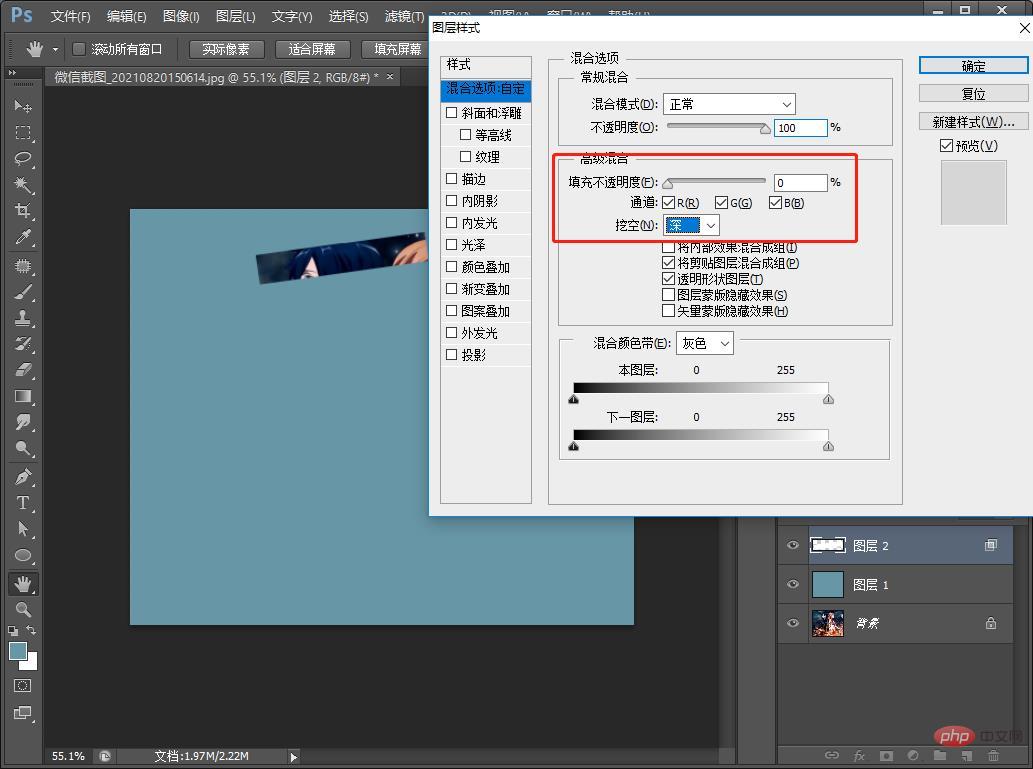
#4. Press Ctrl T to freely transform and adjust it yourself. Right-click and select this rectangle to add blending mode, as shown in the figure below.
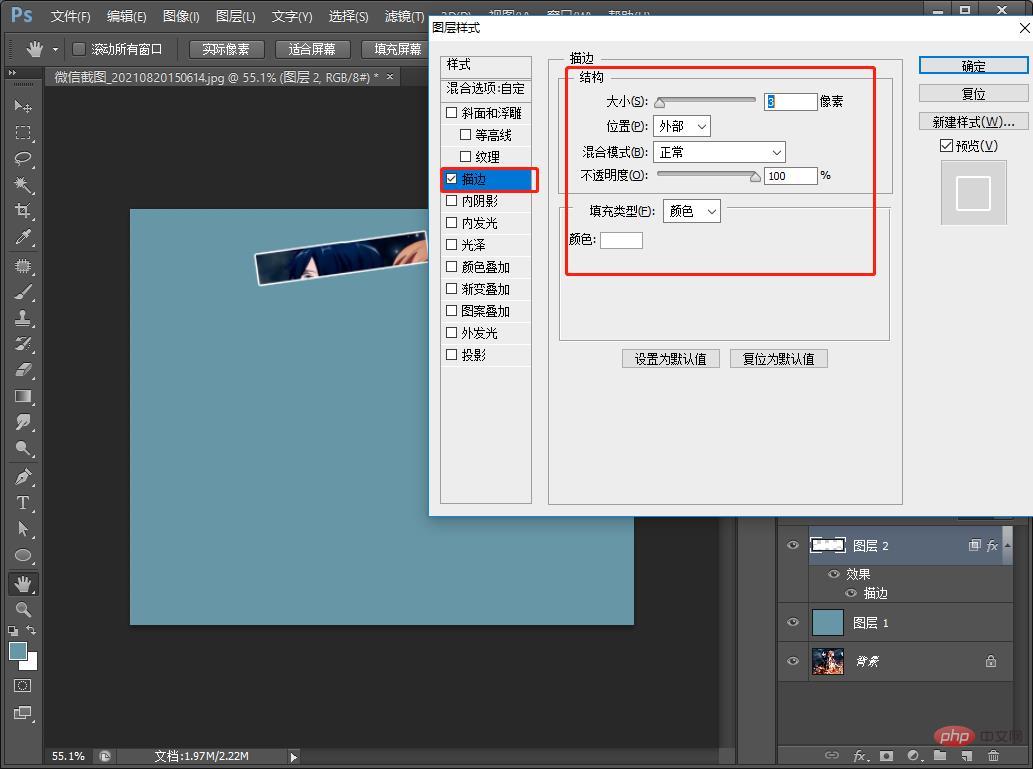
#5. Then add a stroke, as shown in the picture below.
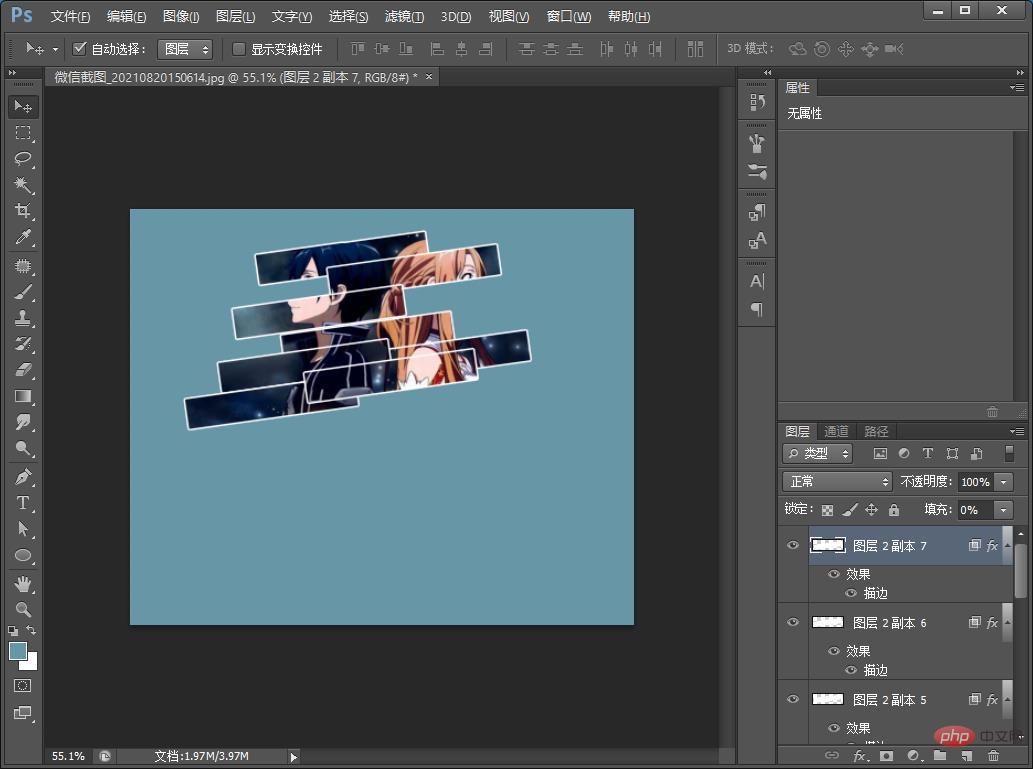
#6. Hold down the ALT key to copy the rectangle and arrange it while copying, as shown in the figure below.
7. The effect is completed.
Recommended learning:PS video tutorial
The above is the detailed content of Teach you step by step how to use PS to add cutting effects to pictures (share). For more information, please follow other related articles on the PHP Chinese website!