In the previous article "Sharing practical Word skills: Set image alignment in batches!》, we learned about image alignment. Today we will talk about word image processing and explain how to change the color and shape of pictures. Come and take a look!

#In order to make the article both pictures and text, we often insert various pictures when editing Word. As we all know, pictures inserted into Word documents are in the original color and rectangular shape by default. Sometimes for the sake of beautiful layout, we can get rid of these fixed colors and shapes, change the colors and shape styles of pictures in batches, and achieve simple image processing.
Word 2010 and above provide us with powerful image processing functions, some of which are even comparable to image processing tools.
Today, let’s take a look at how to operate it. (Note: The current operating version is Word 2016)
1. Word changes the color of pictures in batches
You are still changing pictures one by one Color? Don't be ridiculous, you said you don't work overtime but at night? In fact, Word has already made it possible to quickly change the color of pictures in batches!
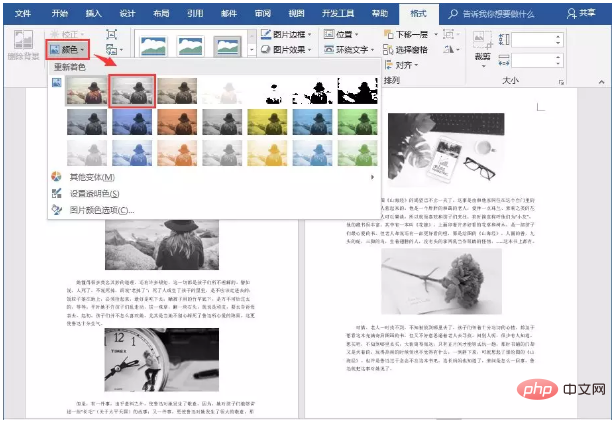
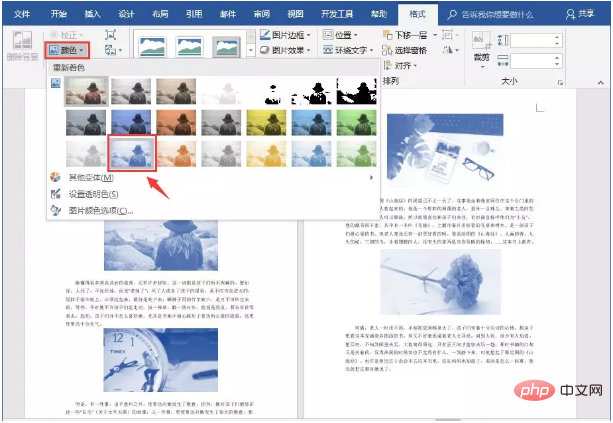
Select multiple pictures (hold down the [Ctrl] key to achieve multiple selections), click the [Format]-[Adjustment]-[Color] button, and select the color that needs to be changed in the pop-up list.


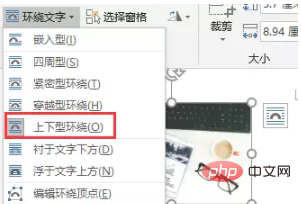
Tips:By default, the insertion method of Word pictures is "embedded", as shown in the figure shown.
If we want to select multiple pictures at the same time for batch processing, we first need to change the wrapping mode of the pictures to non-embedded, that is, all-round, top-bottom, and tight wrapping Wait... to make multiple selections.

2. How to change the shape of pictures in Word
When rectangular pictures are placed in batches into documents, they will appear Extremely rigid. Sometimes, for the sake of document aesthetics and layout needs, we can transform them into a shape.
Method 1:Select the picture, click other buttons in the [Format]-[Picture Style] group, and select a shape style in the pop-up drop-down list.
Method 2:Select the picture, click the [Format]-[Size] group, click the "Crop" button, and select in the pop-up menu A shape style.
At this point, the image we selected has changed its shape style.
Finally, regarding picture adjustment, there are many techniques in Word, such as quickly correcting saturation, clarity, transparency, etc., deleting picture backgrounds, and cropping pictures. Functions such as these can be implemented quickly. All in all, if you want to make some modifications and adjustments to the pictures, you might as well give it a try first! There may be unexpected gains.
And today’s introduction is only a small part of the content. We will break it down for you one by one in the following articles, don’t miss it~~~
That’s the end of today’s content! Have you learned it?
Recommended tutorial: "Word Tutorial"
The above is the detailed content of Practical Word skills sharing: Detailed explanation of how to change the color and shape of pictures. For more information, please follow other related articles on the PHP Chinese website!
 How to change word background color to white
 How to delete the last blank page in word
 Why can't I delete the last blank page in word?
 Word single page changes paper orientation
 word to ppt
 Word page number starts from the third page as 1 tutorial
 Tutorial on merging multiple words into one word
 word insert table