In the previous article "Word and Excel linkage: use Word to print tables in columns!》, we learned how to use Word to print Excel tables in columns. Today we will continue to share practical Word skills and talk about the column setting skills of documents. Come and collect and use them!

Column setting is to set all pages or selected paragraphs of a Word document into multiple columns, thereby presenting the column layout effect often used in newspapers, magazines, and books. . It is a common typesetting form in document typesetting. Its function is to make the layout more tidy, lively and easy to read.
1. Regular columns
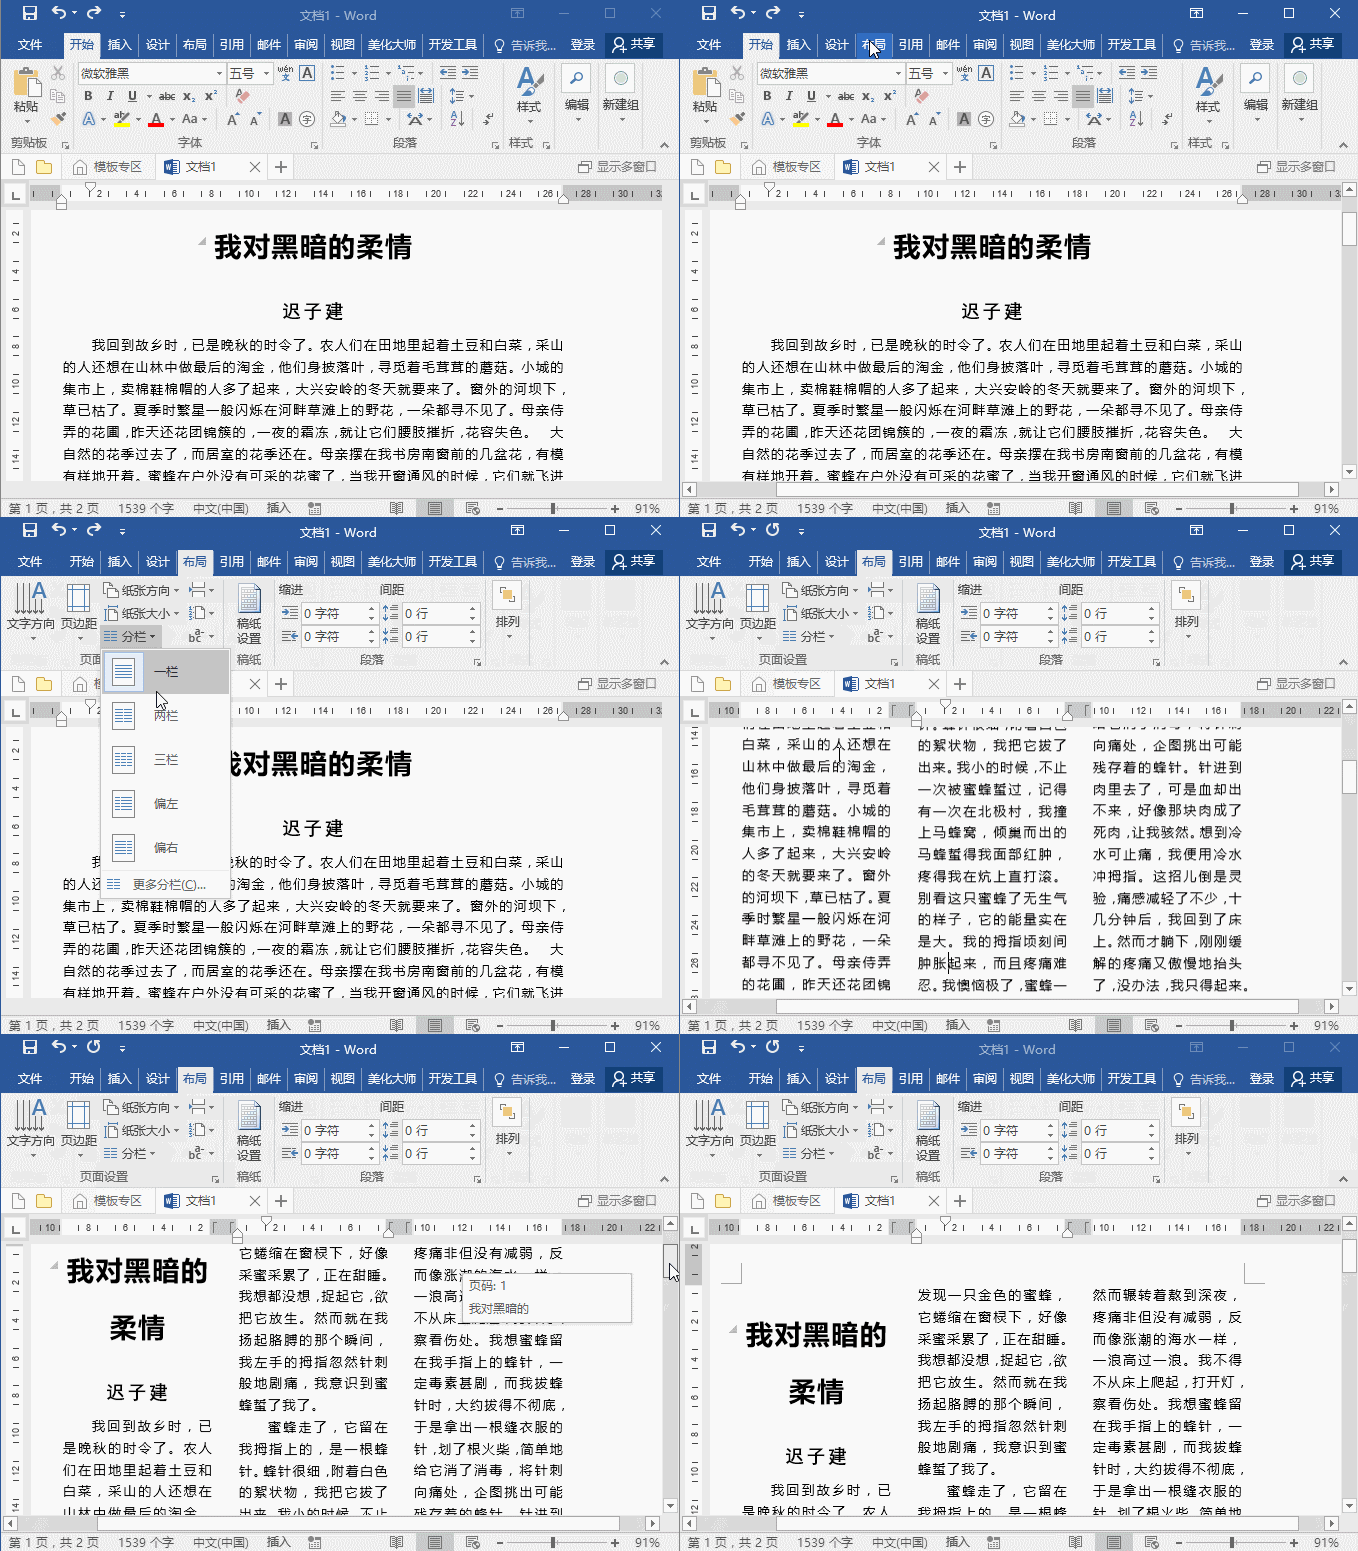
Click [Layout]-[Column] and select from the pop-up drop-down list Required columns. There are 5 commonly used forms here, one column, two columns, three columns, left and right, as shown in the figure.

#At this point, you will find that Word divides all content (title, author and text) into columns at the same time by default. This is because Word by default applies columns to the entire document or to the section where the cursor is currently located.
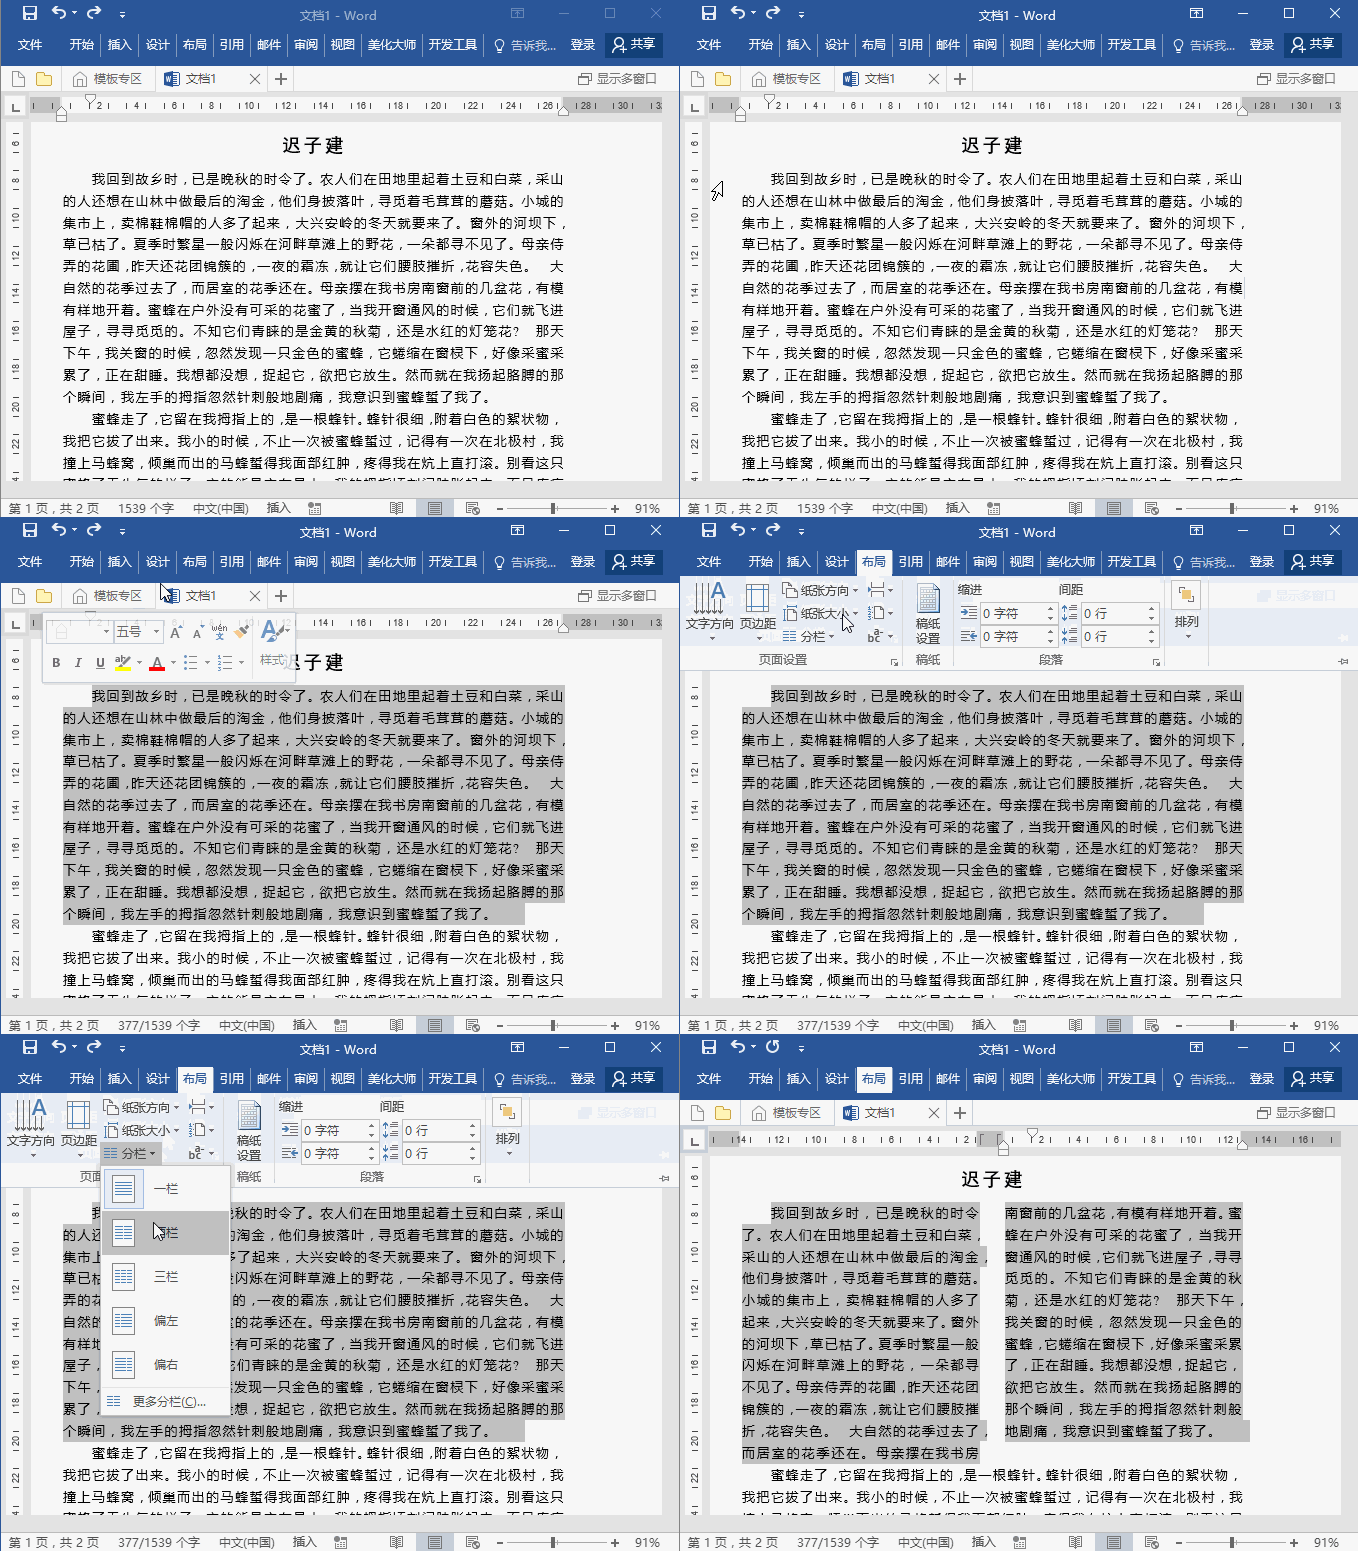
How to divide only part of the content into columns?
Method:First select the content that needs to be divided into columns, and then perform the column dividing operation.

2. Free column
If there is not what we need in the "Column" drop-down list Column options, or there are some special column requirements. For example, set the column widths of the columns to be different. We can customize the columns.
The method is: click [Layout]-[Column]-[More Columns] to open the "Column" dialog box. Here you can customize the number of columns and column widths, and apply the columns to the entire document or the current section to meet various column requirements.
Tips:When setting column widths to be unequal, note: Be sure to uncheck the [Equal column widths] option to customize the column widths !
3. Word divides columns evenly
#If after the columns are divided, the height of the columns on both sides is not equal, or there is a large blank space on the right side of the page ,as the picture shows.
Why does this happen:
When Word is divided into columns, the system defaults to filling it with the first column. It will be ranked in the second and third columns. If our current text is less, the current situation will occur. Faced with such a situation, we can add continuous section breaks to it.
So, how to distribute the content of each column evenly?
Method:Place the cursor at the end of the columnar text and execute the [Page Layout]-[Separator]-[Section Break]-[Continuation] command Now you can divide the columns into equal heights, and the effect is as shown in the figure.

4. Set column dividers
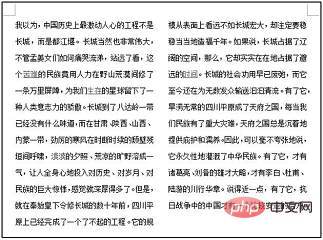
In typesetting, we often see columns. There is a line in the white space dividing the content. as the picture shows.

Where did this line come from? It's very simple. Just open the "Column" dialog box and check the "Separator Line" option.
Recommended tutorial: "Word Tutorial"
The above is the detailed content of Sharing practical Word skills: See how to set up columns in a document. For more information, please follow other related articles on the PHP Chinese website!
 How to change word background color to white
 How to delete the last blank page in word
 Why can't I delete the last blank page in word?
 Word single page changes paper orientation
 word to ppt
 Word page number starts from the third page as 1 tutorial
 Tutorial on merging multiple words into one word
 word insert table