Found a total of 10000 related content

How to print WPS book folds_A list of steps to print WPS book folds
Article Introduction:1. After opening the interface first, click the page layout menu above. 2. Then find the margin column. 3. Click the custom margin button under the submenu. 4. Then change the option in the multi-page section to book folding effect, and click the OK button to save. 5. Finally, click the Print button in the main menu to complete printing.
2024-04-18
comment 0
665
How to sort Excel by first letter How to sort Excel by first letter
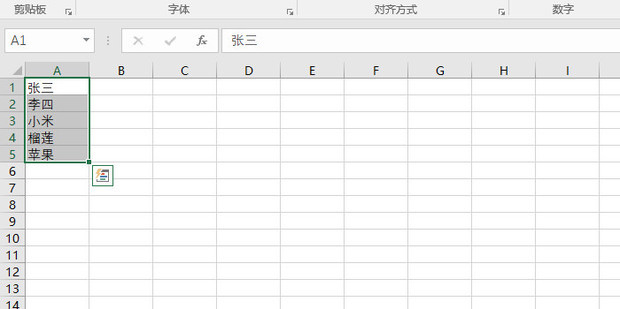
Article Introduction:How to sort excel table by first letter? In fact, it is very simple. First, select the cells that need to be operated, click Start - Sort and Filter at the top of the page, then select Custom Sort, select options in the new window, and finally click Alphabetical Sort in the method option, and click OK. Detailed steps are below. Setting method 1. First open Excel. 2. Select the content area. 3. Click Custom Sort under the Sort and Filter drop-down button. 4. Click Options. 5. Select alphabetical sorting and click OK. 6. Click the OK button. 7. This is done.
2024-08-27
comment 0
308

Button
Article Introduction:A button is a control that triggers an action event when clicked. JavaFX provides regular buttons, toggle buttons, check box buttons, and radio buttons. The common features of these buttons are defined in ButtonBase and Labeled classes as shown in Fi
2024-07-16
comment 0
1281
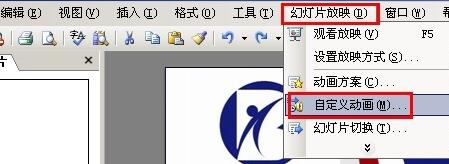
How to set special animation effects for PPT_How to set special animation effects for PPT
Article Introduction:1. Select the [Slide Show → Custom Animation] command. 2. Open the [Custom Animation] pane. 3. Select the object in the slide. 4. Then click the [Add Effect] button. 5. Select the [Enter] effect. 6. Then select the [Other Effects] command. 7. Different types of [Enter] effects are provided in the [Add Entry Effect] dialog box. 8. You can select the effects according to actual needs, and finally click the [OK] button.
2024-04-17
comment 0
360
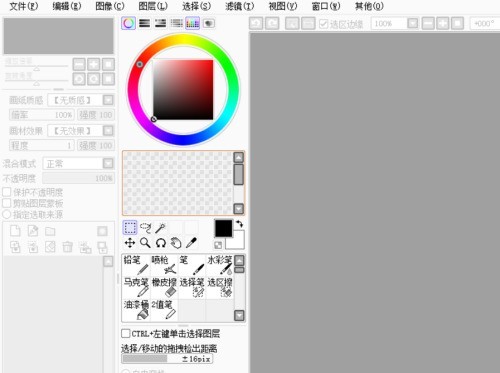
How to zoom in and out in sai_Tutorial on zooming in and out in sai
Article Introduction:1. First open the sai software. 2. Then click File on the menu bar, click the New File button, set the graphic size and click OK. 3. Then select the pencil tool and draw an outline in the graphic. 4. Click the selection tool, select the outline you just drew, and click the custom transformation button on the right. 5. After final resizing, click the OK button under Customize to complete.
2024-04-08
comment 0
986

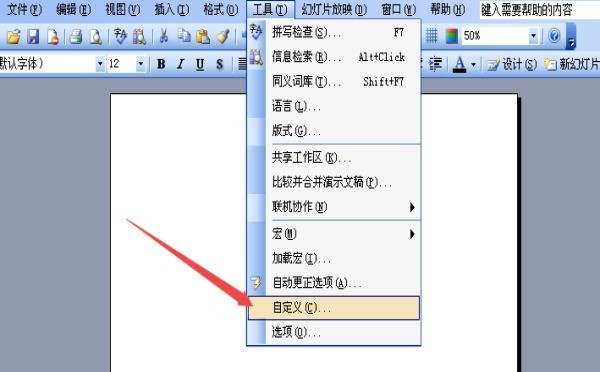
Steps for customizing the position of the toolbar in PPT format
Article Introduction:1. Click the [Tools]-[Customize] command in the menu bar. 2. Or click the [View]-[Toolbar]-[Customize] command in the menu bar. 3. Select the [Command] tab in the customization dialog box. 4. Click the Rearrange command button. 5. Click the drop-down list in the menu bar and select Format. 6. Click the command you want to move on the left, and select Move Up or Move Down on the right.
2024-03-26
comment 0
1222
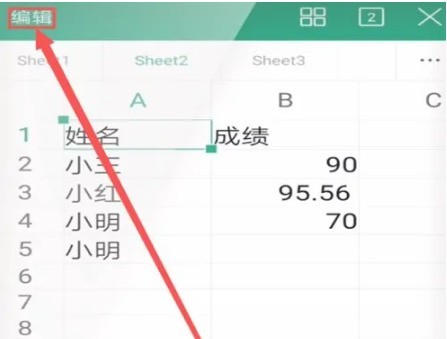
How to set cell format in wps_How to set cell format in wps
Article Introduction:1. First open the required table from wps and click the edit button on the upper left to enter editing mode. 2. Then click the toolbar button in the lower left corner, slide down the pop-up interface to find and click Format Cells. 3. Finally, select the number option in the pop-up menu, then change the option in the category to custom, and click OK after making the selection.
2024-04-18
comment 0
866

Steps to enter percentage in wps form
Article Introduction:1. Place the mouse above the work column where you want to enter the score, and left-click to select the entire work column or some cells. 2. After selecting, right-click and the options as shown in the figure will appear, and find the cell format. 3. The cell format window appears as shown in the figure, and find the custom option in the number column. 4. Click Customize, and the type column will appear. 5. Pull down to find the percent sign button. After selecting it, click OK. 6. After setting the cell format, enter the number in the set cell and it will become a percentage.
2024-03-28
comment 0
1272
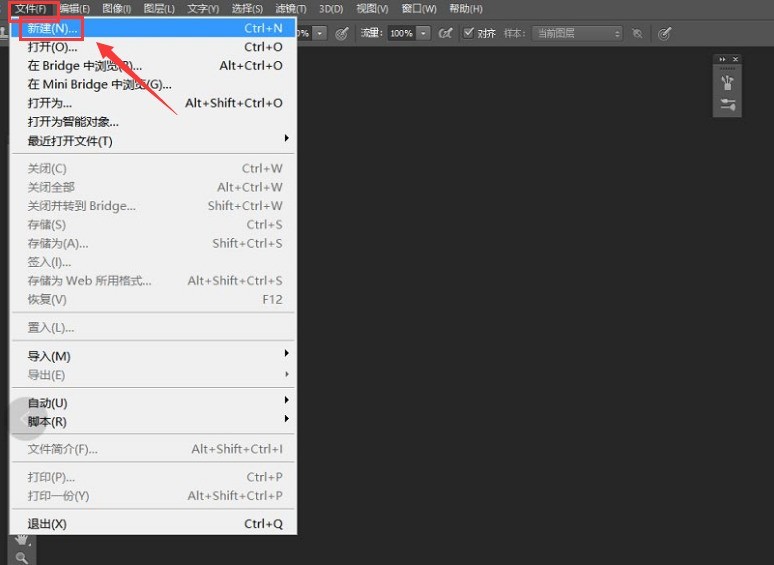
How to set file storage size in ps_Tutorial on setting file storage size in ps
Article Introduction:1. First click the New button in the File menu to create a custom blank canvas. 2. Then after completing the creation, continue to click the PDF Presentation button in the Auto column of the File menu. 3. Then check the Add open file option in the settings window that opens, and click the Save button. 4. Finally, change the preset to the smallest file size and save it.
2024-06-06
comment 0
768
How to customize shortcut keys in OBS Studio_How to customize shortcut keys in OBS Studio
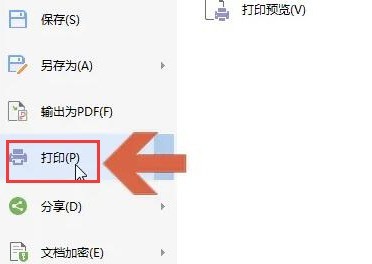
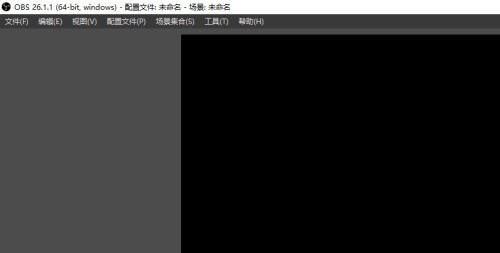
Article Introduction:1. Enter the main operation interface window of the "OBSStudio" tool software. 2. Select the "File"->"Settings" menu option. 3. After that, the "Settings" operation dialog box will pop up. 4. Select the "Hotkey" menu option. 5. Move the cursor to the text box of a function item, press the customized function shortcut key combination on the keyboard, and then click the "Apply" button to take effect.
2024-04-09
comment 0
778

Operation steps for drawing hyperbola using Geometry Sketchpad custom tool
Article Introduction:Method 1. Determine the center method. Click the menu and select the hyperbola tool. Open the geometry board, click the [Custom Tools] button on the left toolbar, and select the [Conic A] - [Hyperbola] tool in its tool menu. Step 2: Click the mouse in the blank space of the right working area to determine the center of the hyperbola, then drag the mouse to determine the focal length, and then click the mouse to draw the hyperbola. Method 2: Focus + Point The steps of the drawing method are as follows: Click the [Custom Tool] button on the left toolbar, select the [Conic A] - [Hyperbola (Focus + Point)] tool in its tool menu, and click in the blank position on the right Click the mouse twice to determine the position of the left and right focus, and then drag the mouse to determine the hyperbola shape, as shown in the figure. Method three, focus
2024-04-17
comment 0
1218
Specific steps to hide cells with zero data in Excel
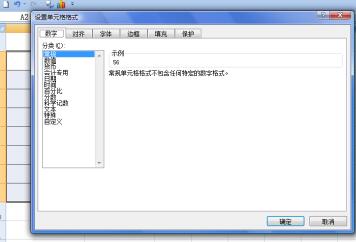
Article Introduction:As shown in the figure, this example requires that the zero data in the table be hidden, and other cell data will not be affected. Click the left mouse button, drag the mouse to select the data cell area, click the right mouse button, and select the [Format Cells] option from the pop-up drop-down menu. The [Format Cells] dialog box pops up. Select [Custom] on the left, fill in [ ] in [Type] on the right, and click the [OK] button after setting. Return to the worksheet, you can see the selected cell range, and the zero values in the cells are hidden, while other data is not affected. If you want to restore data in cells, you can select [G/General Format] in the [Type] of the [Customize] option in the [Format Cells] dialog box, and then click the [OK] button. Return to the worksheet, you can
2024-04-17
comment 0
1025

The specific process of turning on the review function in Word 2013
Article Introduction:We need to open the word2013 document window first, click the [File] → [Options] command, and then in the [Word Options] dialog box that opens, click the [Customize Ribbon] button on the left. Next, we open [Auto Define Ribbon] tab, select the [Review] checkbox in the [Main Tab] area of the [Customize Ribbon] list on the right to display the [Review] tab. Deselecting the [Review] checkbox will not display the [Review] tab. After setting, click the [OK] button.
2024-06-06
comment 0
531
Introduction to how to change text direction in Excel
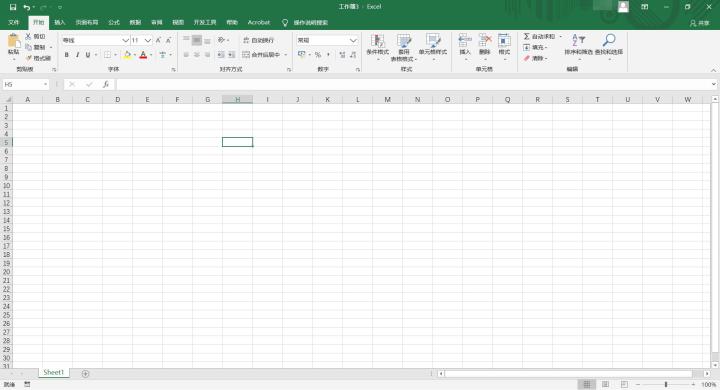
Article Introduction:1. Click to open Excel to create a new table, and then set up the next step. 2. Enter the content that needs to be set for the text direction, then select the cell, find the button to set the direction, and select the option that needs to be set. Here, select the second [Clockwise Angle]. 3. The effect is as shown in the picture, the text direction has changed. 4. If you want to customize the angle of the text direction, you can select the cell that needs to be set, click the Settings button, and select the option [Set Cell Alignment Direction]. 5. In the settings window of [Format Cells], click [Alignment] settings, adjust or enter the angle of the text direction in the [Direction] settings, and finally click the [OK] button to complete the settings. 6. The effect is as shown in the figure, the direction of the text has changed to the previous step
2024-04-25
comment 0
973

Pros and cons of custom PHP array reversal algorithm
Article Introduction:Advantages of custom PHP array reversal algorithm: flexibility, efficiency, educational value; disadvantages: complexity, difficulty of maintenance. There are trade-offs when choosing, with built-in functions generally being simpler, while custom algorithms are better suited for customization, efficiency, and educational purposes.
2024-04-28
comment 0
394
