In the previous article "Teach you how to use PS to make a ripple creative font effect poster (Summary)", I introduced how to use PS to make a ripple creative font effect poster. The following article will share with you how to use PS to add paint effects to fonts on creative posters. Let’s see how to do it together.
Fonts add paint effect to creative posters. The picture is as follows
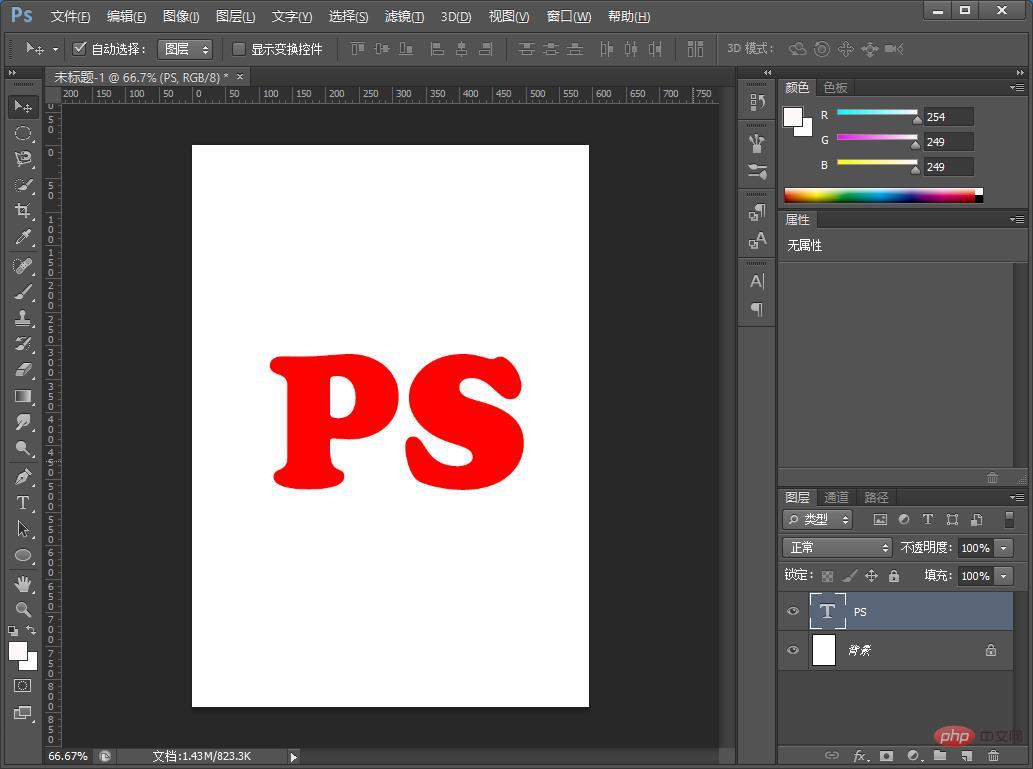
1. Open ps, create a new document, and then type the prepared text.

#2. Find a suitable picture and drag it in, then click on the selection of the picture layer.
#3. Right-click and select Create Clipping Mask.
#4. Select the text layer and picture layer, hold down [Ctrl e] and merge them together.
5. Then click [Filter]-[Liquify] to enlarge the brush and apply it in one direction. You can be casual.
#6. Drag down on the edge of the letter to create the feeling of paint dripping.
#7. You can add copywriting and the effect is completed.
Recommended learning:PS video tutorial
The above is the detailed content of PS Basics: How to add paint effects to fonts for creative posters (share). For more information, please follow other related articles on the PHP Chinese website!