In the previous article "Let’s talk about how to use PS to create realistic seal effects (skill sharing)", I introduced you to the method of using PS to create realistic seals. The following article will introduce to you how to make a photo into a relief effect. Let’s take a look at how to do it.

1. Open the imported material in PS, copy a layer [Ctrl J] and remove the color [Ctrl Shift U].
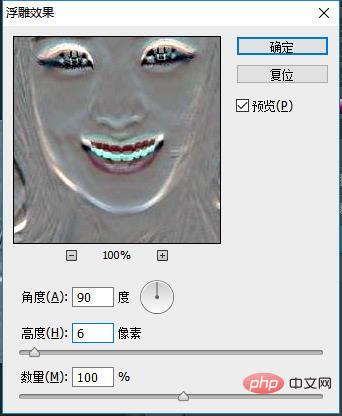
2. Add a relief effect filter to it, go to Filter>Stylization>Relief Effect in the menu bar.
#3. Relief window, set the parameters to an angle of 90 degrees and a height of 6 pixels.

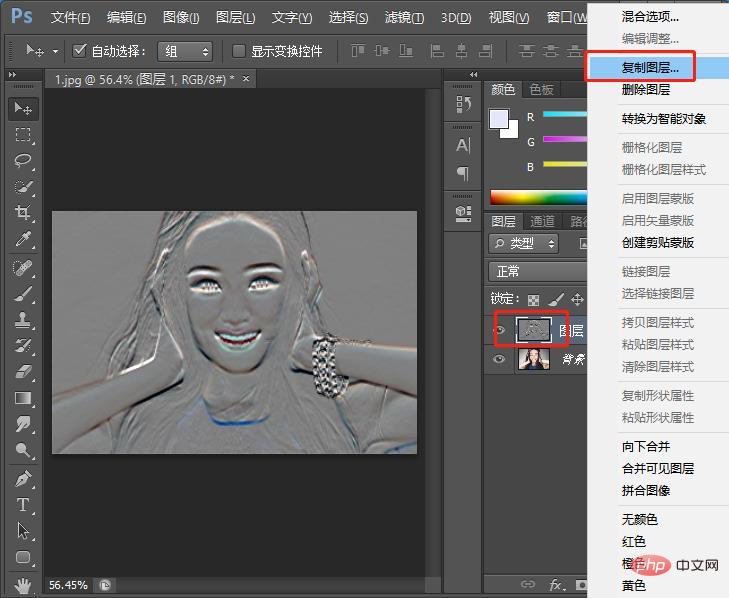
#4. Invert the layer [Ctrl I] and copy the layer.

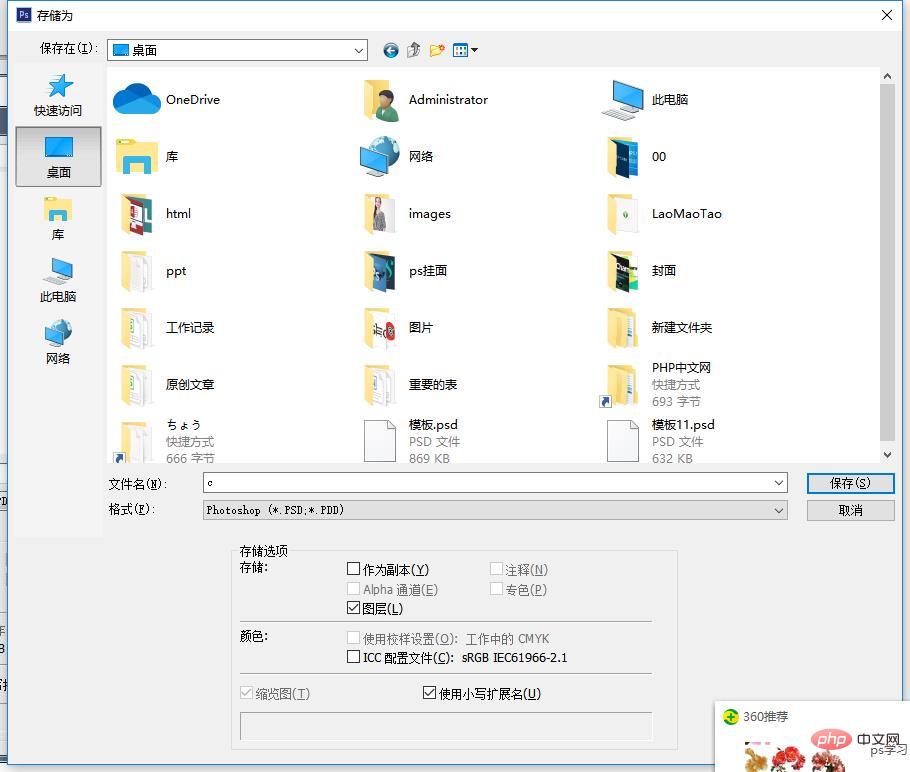
5. Set to New, I named it c
6. Open the document [Filter]> ;[Blur]>[Gaussian Blur] Perform Gaussian blur.
#7. Set the radius in the window to 2.
8. Save.

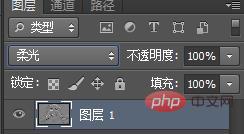
#10. Back to the document just now, we adjust the blending mode of layer 1 to soft light.

#11. Place the wooden texture material and adjust the position and size.
#12. Select layer 2 and replace it.
13. Select the file you just created.
The final effect is as follows:
Recommended learning:PS video tutorial
The above is the detailed content of Teach you step by step how to use PS to create relief effects (share). For more information, please follow other related articles on the PHP Chinese website!