


This time I will bring you a detailed explanation of the steps for using WebUploader in Bootstrap. What are the precautions for using WebUploader in Bootstrap? Here is a practical case, let's take a look.
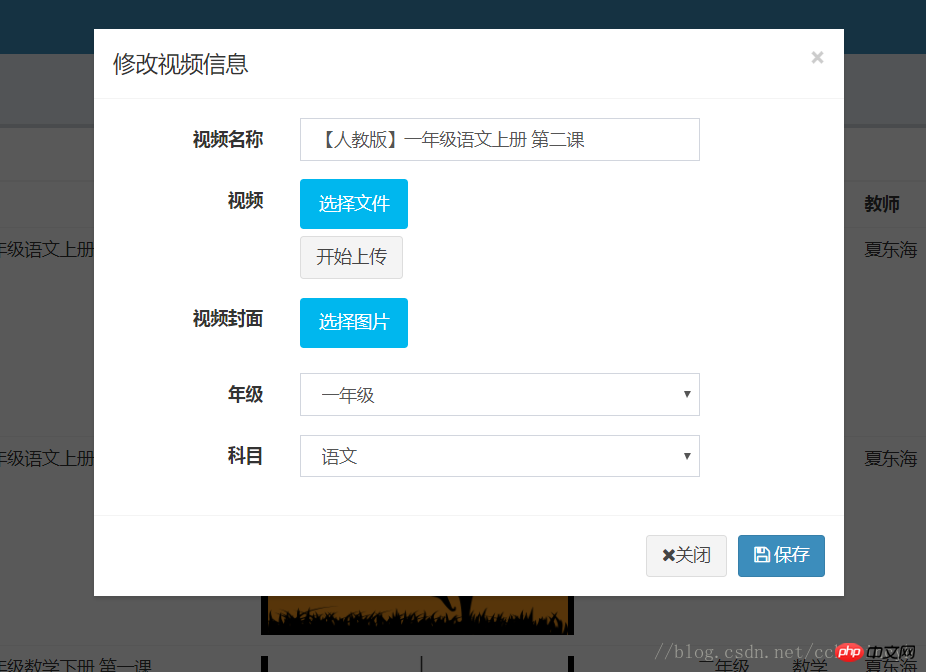
In my graduation project, there is a requirement to display the WebUploader upload button in the Bootstrap blur box. The effect is as follows:
[Related video recommendations: Bootstrap Tutorial】
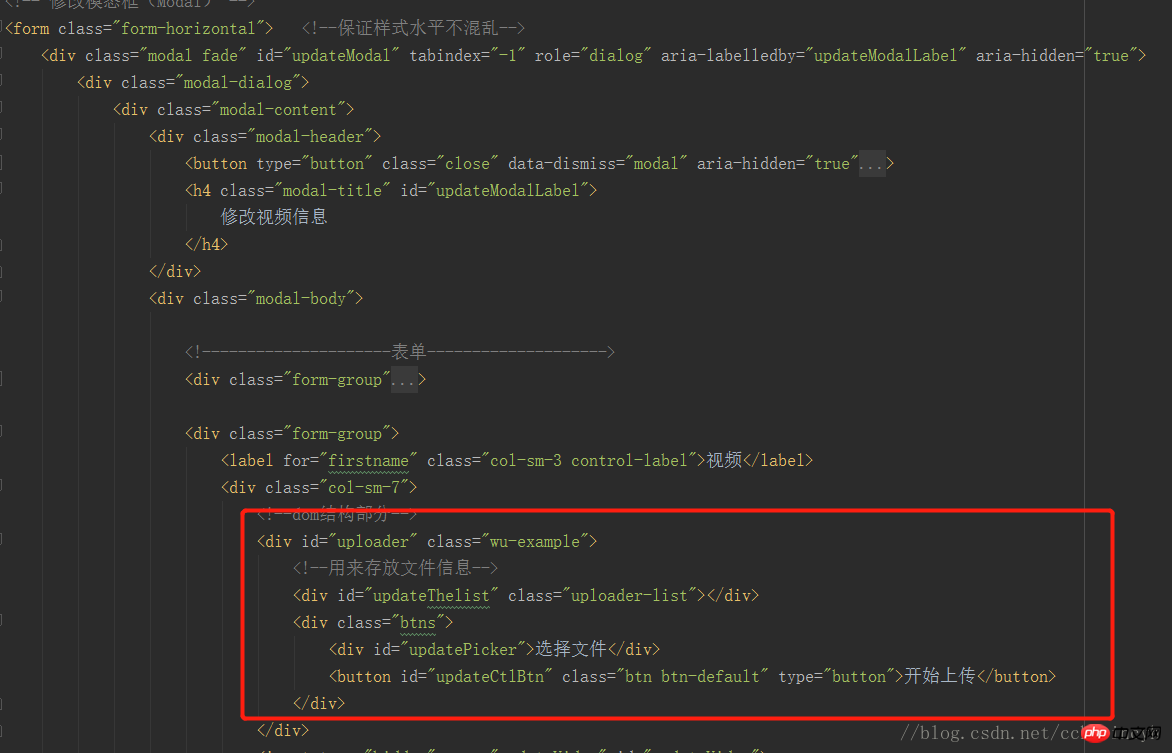
We inserted the uploaded component directly into the blur box of Bootstrap:
However, the actual effect is that when the blur box appears, the upload button cannot be clicked.
However, after I pressed F12 to check if there was an error in the console, WebUploader could actually pop up the file selection box, and other functions were normal.
After reviewing the data, I found that the reason for the bug is that the length and width of the [Select File] button are both 0, and the web page needs to be re-rendered. F12 happens to have the function of rendering web pages. The solution is to re-render or instance Uploader. Need to be re-instantiated: uploader.refresh()
The first idea is to register the click event for the button of the fuzzy box, and do it when the fuzzy box pops upuploader.refresh(); However, there seemed to be other bugs after I made the modifications.
The final solution is to listen to the event triggered by the blur box, and then refresh the component:
$('#updateModal').on('shown.bs.modal',function() {//提示框显示时候触发
    uploader.refresh();   //刷新当前webUploder
});I believe you have mastered the method after reading the case in this article. For more exciting information, please pay attention to other php Chinese websites related articles!
Recommended reading:
Vue implements dynamic refresh of Echarts component
Use selectpicker to implement drop-down box in bootstrap
The above is the detailed content of Detailed explanation of the steps to use WebUploader in Bootstrap. For more information, please follow other related articles on the PHP Chinese website!


![[Web front-end] Node.js quick start](https://img.php.cn/upload/course/000/000/067/662b5d34ba7c0227.png)


