
Have trouble drawing auxiliary grid lines? PHP editor Xinyi brings you a tutorial on creating auxiliary grid lines in ArcGIS to solve your drawing troubles. This tutorial will explain in depth the steps to create auxiliary grid lines, from creating a new map document to setting grid line intervals and styles. It will guide you step by step to easily master the auxiliary grid line drawing skills and improve your cartography efficiency.
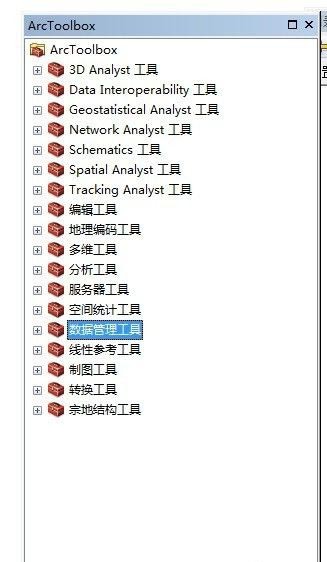
1. First, open arcgis and open arctoolbox.
2. Find the data management tool - feature class - create fishing net tool in the toolbox.
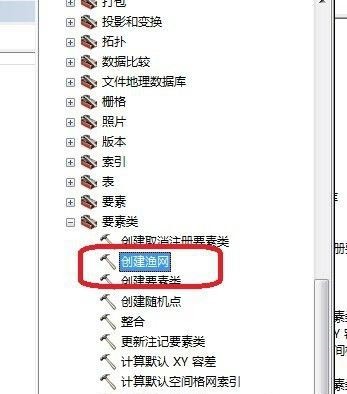
#3. After the tool is opened, enter the save location in the first column.
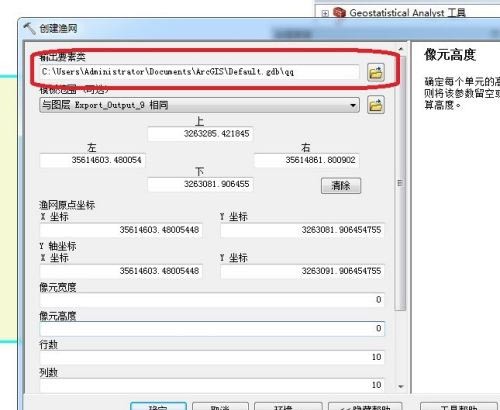
4. Enter the saved name in the second column of the window.
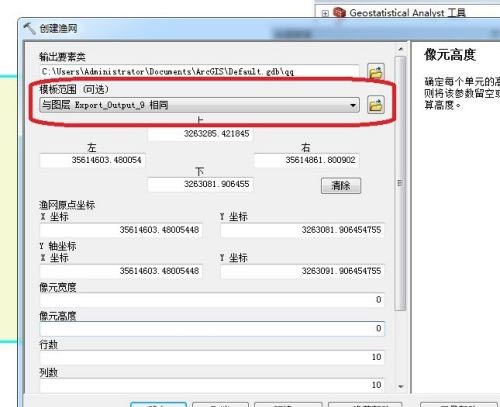
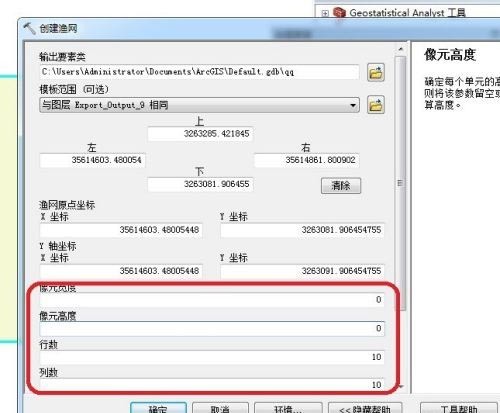
5. In the four columns in the middle of the window, enter selectively. You can choose the first 2 or the last 2. If you choose the last 2, the number of entries is as shown in the figure. Fill in the number of entries according to your needs.
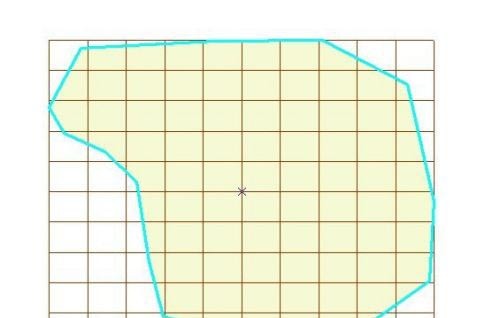
6. Finally, the tool is finished running. As shown in the figure, the quick grid creation is completed.
The above is the detailed content of How to quickly create auxiliary grid lines in arcgis Tutorial on creating auxiliary grid lines in arcgis. For more information, please follow other related articles on the PHP Chinese website!


