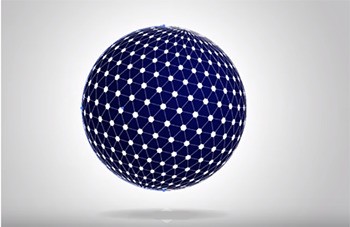
Want to create a stunning technological grid-like sphere? This guide will provide you with step-by-step tutorials on how to use AI tools to easily create captivating spheres that will make your designs stand out. Starting with setup, we'll walk through how to use AI tools to build the mesh structure of a sphere from scratch and adjust it to get the ideal look. Whether you're new to design or a seasoned pro, you're sure to find useful information in this tutorial to help you turn your ideas into reality.
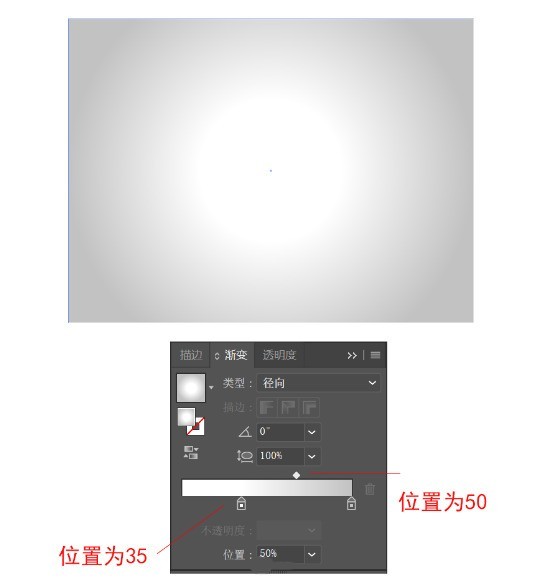
First create a new canvas of 800X600px, then use the rectangle tool to draw a rectangle of the same size as the background, and fill the color value with #000000. Then we use the gradient tool to draw a radial gradient from #FFFFFF to #C2C2C2 in the picture:

Continue to select the ellipse tool and click on the canvas. Fill the width and height with 340px, and the color value is #040456. Then use the Ellipse Tool to draw an ellipse below the sphere as the sphere's shadow, with a color value of #000000 and set the opacity to 20%.

Select the shadow, Appearance > Add New Effect > Stylize > Feather, with a Radius of 10px.

Select the Polygon Tool and click elsewhere on the canvas, set the radius to 40px, the number of sides to 3, the stroke thickness to 0.3px, the stroke color to white, and the opacity to 50% . Continue to use the polygon tool, set the radius to 12.487px, the number of sides to 6, remove the stroke, fill it with white, copy two of them and place them on the three corners of the triangle, and combine them (Ctrl G), as shown in the figure below.

Select the pattern, set the appearance>Add new effect>Distort and Transform>Transform

Select the pattern again, set the appearance >Add new effect>Distort and Transform>Transform

The final effect is as follows, then combine the pattern to create the symbol.

Return to the canvas, select the blue circle, use the Direct Selection tool to point the anchor point in the middle right part of the circle, and click the Delete key to delete, leaving only the left half of the circle.

Select the semicircle, go to Appearance > Add New Effect > 3D > Orbit, and remember to check the box before previewing.

Open the map, select the previously created symbol, adjust the position and size of the symbol, and finally adjust the rotation angle of the graphic.


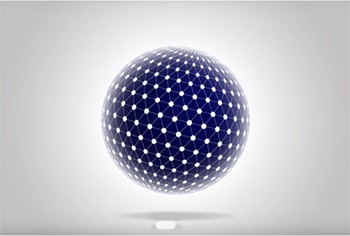
Finally draw a 340px, black to white radial gradient circle covering the blue sphere, and set the opacity to Screen. By adjusting the gradient position of the outer circle, you finally get a 3D sphere with a full sense of technology.


The above is the detailed content of How AI makes a super cool technological mesh sphere - AI design mesh sphere tutorial. For more information, please follow other related articles on the PHP Chinese website!


