
When editing a WPS document, adding graphics from the Internet can enrich the document content and enhance the visual effect. To this end, PHP editor Yuzai has specially compiled a detailed step-by-step tutorial with pictures and text on inserting Internet graphics into WPS, and displays it step by step so that everyone can easily master it. The tutorial will be introduced one by one below, please continue to pay attention to the details.
Open the wps software and enter the wps operation interface
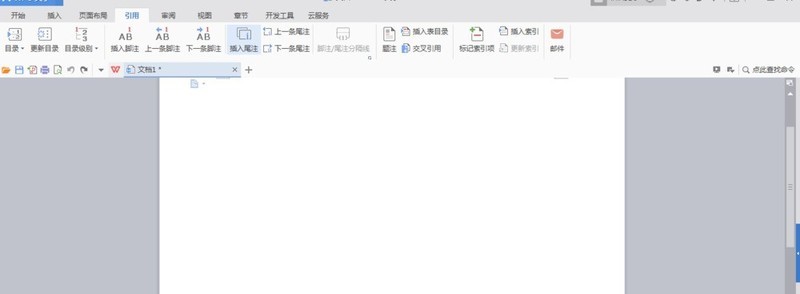
Find the insert option from the top main menu bar. After opening the insert option, you can see the shape function. Click to open the shape to find the Internet graphic.


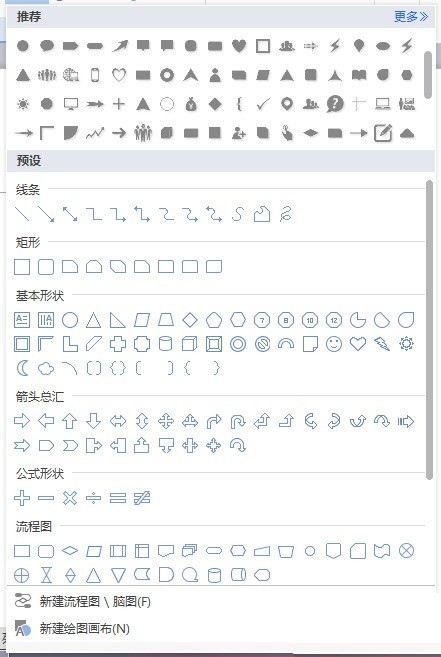
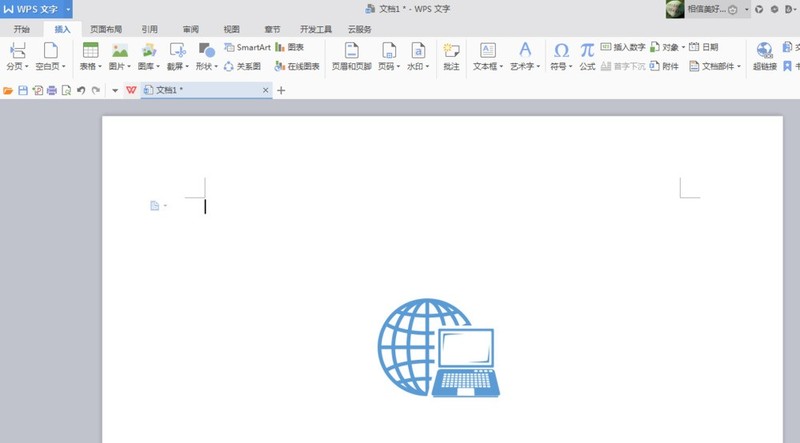
After selecting the Internet in the shape, you need to add it to the blank space of WPS. It can also be said that we want to add Just click the left mouse button on the Internet graphic
We can adjust the size of this Internet graphic by clicking on the small points on the boundary of the graphic and then clicking on these points to stretch it. You can change the size of the graphic at will
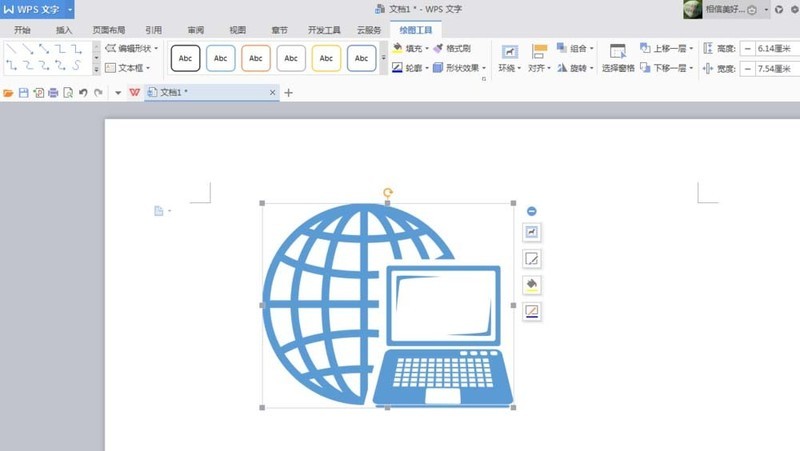
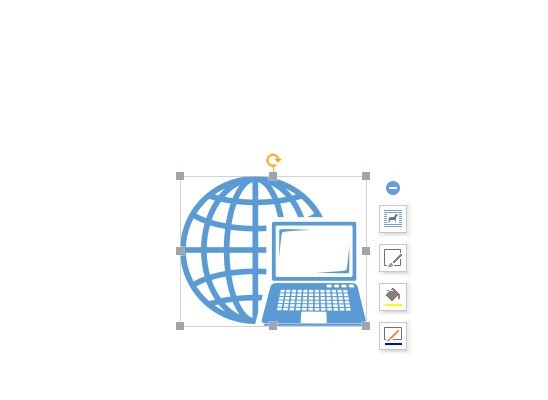
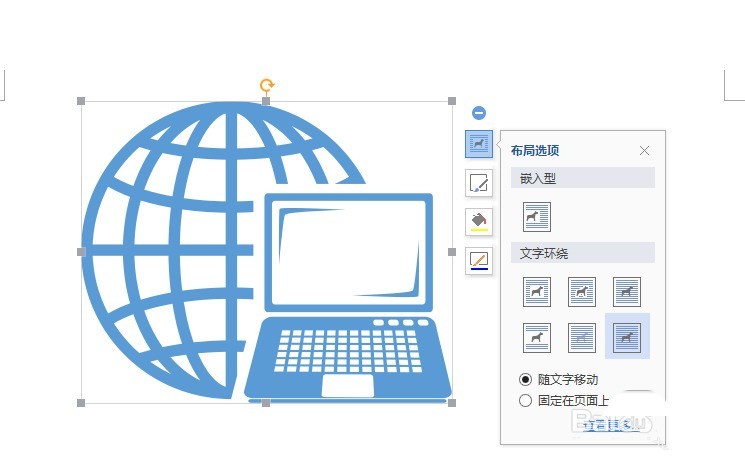
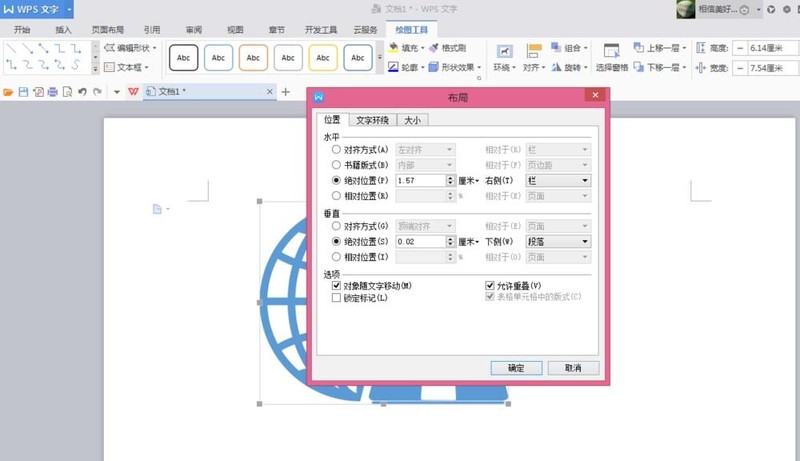
You can also set the specific layout of the graphic. After clicking on the graphic, the small operation bar next to it will appear. Click on the top layout option. Ability to choose specific layout
The above is the detailed content of Graphics and text steps for inserting Internet graphics into wps. For more information, please follow other related articles on the PHP Chinese website!


