Afraid of the cumbersome static IP configuration in Win7? PHP editor Zimo has some advice for you! This tutorial will detail the steps to configure a static IP address on a Windows 7 system, including: How to access the network connection properties How to obtain the IP address, subnet mask, and gateway information How to manually enter the static IP settings By following this guide, you will easily Assign a static IP address to your Win7 computer to solve network connection problems.
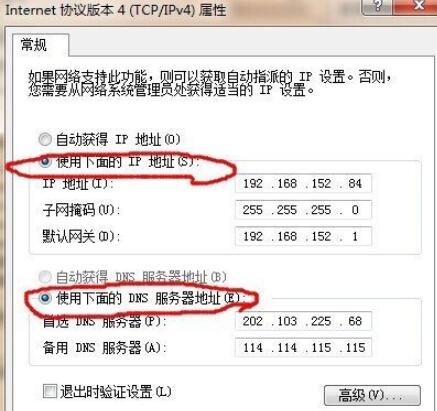
The first column [IP address]: fill in your valid IP address. Here, I will take 192.168.152.84 as an example, but be sure to fill in your valid IP address.

The second column [Subnet Mask] does not need to be filled in manually. Just click on it and it will be filled in automatically for you.

In the third column [Default Gateway], change the last part of your IP address to 1, where the IP is: 192.168.152.84, then fill in the default gateway: 192.168.152.1, assuming The IP is: 192.168.155.6, then fill in the default gateway: 192.168.155.1.

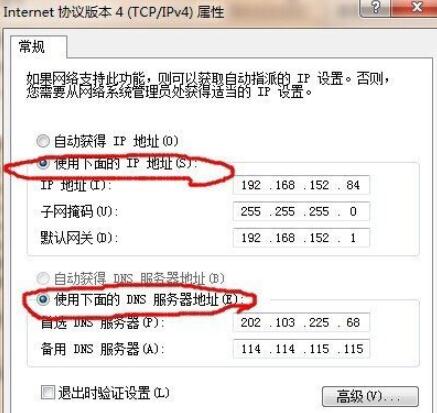
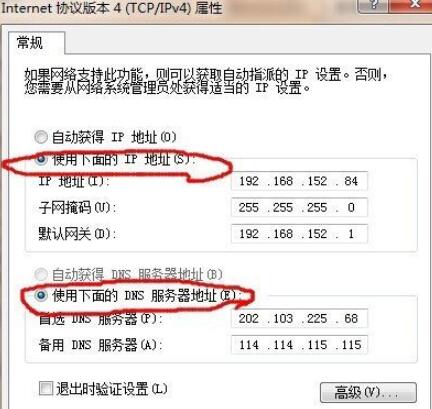
As for the [DNS Server] field, you can fill it in as shown in the picture below.

The above is the detailed content of How to fill in static IP in WIN7. For more information, please follow other related articles on the PHP Chinese website!


