Want to evenly distribute graphics around the canvas, but don’t know the specific steps? Adobe Photoshop provides a rotation tool that allows you to easily achieve this operation. In this article, PHP editor Baicao will introduce you to the specific steps of rotating average distribution graphics in Photoshop. With this guide, you'll master the key techniques of this technique to create visually impactful images with ease. Read on to learn how to evenly distribute graphics and take your designs to the next level.
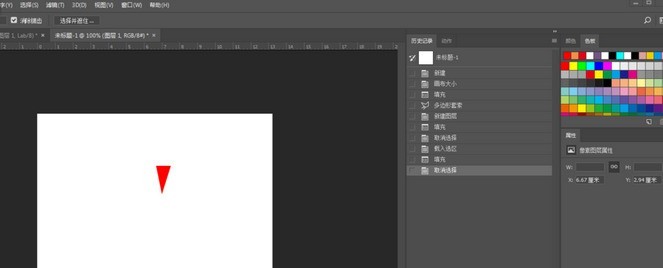
First we need to open the Adobe Photoshop software, create a new RGB picture of 600 times 600 pixels, create a new layer, and use the Lasso tool to create a new selection that can be of any shape. Here I take a triangle as an example. Filled in red.

Then we copy a layer, and then the critical step is to place the center point of the change tool on the axis you need to rotate. The center point in the picture below.

Then we click the Alt key and click the mouse without placing it on the center that needs to be rotated, as shown below.

Rotate another 45 degrees, as shown below

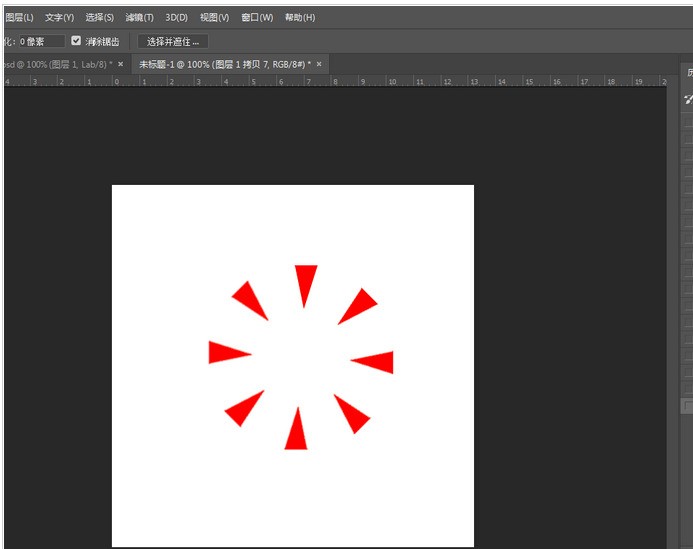
At this time, Ctrl Alt T copies the angle of rotation of the upper layer, all in the same proportion. As shown in the picture below

The same shape will look like this, such as the picture below.

The following figure

The above is the detailed content of Specific steps to rotate evenly distributed graphics in Adobe Photoshop. For more information, please follow other related articles on the PHP Chinese website!


