
Do you know how to make realistic feather models with Blender? Blender is a powerful 3D production software that provides a wide range of tools and options to help you create stunning models. One of the much-loved features is its particle system, which can be used to create realistic feathers. In this guide, PHP editor Xiaoxin will take you step by step to understand the process of making feather models in Blender, including how to set up the particle system, adjust feather parameters and optimize rendering settings, allowing you to easily create exquisite feather models.
Open gimp and create a blank picture.
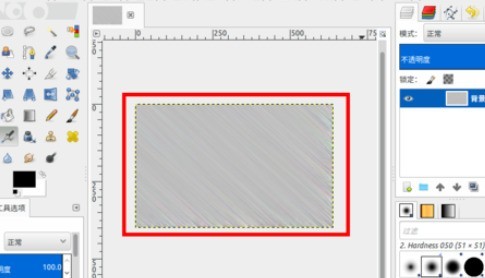
Create fiber effects through noise and motion blur.
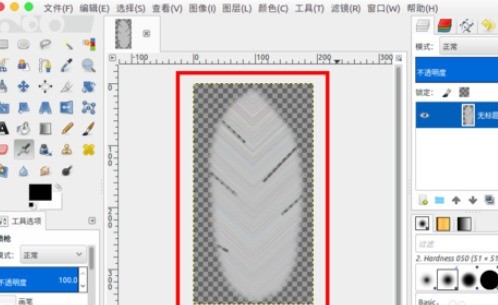
Get the parts, flip them over and put them together to look like feathers, then feather them all around and save them as png images.
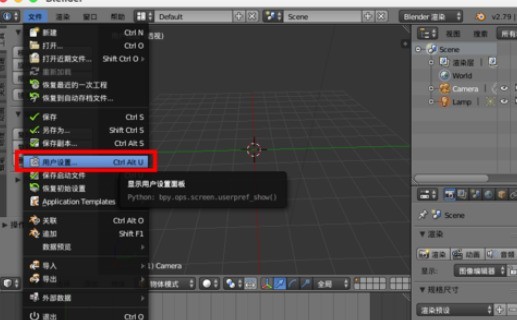
Open blender and select [User Settings] in the menu.
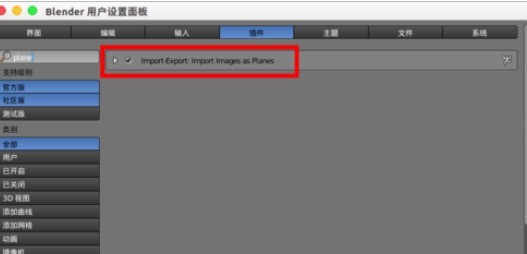
Find [Images as Planes] in [Plugins] and check it.

Return to the scene, shift a to select [Grid]--[Images as Planes], and find the feather image we have imported.
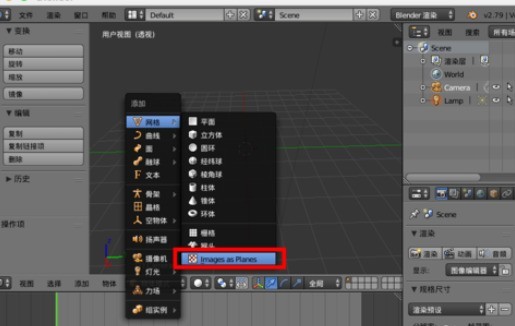
A plane will then be created in the scene.
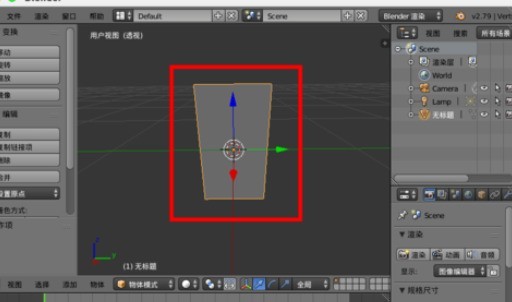
shift z You can see the feather effect in the rendering preview.
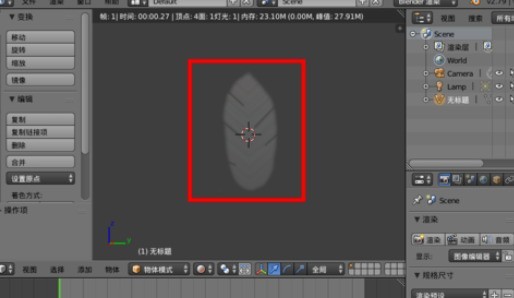
Edit and subdivide this plane to create a three-dimensional feather state.
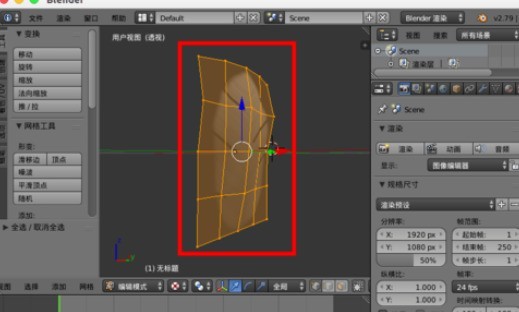
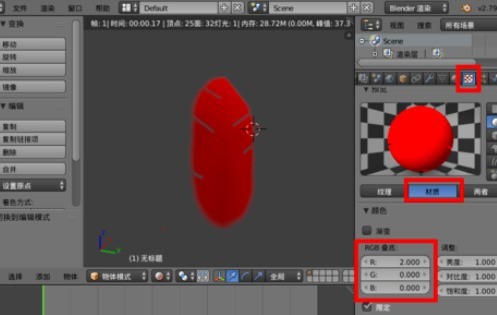
In the [Material] of [Texture], you can set [RGB Overlay] to adjust the color of the feathers.
The above is the detailed content of How to create a feather model using blender. For more information, please follow other related articles on the PHP Chinese website!


