
Want to move the pears? PHP editor Yuzi teaches you how to make a winking pear in Photoshop. This tutorial will guide you step by step through this fun animation, even if you are new to graphic design. From creating a canvas to adding animation effects, we'll cover it all so you can make your own unique winking pear. Read on to unlock the secrets to bringing your images to life.
Start Photoshop and open a pear background image.
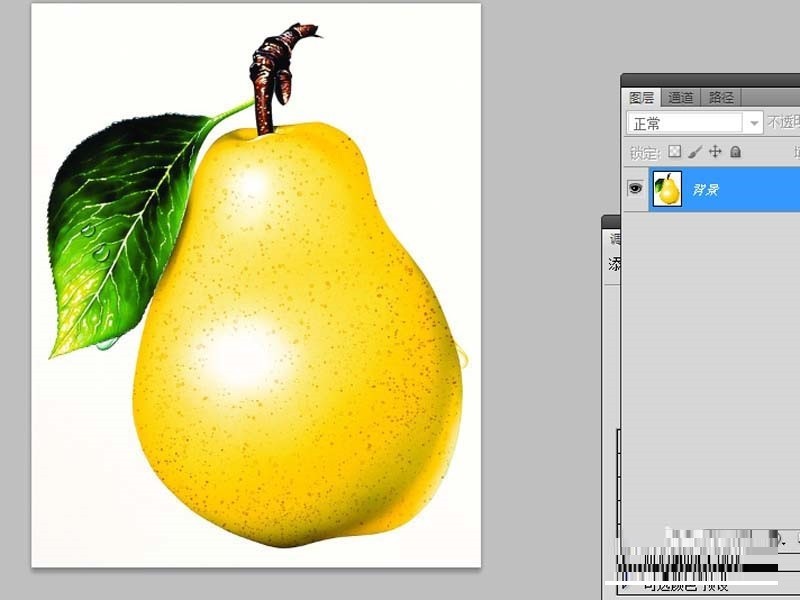
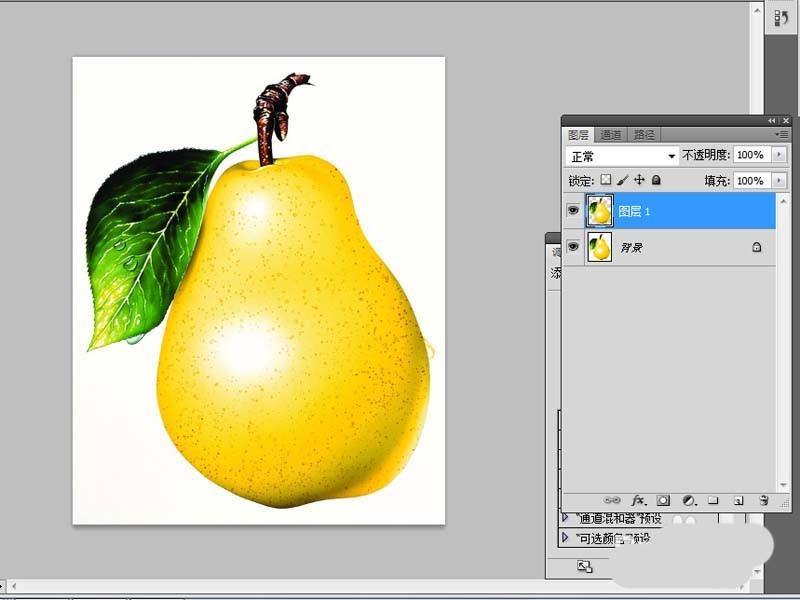
Select the magic wand tool, select the background and execute the Select-Reverse command, select the pear, execute ctrl j to copy and obtain layer 1.
Drag a group of materials into ps, rasterize the layers, and adjust the size and position in sequence.
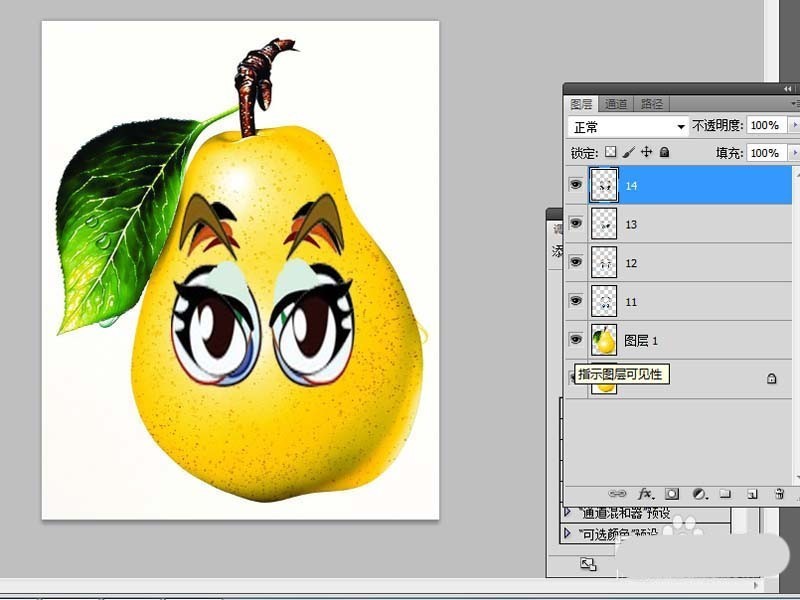
Change the blending mode of the above four layers to Multiply and execute the Window-Animation command.
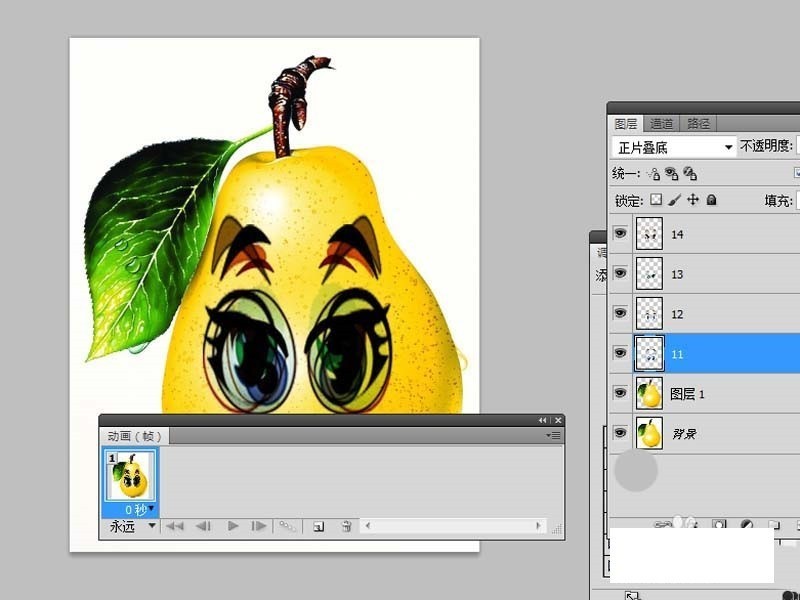
Execute the Create Frames from Layer option, select all frames, place layer 1 in all frames, and set the delay time to 0.5 seconds.
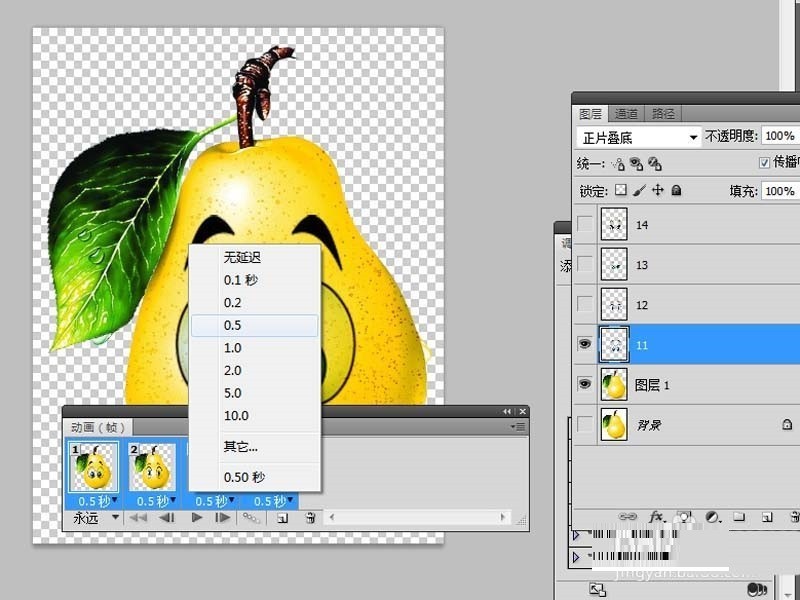
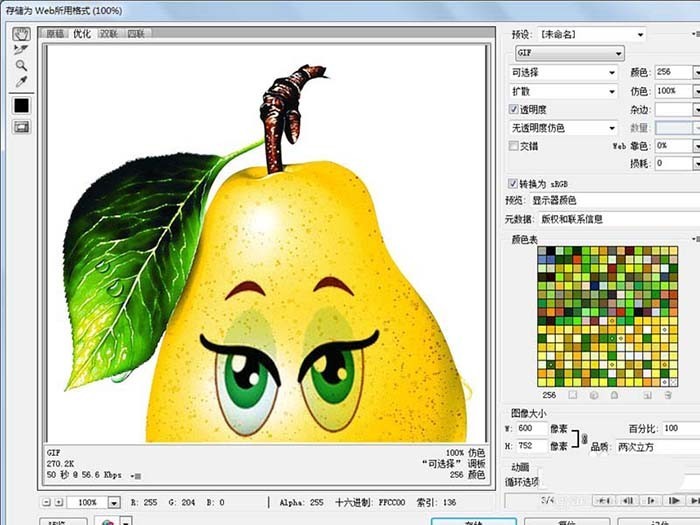
Select the first two frames and delete them, execute File-Save as format for web, and save them in gif format.
The above is the detailed content of How to create a winking pear using Photoshop. For more information, please follow other related articles on the PHP Chinese website!
 Blue screen code 0x000009c
 A collection of common computer commands
 You need permission from admin to make changes to this file
 Tutorial on turning off Windows 11 Security Center
 How to set up a domain name that automatically jumps
 What are the virtual currencies that may surge in 2024?
 The reason why header function returns 404 failure
 How to use js code


