
php editor Strawberry brings you a tutorial on creating a crystal ball effect in Photoshop. The crystal ball effect is a very artistic effect that is often used in advertising design and graphic design. In this tutorial, we'll learn how to use Photoshop's tools and effects to create a realistic crystal ball effect, including how to make a sphere, how to create a glass material, and how to add reflections and shadows. Follow this step-by-step tutorial and you can easily create a beautiful crystal ball effect!
1. After putting the photo into Photoshop, CTLR J copies two layers, namely [Layer 1] and [Layer 1 copy]
2. Copy [Layer 1] 】Use [Filter]-[Blur]-[Gaussian Blur].
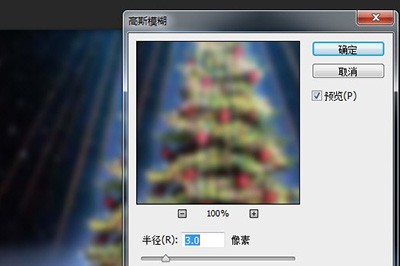
3. Use the [Elliptical Marquee Tool] on [Layer 1 Copy] to select the part of your photo that you want to enter the crystal ball. After selection, CTRL SHIF I performs inverse selection. Then DEL deletes. Invert again to return to the circular marquee.

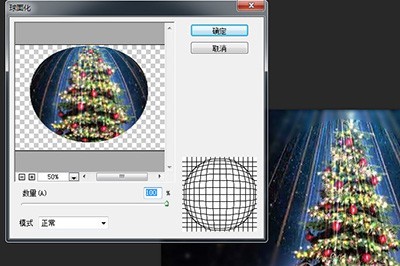
4. Use [Filter]-[Distort]-[Spherization] on [Layer 1 Copy].
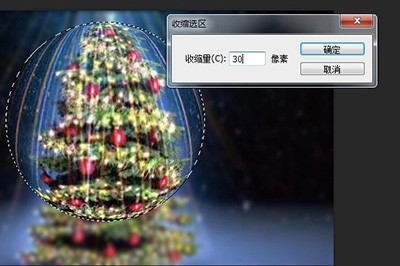
5. Then [Select]-[Modify]-[Shrink Selection], the shrinkage amount is recommended to be 30.
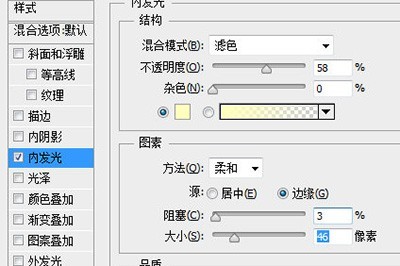
6. Finally, use [Layer Style]-[Inner Glow], set the opacity to 58, the blocking to 3, and the size to 46 pixels.
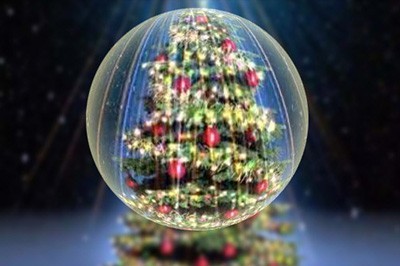
The above is the detailed content of How to create a crystal ball effect in Photoshop. For more information, please follow other related articles on the PHP Chinese website!


