How to take screenshots of Lenovo computer win10 system? When we are working, shortcut key screenshots can save a lot of worry, save time and be convenient. Today, the editor has compiled relevant screenshot methods. I hope it can help everyone. The following is Get up and watch.


1. Shortcut key screenshot of the computer itself
1. Capture full screen
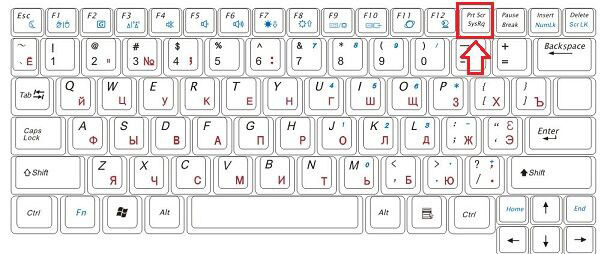
First find the picture you want to capture, click the Print Screen key (or prtsc) key on the keyboard, and then start "Paint (Start-Programs-Accessories)", press Ctrl V or "Edit-Paste" can capture the current screen and save it as Bmp/Jpeg.

2. Capture the current active window (most commonly used)
Press the Alt key and click the Print Screen key to capture the screen. It will only capture Get the currently active window and save it as above. (Active window, the simplest understanding is the page you are currently operating)
2. QQ tool screenshot
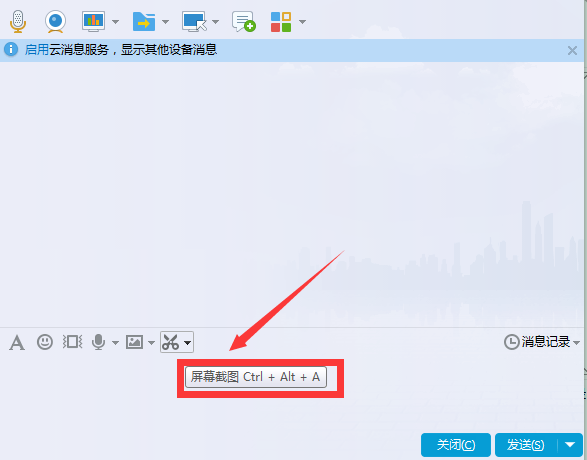
Directly press the (CTRL ALT A) shortcut key to take a screenshot; or open the chat window, You can take screenshots.

3. Use the browser to take screenshots
1. Install the 360 browser on your computer;
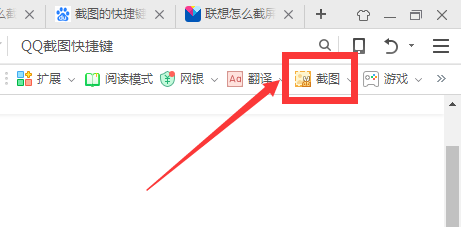
2. Open the browser, You can see the browser's screenshot function; then just take a screenshot.

3. Just save the screenshot.
The screen goes black after the win10 system starts safe mode>>>
How to enter win10 safe mode>>>
Win10 cannot exit safe mode>>>
The above is the detailed content of Lenovo computer win10 screenshot shortcut key. For more information, please follow other related articles on the PHP Chinese website!


