How to implement ocr (optical character recognition)? The following article will introduce to you how to use node to implement OCR. I hope it will be helpful to you!

#ocr is optical character recognition. Simply put, it is to recognize the text on the picture.
Unfortunately, I am just a low-level web programmer. I don’t know much about AI. If I want to implement OCR, I can only find a third-party library.
There are many third-party libraries for OCR in the python language. I have been looking for a third-party library for nodejs to implement OCR for a long time. Finally, I found that the library tesseract.js can still implement OCR very conveniently. [Related tutorial recommendations: nodejs video tutorial]
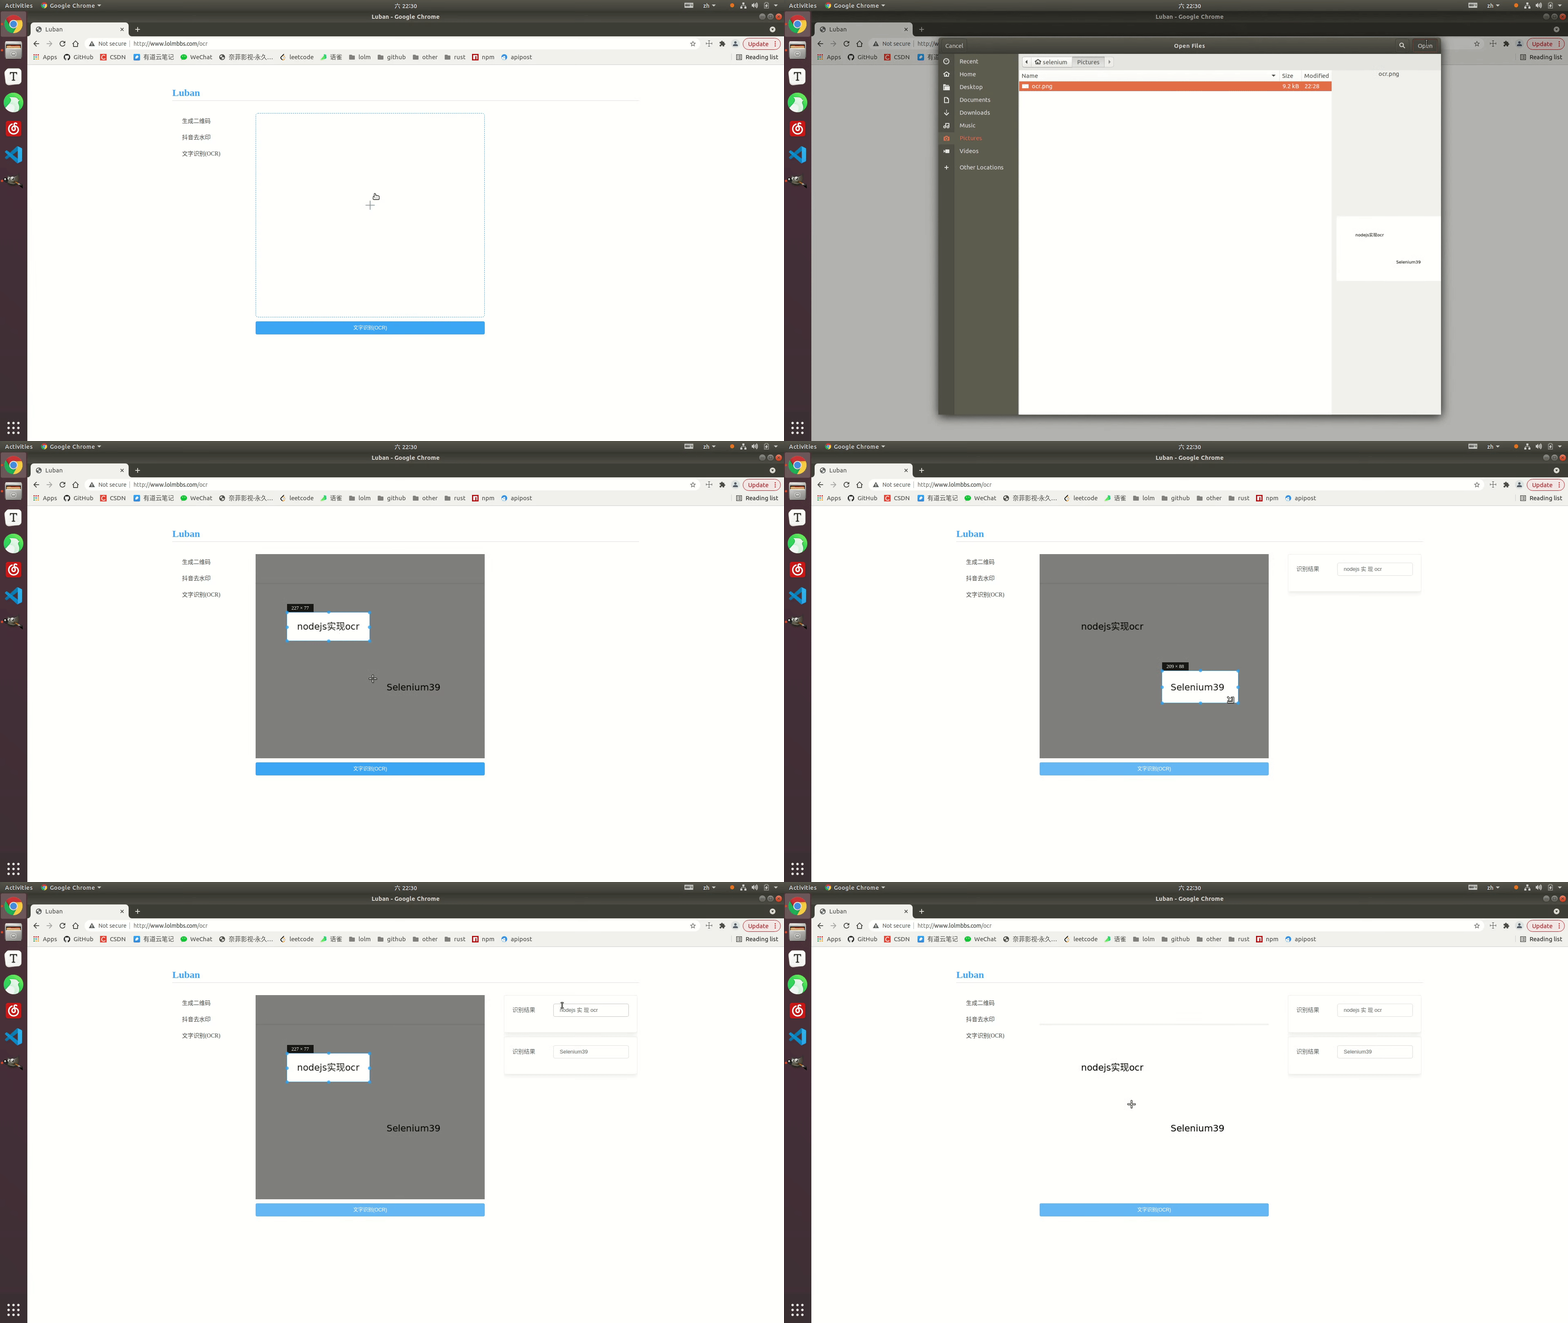
Online example: http://www.lolmbbs.com/tool/ ocr

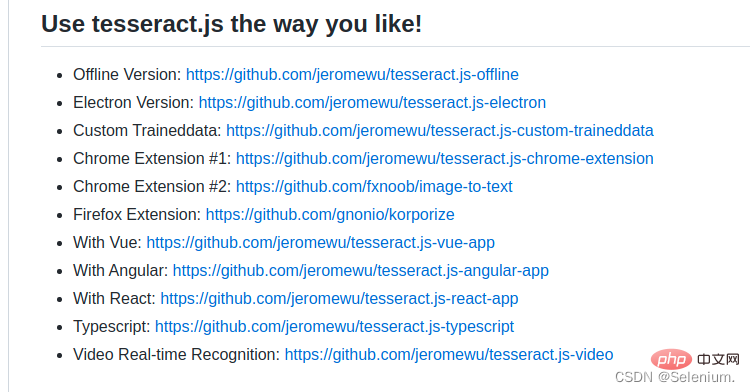
tesserract.js This library provides multiple versions to choose from. The one I use here is offline. Version tesseract.js-offline, after all, everyone suffers from bad network conditions. 
Default example code
const { createWorker } = require('tesseract.js');
const path = require('path');

const worker = createWorker({
  langPath: path.join(__dirname, '..', 'lang-data'),
  logger: m => console.log(m),
});

(async () => {
  await worker.load();
  await worker.loadLanguage('eng');
  await worker.initialize('eng');
  const { data: { text } } = await worker.recognize(path.join(__dirname, '..', 'images', 'testocr.png'));
  console.log(text);
  await worker.terminate();
})();tesseract.js offline version default example The code only supports recognition of English. If it recognizes Chinese, the result will be a bunch of question marks. But fortunately, you can import multiple trained language models to support recognition of multiple languages.
Download the corresponding language model you need from https://github.com/naptha/tessdata/tree/gh-pages/4.0.0 and put it in the root directory Under the lang-data directory
I chose Chinese (chi_sim.traineddata.gz) Japanese (jpn.traineddata.gz) English (eng.traineddata.gz ) Three-country language model.
Modify the language item configuration of loading and initializing the model in the code to support Chinese, Japanese and English languages at the same time.
await worker.loadLanguage('chi_sim+jpn+eng');
await worker.initialize('chi_sim+jpn+eng');
In order to facilitate everyone's testing, I have included the training model, example code and test pictures in the three languages of China, Japan and Korea in the offline version of the example.
https://github.com/Selenium39/tesseract.js-offline
If you run the offline version, you You will find that the loading of the model and the recognition of OCR are a bit slow. It can be optimized through these two steps.
In web projects, you can load the model as soon as the application starts, so that you don't have to wait for the model to be loaded when you receive an OCR request later.
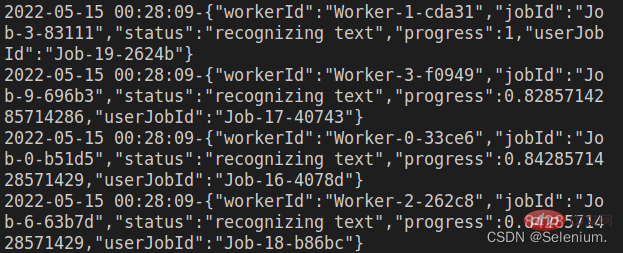
Refer to Why I refactor tesseract.js v2? This blog, you can add multiple worker threads through the createScheduler method to process ocr requests concurrently.
Example of multi-threaded concurrent processing of OCR requests
const Koa = require('koa')
const Router = require('koa-router')
const router = new Router()
const app = new Koa()
const path = require('path')
const moment = require('moment')
const { createWorker, createScheduler } = require('tesseract.js')
;(async () => {
const scheduler = createScheduler()
for (let i = 0; i < 4; i++) {
const worker = createWorker({
langPath: path.join(__dirname, '.', 'lang-data'),
cachePath: path.join(__dirname, '.'),
logger: m => console.log(`${moment().format('YYYY-MM-DD HH:mm:ss')}-${JSON.stringify(m)}`)
})
await worker.load()
await worker.loadLanguage('chi_sim+jpn+eng')
await worker.initialize('chi_sim+jpn+eng')
scheduler.addWorker(worker)
}
app.context.scheduler = scheduler
})()
router.get('/test', async (ctx) => {
const { data: { text } } = await ctx.scheduler.addJob('recognize', path.join(__dirname, '.', 'images', 'chinese.png'))
// await ctx.scheduler.terminate()
ctx.body = text
})
app.use(router.routes(), router.allowedMethods())
app.listen(3002)Initiate concurrent requests, you can see multiple workers executing OCR tasks concurrently
ab -n 4 -c 4 localhost:3002/test

ps: When uploading images, you can First load the base64 of the uploaded image on the front end, see the uploaded image first, and then request the backend to upload the image, which is better for the user experience.
The complete code is as follows<template>
<div>
<div style="margin-top:30px;height:500px">
<div class="show">
<vueCropper
v-if="imgBase64"
ref="cropper"
:img="imgBase64"
:output-size="option.size"
:output-type="option.outputType"
:info="true"
:full="option.full"
:can-move="option.canMove"
:can-move-box="option.canMoveBox"
:original="option.original"
:auto-crop="option.autoCrop"
:fixed="option.fixed"
:fixed-number="option.fixedNumber"
:center-box="option.centerBox"
:info-true="option.infoTrue"
:fixed-box="option.fixedBox"
:max-img-size="option.maxImgSize"
style="background-image:none"
@mouseenter.native="enter"
@mouseleave.native="leave"
></vueCropper>
<el-upload
v-else
ref="uploader"
class="avatar-uploader"
drag
multiple
action=""
:show-file-list="false"
:limit="1"
:http-request="upload"
>
<i class="el-icon-plus avatar-uploader-icon"></i>
</el-upload>
</div>
<div
class="ocr"
@mouseleave="leaveCard"
>
<el-card
v-for="(item,index) in ocrResult"
:key="index"
class="card-box"
@mouseenter.native="enterCard(item)"
>
<el-form
size="small"
label-width="100px"
label-position="left"
>
<el-form-item label="识别结果">
<el-input v-model="item.text"></el-input>
</el-form-item>
</el-form>
</el-card>
</div>
</div>
<div style="margin-top:10px">
<el-button
size="small"
type="primary"
style="width:60%"
@click="doOcr"
>
文字识别(OCR)
</el-button>
</div>
</div>
</template>
<script>
import { uploadImage, ocr } from '../utils/api'
export default {
name: 'Ocr',
data () {
return {
imgSrc: '',
imgBase64: '',
option: {
info: true, // 裁剪框的大小信息
outputSize: 0.8, // 裁剪生成图片的质量
outputType: 'jpeg', // 裁剪生成图片的格式
canScale: false, // 图片是否允许滚轮缩放
autoCrop: true, // 是否默认生成截图框
fixedBox: false, // 固定截图框大小 不允许改变
fixed: false, // 是否开启截图框宽高固定比例
fixedNumber: [7, 5], // 截图框的宽高比例
full: true, // 是否输出原图比例的截图
canMove: false, // 时候可以移动原图
canMoveBox: true, // 截图框能否拖动
original: false, // 上传图片按照原始比例渲染
centerBox: true, // 截图框是否被限制在图片里面
infoTrue: true, // true 为展示真实输出图片宽高 false 展示看到的截图框宽高
maxImgSize: 10000
},
ocrResult: []
}
},
methods: {
upload (fileObj) {
const file = fileObj.file
const reader = new FileReader()
reader.readAsDataURL(file)
reader.onload = () => {
this.imgBase64 = reader.result
}
const formData = new FormData()
formData.append('image', file)
uploadImage(formData).then(res => {
this.imgUrl = res.imgUrl
})
},
doOcr () {
const cropAxis = this.$refs.cropper.getCropAxis()
const imgAxis = this.$refs.cropper.getImgAxis()
const cropWidth = this.$refs.cropper.cropW
const cropHeight = this.$refs.cropper.cropH
const position = [
(cropAxis.x1 - imgAxis.x1) / this.$refs.cropper.scale,
(cropAxis.y1 - imgAxis.y1) / this.$refs.cropper.scale,
cropWidth / this.$refs.cropper.scale,
cropHeight / this.$refs.cropper.scale
]
const rectangle = {
top: position[1],
left: position[0],
width: position[2],
height: position[3]
}
if (this.imgUrl) {
ocr({ imgUrl: this.imgUrl, rectangle }).then(res => {
this.ocrResult.push(
{
text: res.text,
cropInfo: { //截图框显示的大小
width: cropWidth,
height: cropHeight,
left: cropAxis.x1,
top: cropAxis.y1
},
realInfo: rectangle //截图框在图片上真正的大小
})
})
}
},
enterCard (item) {
this.$refs.cropper.goAutoCrop()// 重新生成自动裁剪框
this.$nextTick(() => {
// if cropped and has position message, update crop box
// 设置自动裁剪框的宽高和位置
this.$refs.cropper.cropOffsertX = item.cropInfo.left
this.$refs.cropper.cropOffsertY = item.cropInfo.top
this.$refs.cropper.cropW = item.cropInfo.width
this.$refs.cropper.cropH = item.cropInfo.height
})
},
leaveCard () {
this.$refs.cropper.clearCrop()
},
enter () {
if (this.imgBase64 === '') {
return
}
this.$refs.cropper.startCrop() // 开始裁剪
},
leave () {
this.$refs.cropper.stopCrop()// 停止裁剪
}
}
}
</script>nodejs tutorial!
The above is the detailed content of A brief analysis of how node implements ocr. For more information, please follow other related articles on the PHP Chinese website!