
This article will talk about the VSCode Git operation and introduce the related configuration and use of git in VSCode. I hope it will be helpful to everyone!
(The operations in this article are all performed on Gitee. The operation methods of Gitee and Github are basically the same.)
1. First download and install Git, and then register your Git username and email. This step is as follows The article has already been described and will not be repeated here;
https://blog.csdn.net/weixin_53072519/article/details/122824860
Introduces the use of GIT in detail, including GIT introduction, installation, related command explanations, and uploading projects to the cloud and cloning them locally.
【Recommended study: "vscode introductory tutorial"】
2 . Generate SSH public key and secret key;
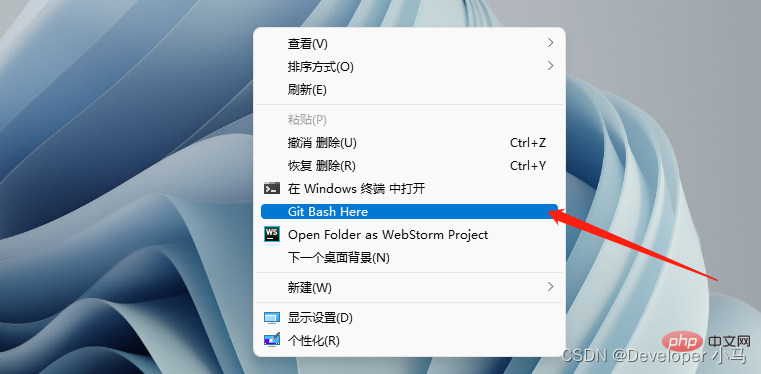
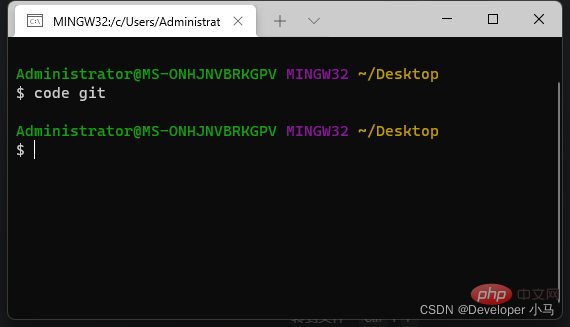
Right-click to open Git Bash Here;
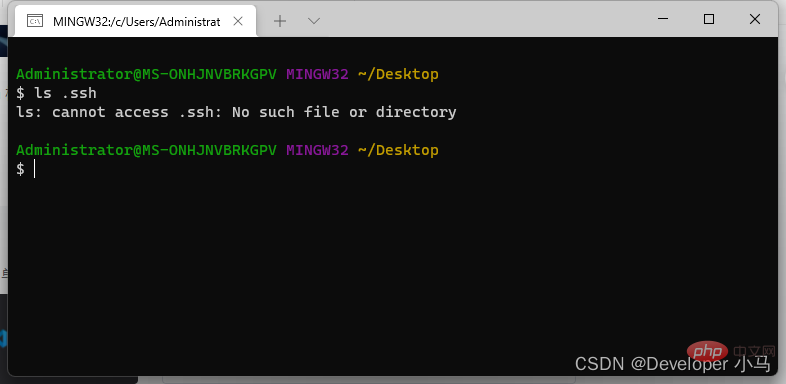
Use command ls .ssh Check whether there is already a public key and a private key in our directory (the following is not available);
Create the public key and private key, use the command ssh-keygen -t rsa -C "mailbox";
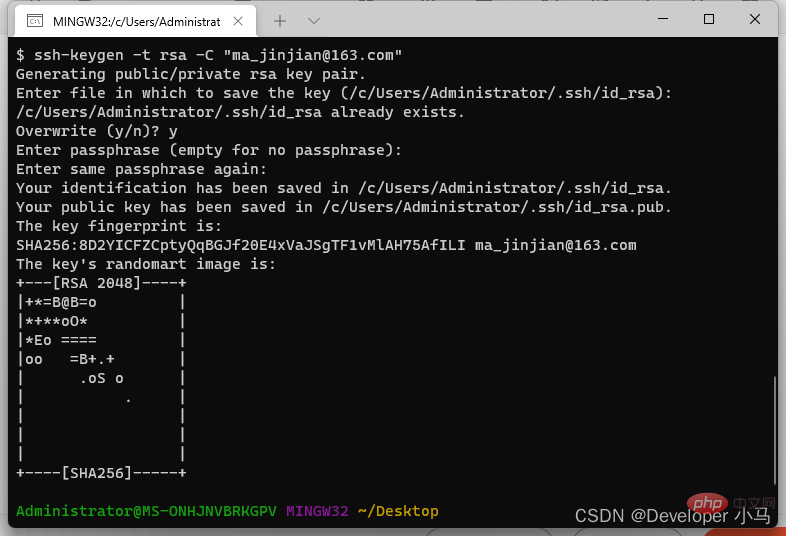
At this point the public and private keys have been generated, pay attention to the path prompted;

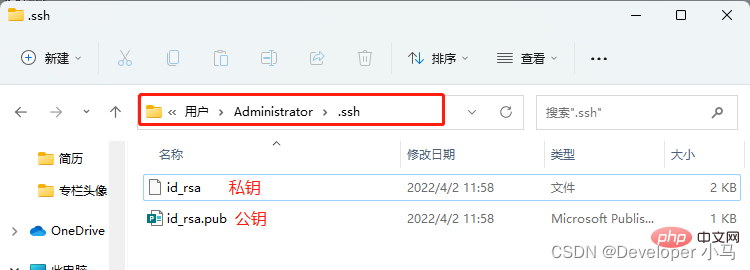
3. Add the public key to GitHub/Gitee;
Copy the public key;
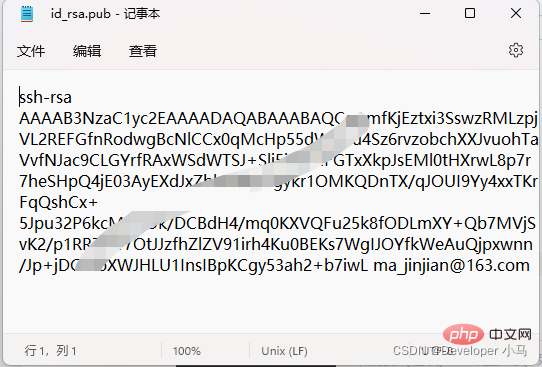
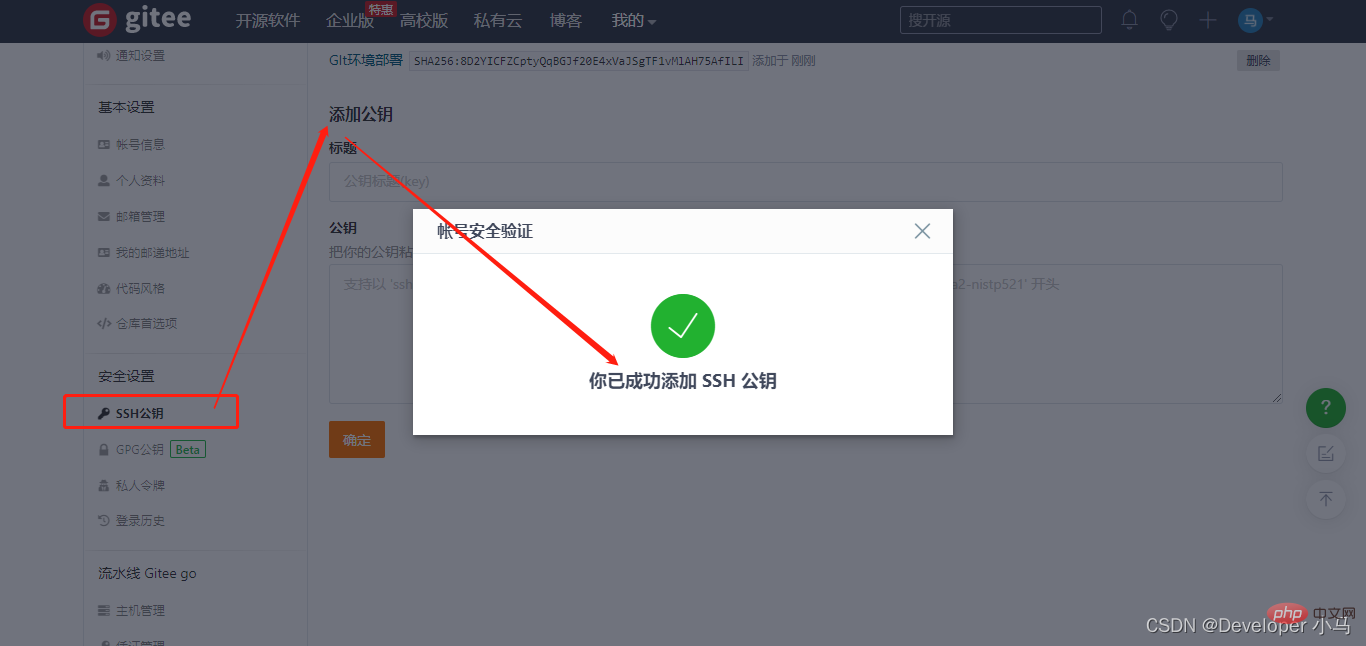

4. Test the SSH connection;
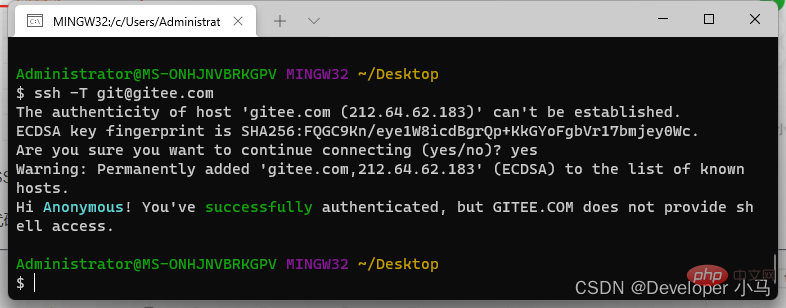
Use the commandssh -T git@gitee.com to test, and hi... . means the connection is successful;
Also use the commandssh -T git@github.com when using Github;
(Here I will use an empty folder git as the project File to perform related demonstration operations.)
Local class operations
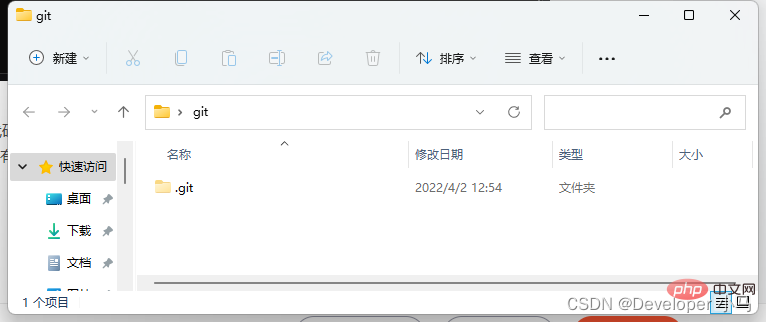
Enter source code management in vs code and click Initialize the repository. This step also completes the initialization of the git warehouse. At this time, you can see that the folder already has a .git folder (hidden by default, you need to set up to show hidden files to see);
Then create a new file demo.html in the project file git;

At this time we can see that the newly created file is Green, with a U prompt behind it; U means Untracked, which means that this file is currently only in our local area and is not tracked by git.
Enter source code management and click the # behind the file you want to operate. ##" ", you can add the file to the temporary storage area, which is equivalent to executing the command git add;

The file name is still green at this time , but the U behind it becomes A, and A means that the file is already in the temporary storage area.
"√" to submit once, or use the Ctrl Enter shortcut key to submit directly;
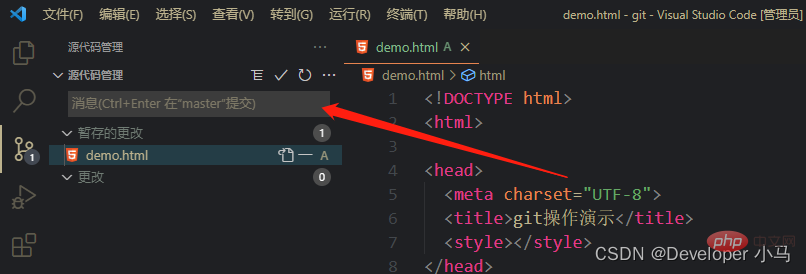
At this time, the file color changes to normal and there is no letter prompt, indicating that the file has been submitted to git.You can also submit using the quick submission method. The so-called quick submission means submitting new files or modified files directly without saving them to the temporary storage area first. The operation of adding to the staging area is omitted; is as follows. If we submit the modified file without saving it to the staging area, vs code will give a warning. In this case, we select "Always" , the operation of adding to the staging area will be automatically omitted in future operations.


At this time, the file name turns yellow, and there is a prompt letter M; M meansIf you want to undo the changes, enter the source code management and click the return arrow to abandon the changes;modify, that is, it has been modified.
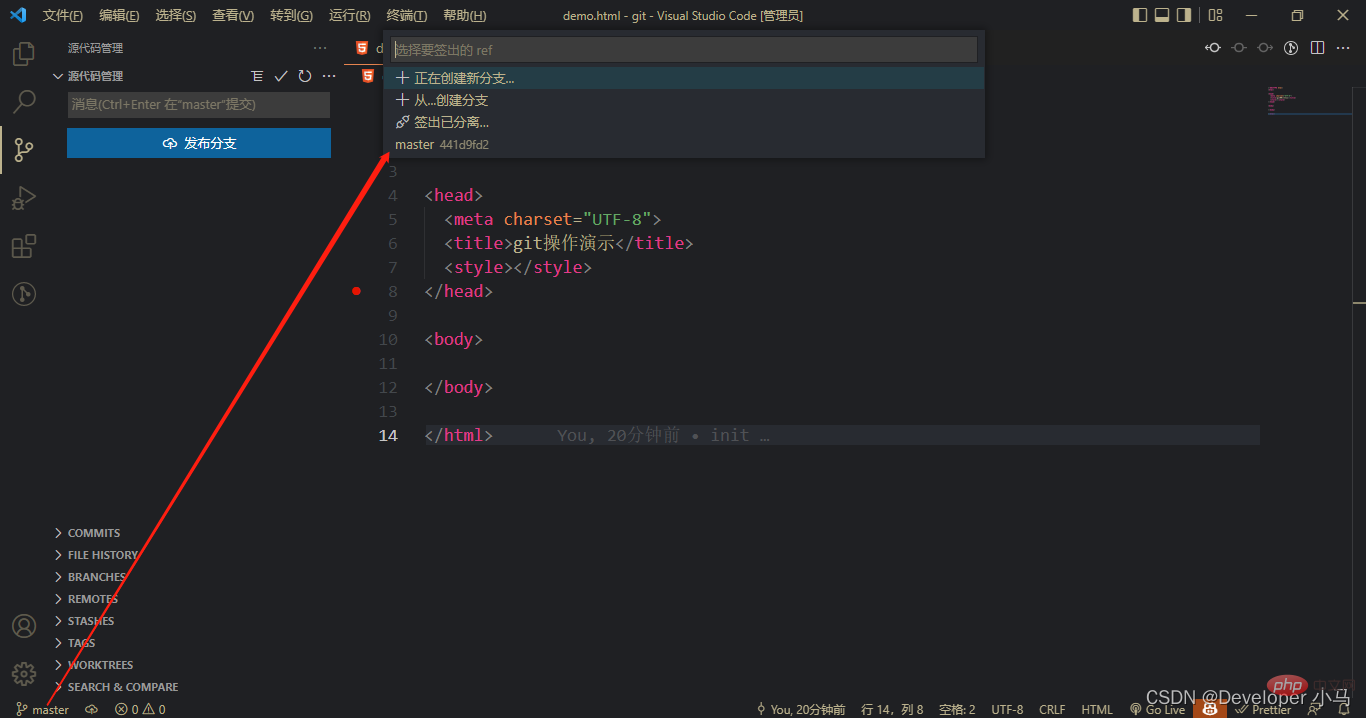


To switch branches, just click on the corresponding branch name;
We first create a new branch Modify the file content in the xiaoma branch and submit it;
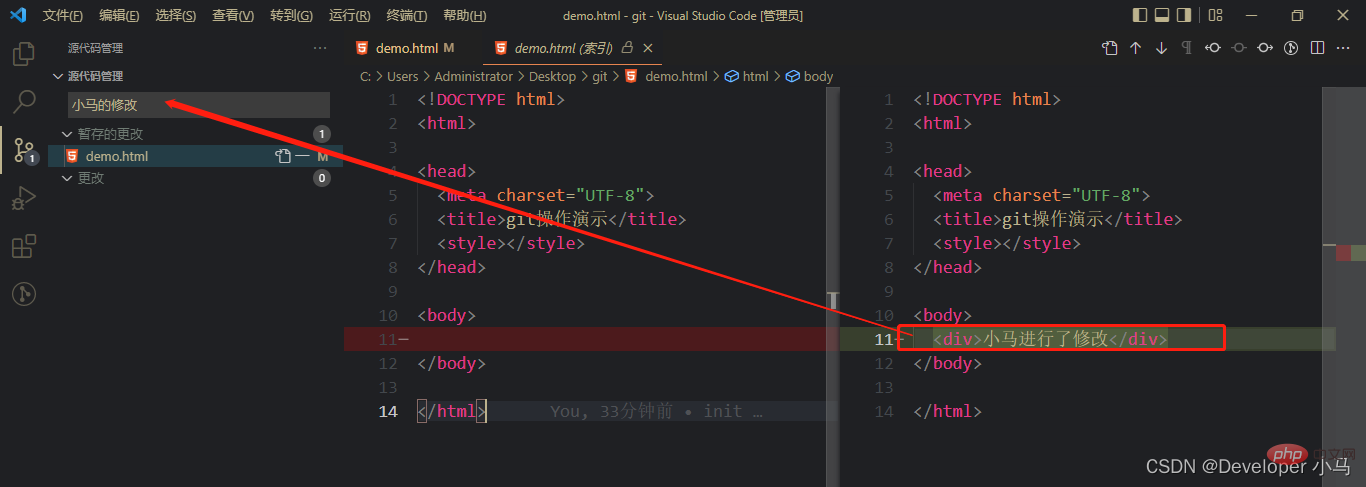
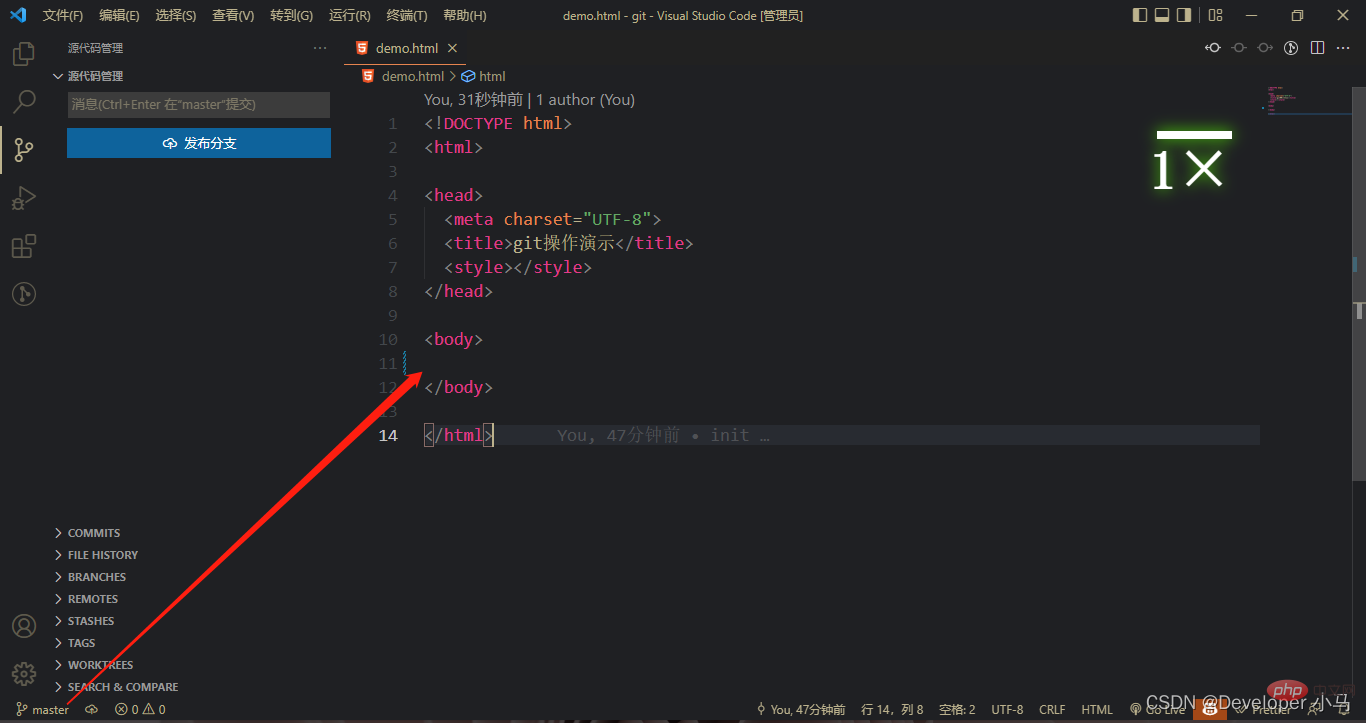
Then switch to the master branch. At this time, the master branch has no modified content;
Next to merge, first click the settings icon"⚙" to open the command panel;
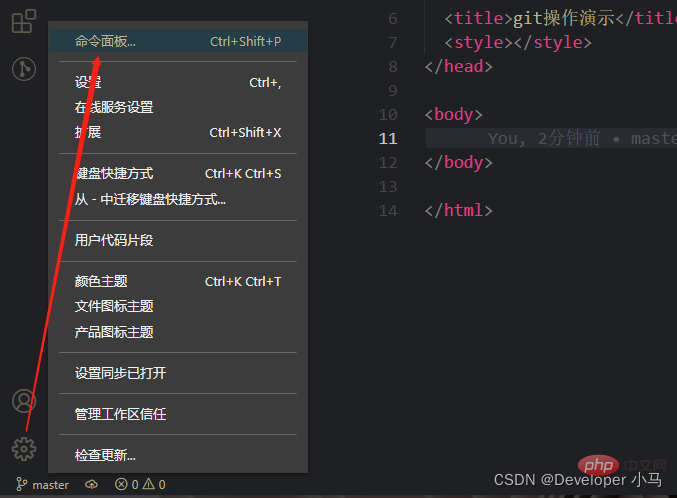
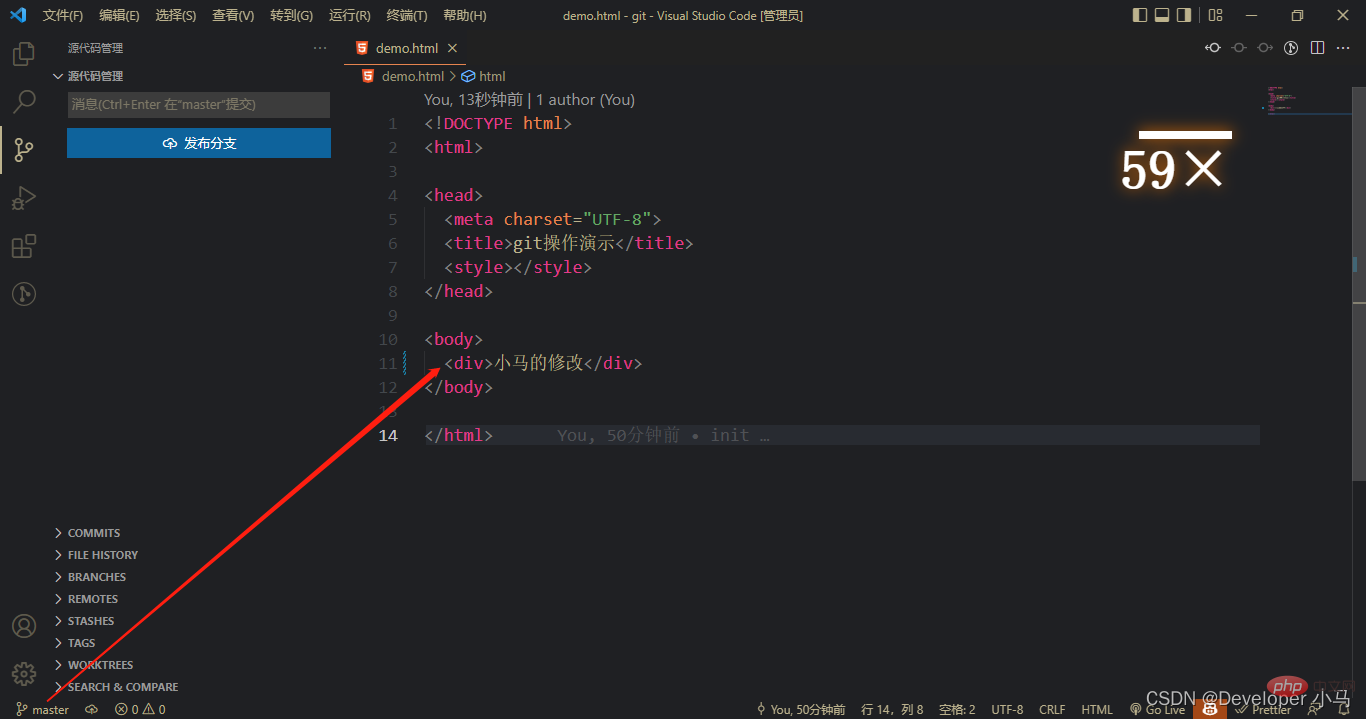
Search for git in the command panel merge, find the merge branch operation, and click Merge Branch;

At this time, the master branch already has xiaoma related operations;
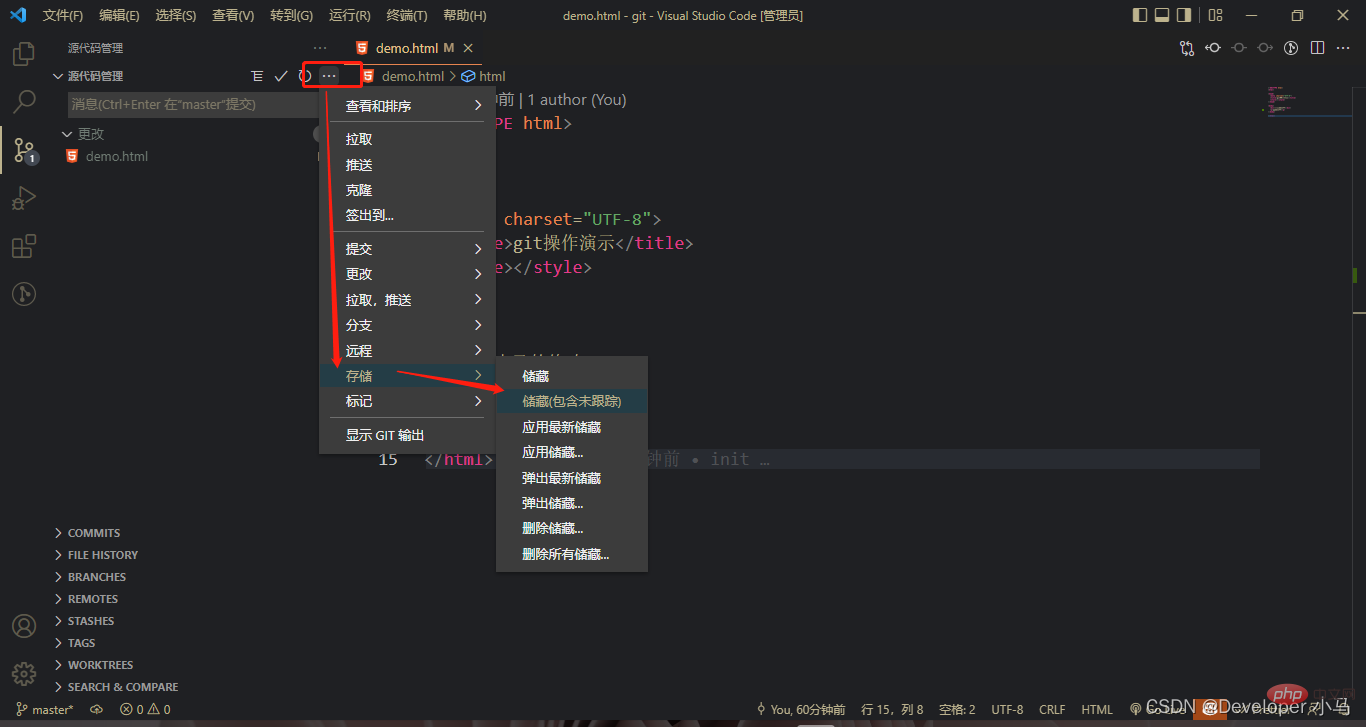
When we are halfway through writing the code and have not completed the development of a certain module, we have to leave the current branch. When switching to another branch, you need to temporarily save (store, hide) the status of the current branch, which is equivalent to the git command git stash;
After making certain modifications to the current branch, click More “···”, find storage-->Storage;
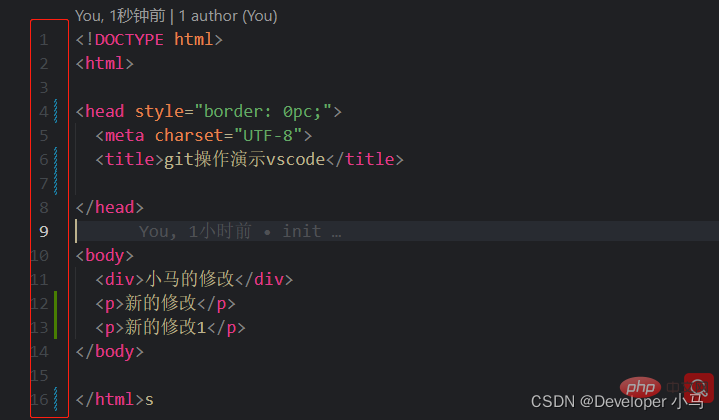
Blue It means that the code here has been modified or deletedGreen means that the code here is new content
## Remote class operations
1. Create a new GIt warehouse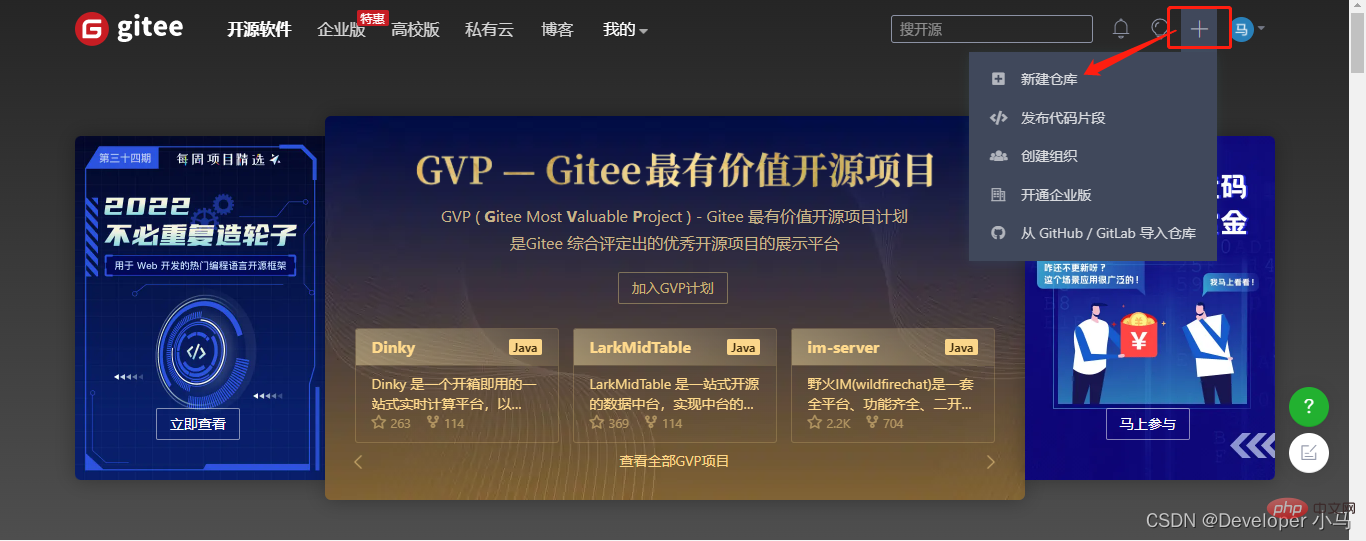 The created warehouse is as follows, we already have the SSH address;
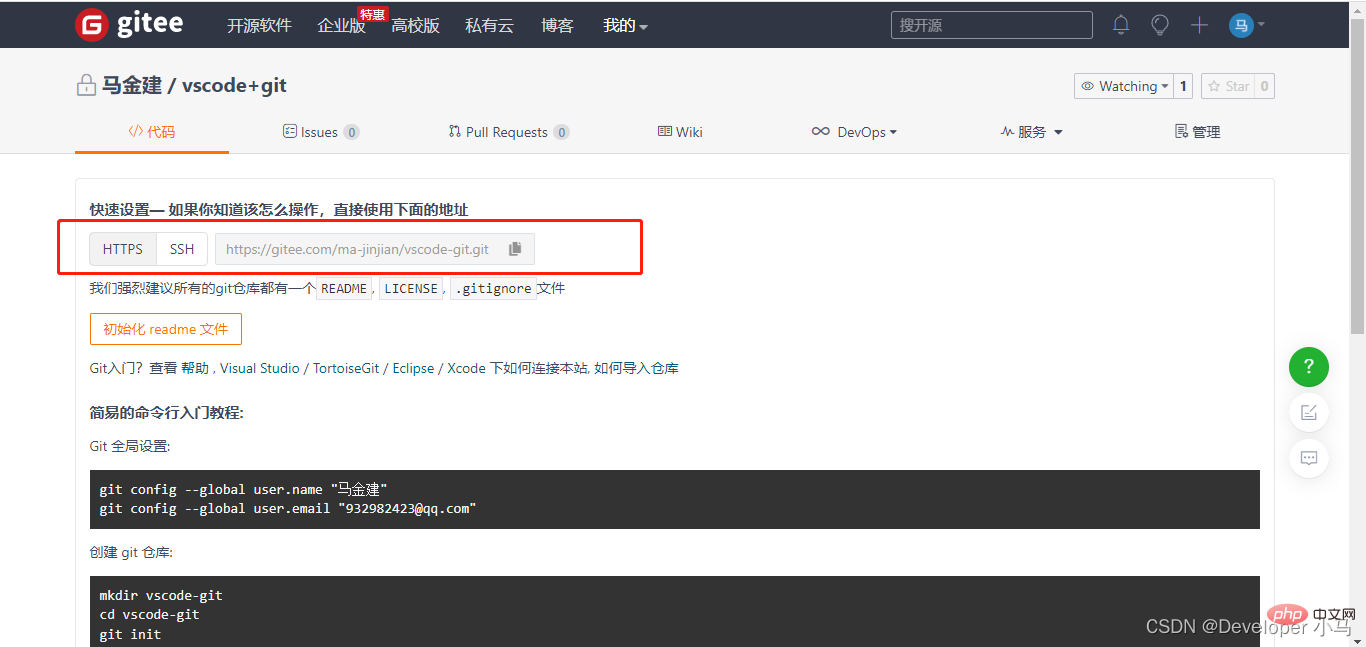
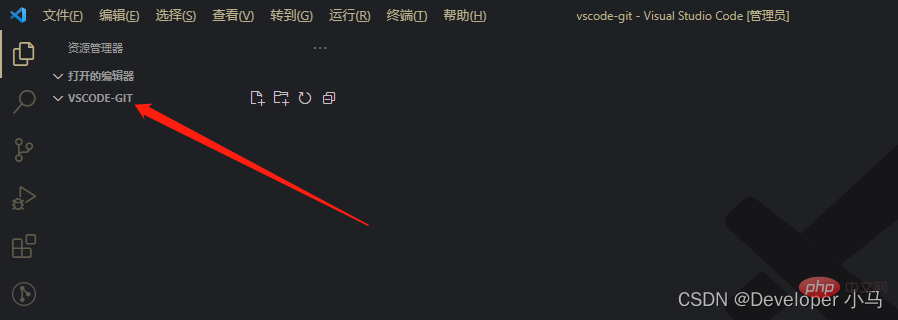
 Click and paste our SSH address and press Enter. At this time, vs code will prompt us to select an address to store the cloned project, and then start cloning, as follows;
 After successful cloning, the project can be opened locally.

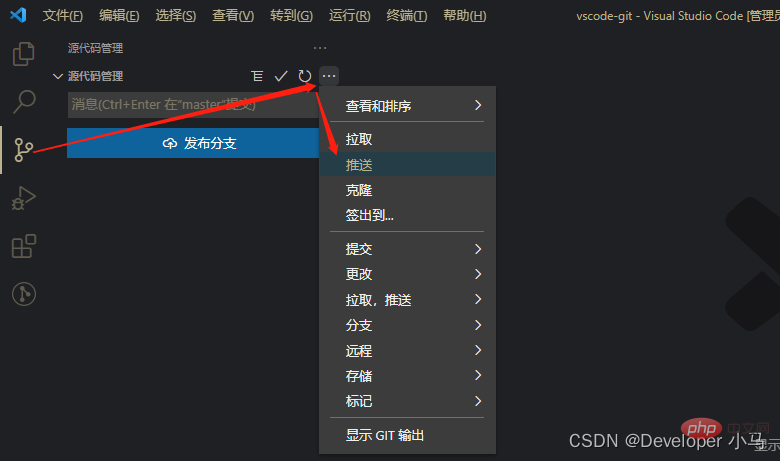
Enter source code management, click more “···” Find push to push;
After the push is successful, as follows, you can see our submission record in Gitee;

Pull the cloud project in Vs Code, enter source code management, select more"···", select "Pull" to perform the pull operation;
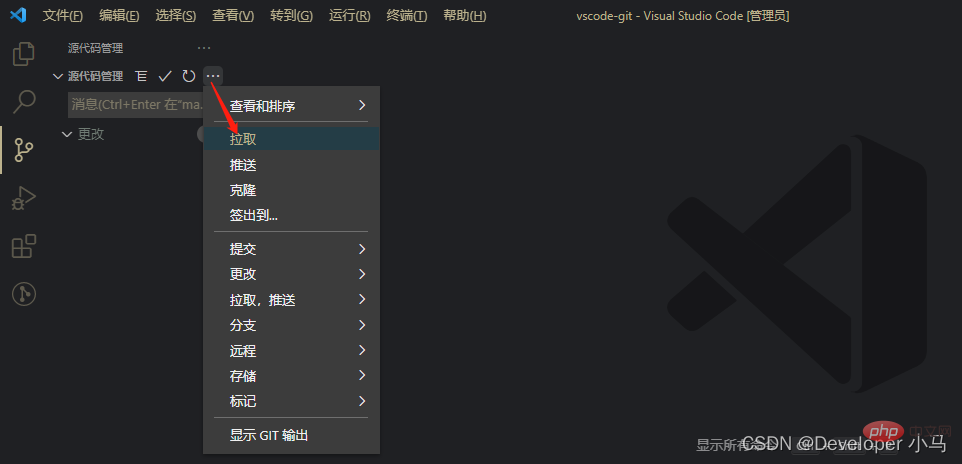
Note: Whenever you push a project (push), it is best to pull the cloud code (pull) first to ensure that the cloud has been updated to the latest status to prevent pushing the project code conflicts;
For more knowledge about VSCode, please visit: vscode tutorial!
The above is the detailed content of A thorough understanding of the configuration and use of git in VSCode in one article. For more information, please follow other related articles on the PHP Chinese website!