
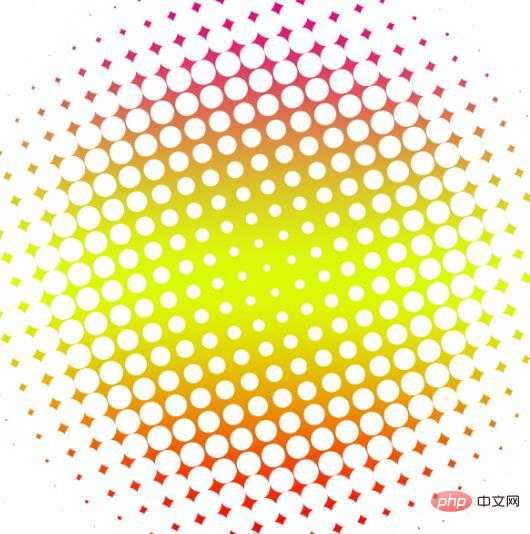
In the previous article "PS Tips: How to quickly create a dreamy spot effect (Collection)", I introduced you to a little trick on how to quickly create a dreamy spot effect with PS. The following article will introduce to you how to use PS to create a neon gradient dot picture effect. Let’s see how to do it together.

Make neon gradient dot picture effect
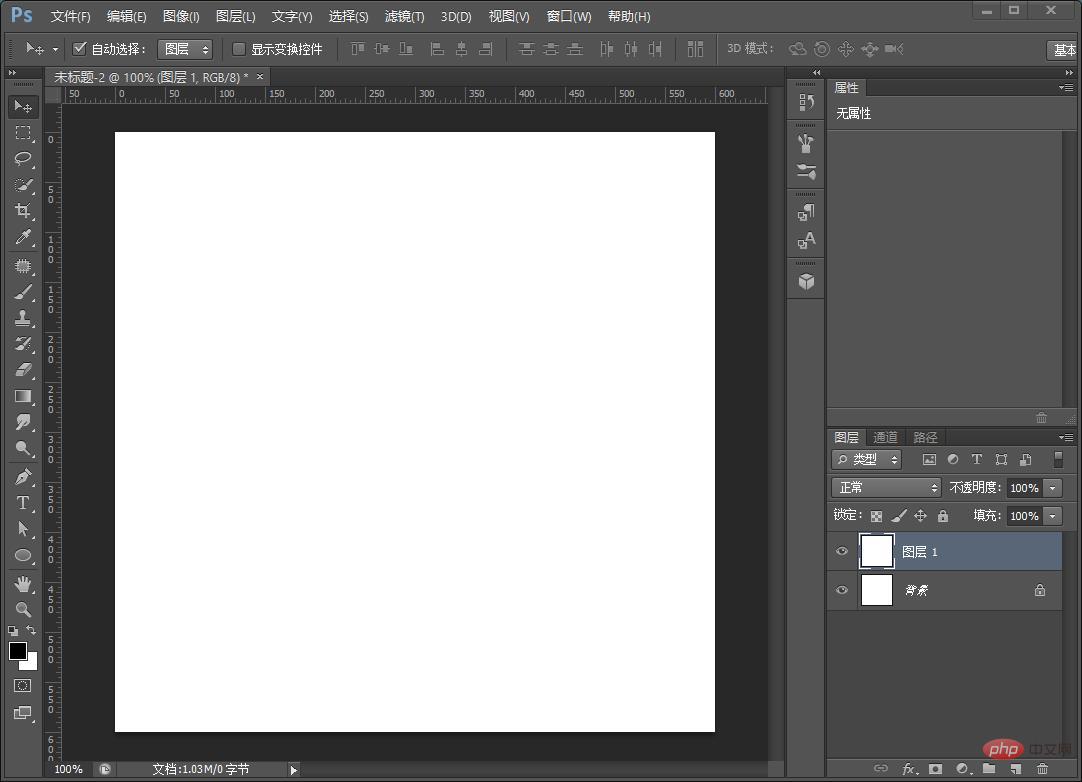
1. Open in ps, create a new file with a size of 800x800 pixels, a resolution of 72 pixels, and a white background. You can also set the size and copy a layer according to your needs.
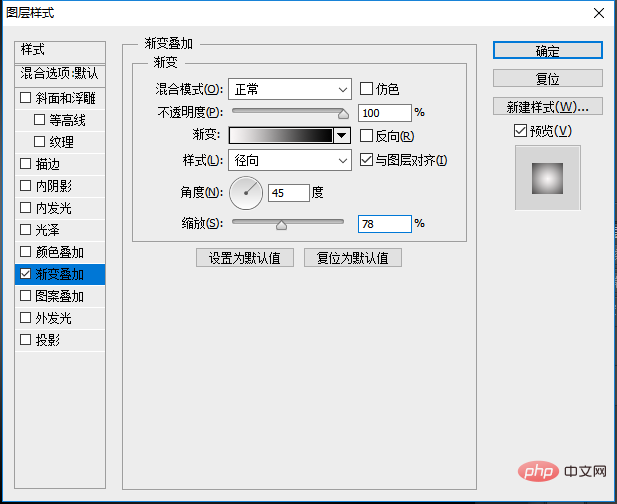
2. Set the [Gradient Overlay] blending mode [Normal], the opacity to 100%, the angle to 45 degrees, and the zoom to 78%.
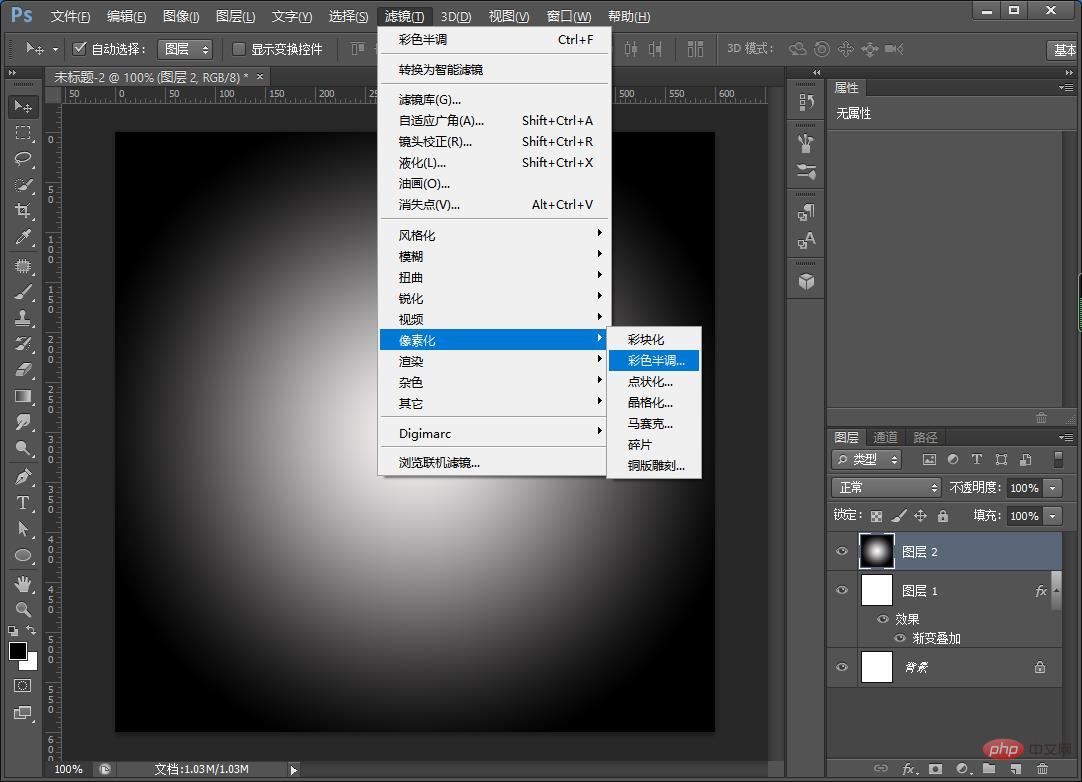
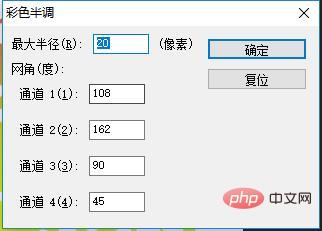
3. Press Ctrl Alt Shift E shortcut key to stamp the layer, and execute [Filter]-[Pixelize]-[Color Halftone].
#4. In the pop-up [Color Halftone] dialog box, set its properties: maximum radius 20 pixels, screen angle (degree) set value, as shown below.
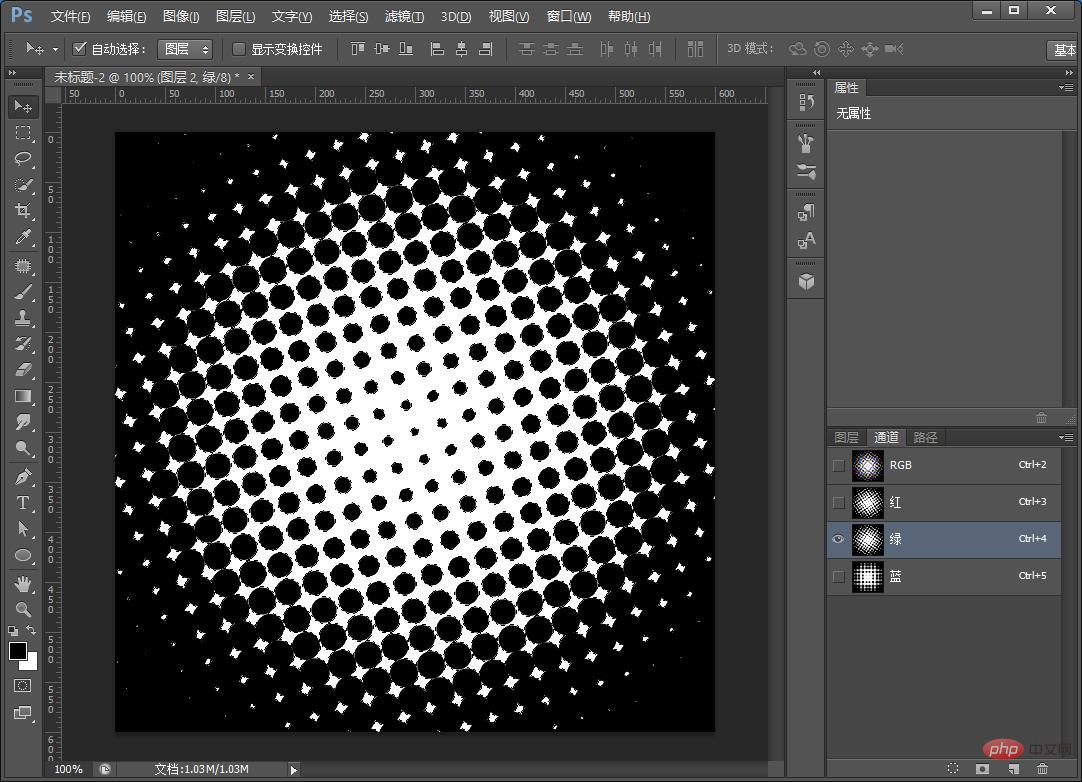
5. Switch to [Channel], you can click the red, green, and blue channels respectively to observe the picture effect, and select the channel you like as a selection. Ctrl-click the green channel to load it into the selection.
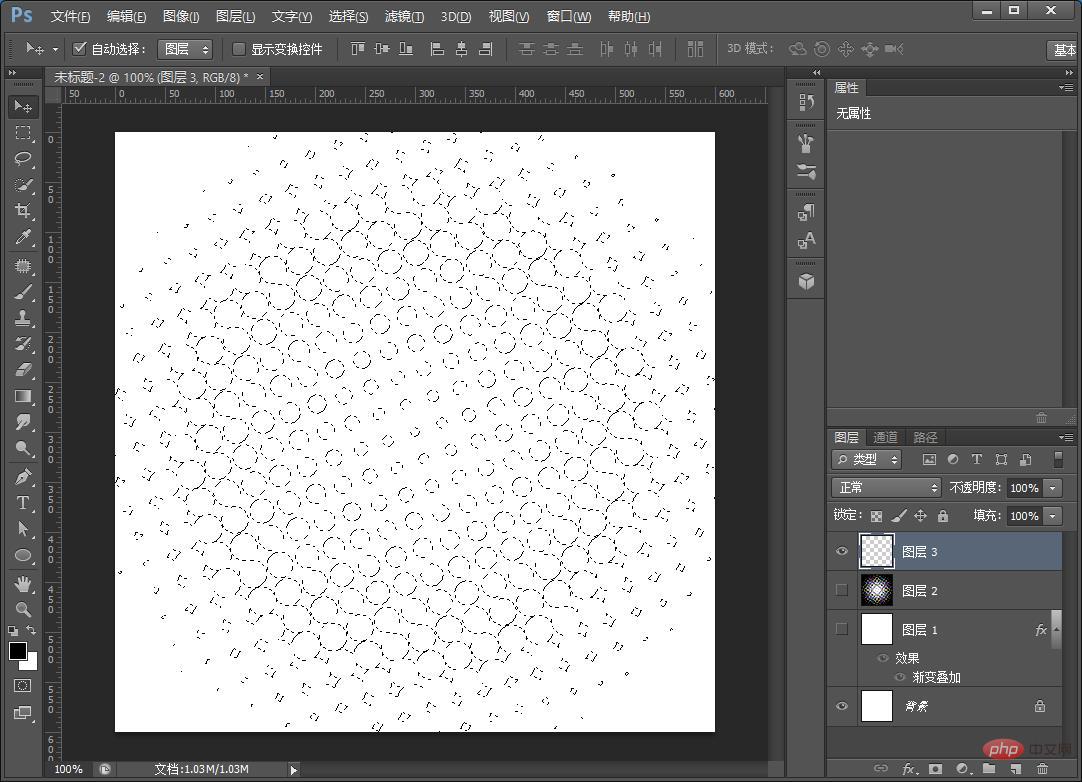
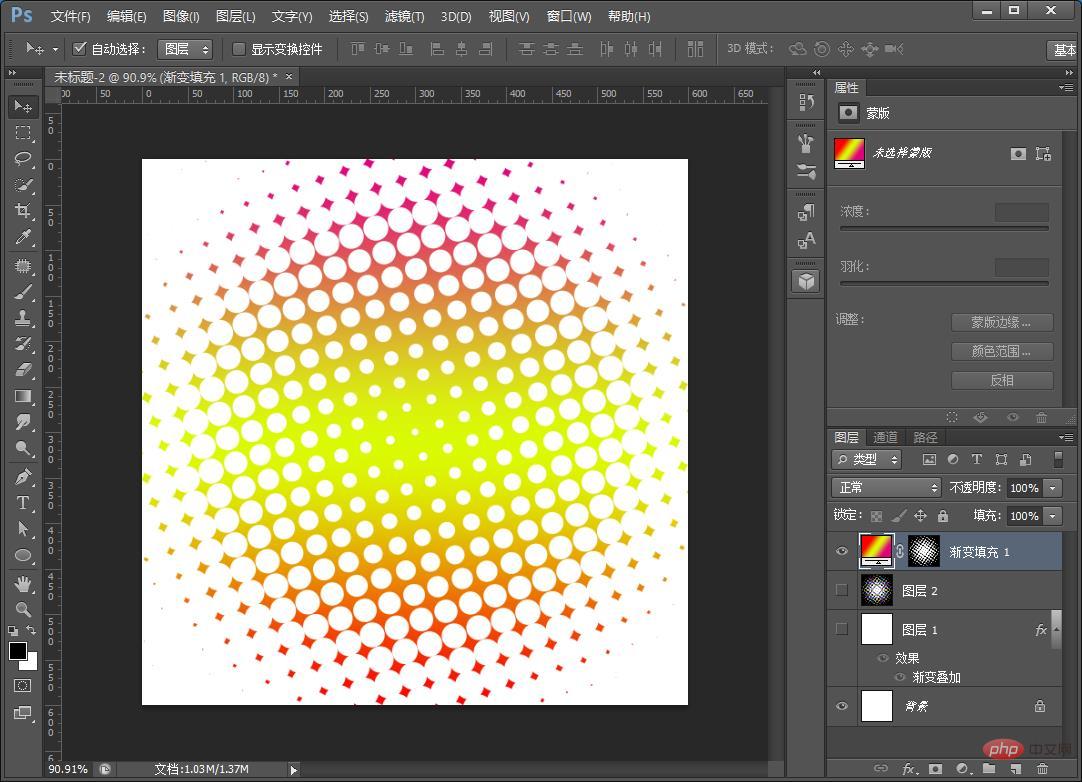
6. Switch to [Layer] and cancel the eye symbols in front of [Layer 1] and [Layer 2] on the layer panel. The effect is as follows. Click the "Create new fill or adjustment layer" button at the bottom of the layers panel and select the gradient inside.
7. The effect is completed.
Recommended learning:PS video tutorial
The above is the detailed content of Teach you how to use PS to create neon gradient dot picture effects (share). For more information, please follow other related articles on the PHP Chinese website!