
In the previous article "Take you to use PS to create 3D poster effects in one minute (5 steps in total)", I introduced you how to use PS3D to create poster effects. The following article will introduce to you how to use PS photos to convert watercolor effects. Let’s see how to do it together.

1. Open ps, select the landscape material to import, right-click the background layer, and then select [Convert to Smart Object]
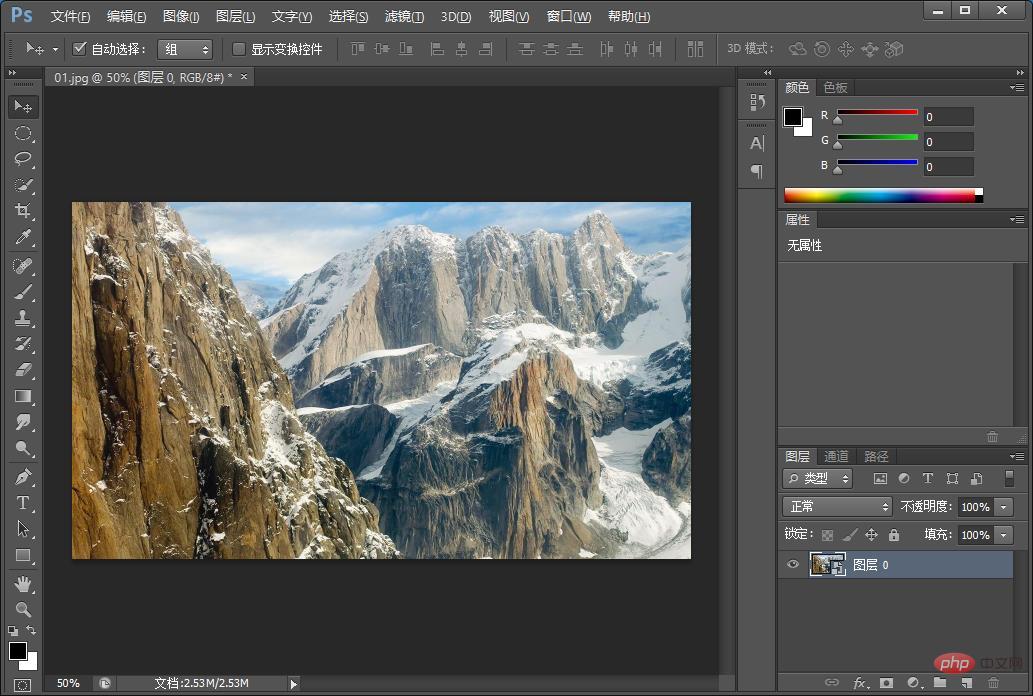
2. Select [Filter]-[Filter Library] in the menu bar
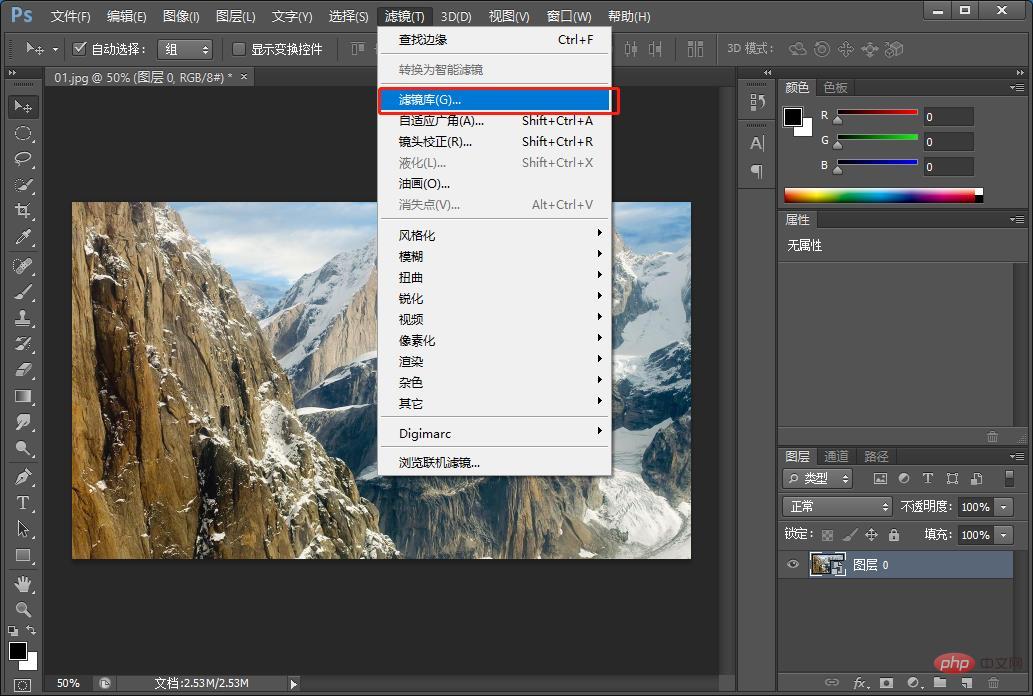
3. In the Filter Library dialog box, go to [Artistic Effect] - [Dry Brush], set [Brush Size] to 10, [Brush Details] to 10, [Texture] to 1, and click OK.
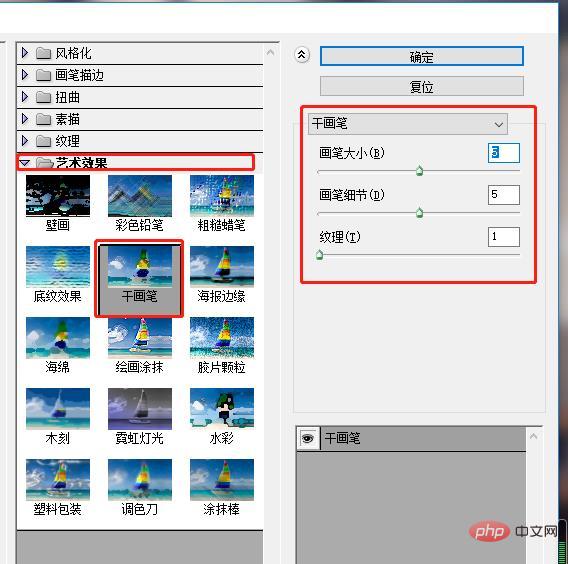
#4. Return to the layers panel and double-click to open it.
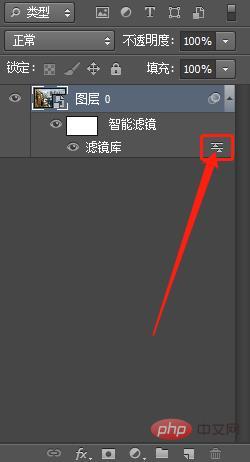
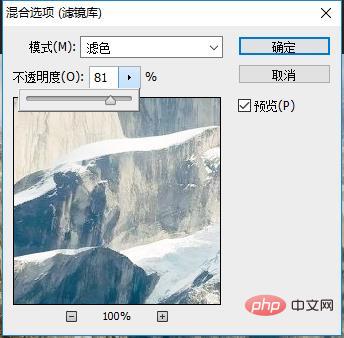
5. Change the layer blending option (Filter Library) to Screen, set the opacity to 81%, and then OK.
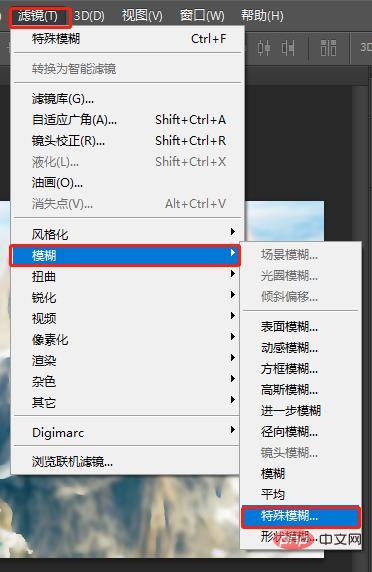
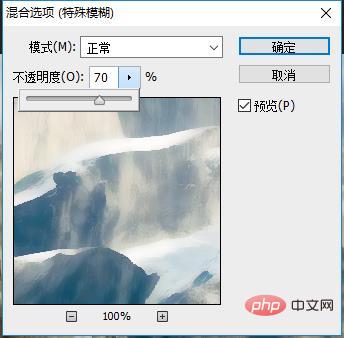
6. Click [Filter] menu [Blur]-[Special Blur] again
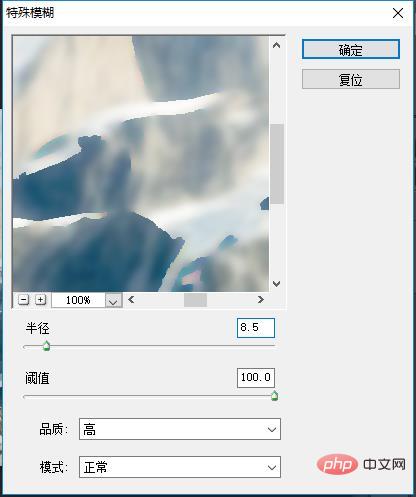
7. Set parameters in the window: radius 8.5, drag the threshold to the maximum 100, and change [Quality] to high.
#8. Double-click to edit the filter blending options.
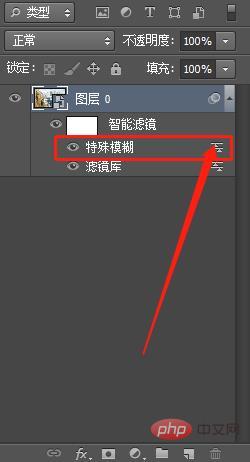
9. The blending mode opacity of the [Special Blur] effect is reduced to 70%.
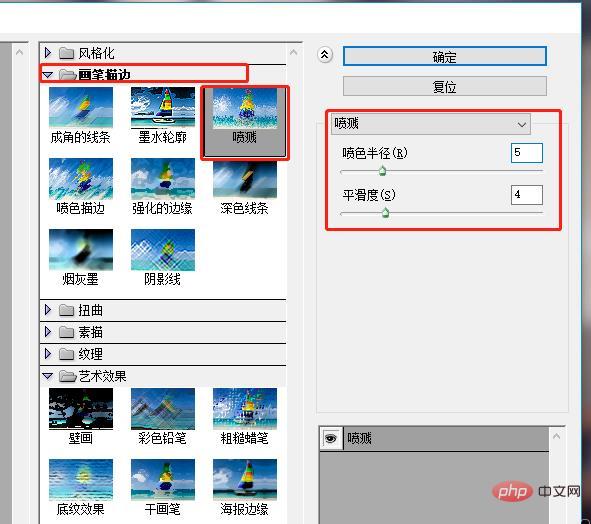
10. Select [Filter] - [Filter Effect] [Brush Stroke] - [Splash] again. The spray color radius is 5 and the smoothness is 1. .
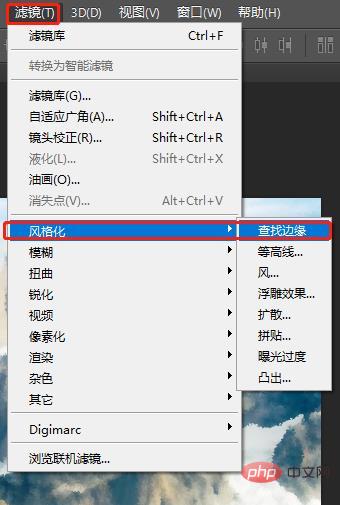
11. Click [Filter]-[Stylize]-[Find Edges]
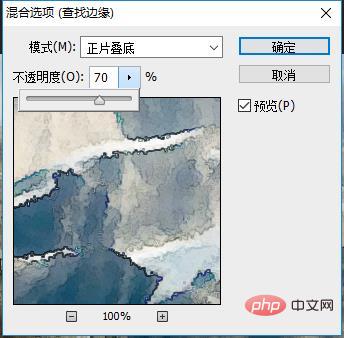
12. Edit Blending Options and change the Blending Mode to Multiply and the Opacity to 70% then OK.
#13. Import the paper texture, copy and paste the texture into the ps document, and scale it to fit the size of the canvas. Change the blending mode to "Multiply"
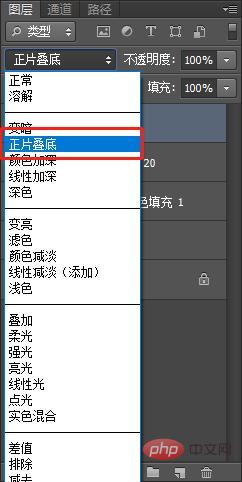
#14. Download and install this set of free watercolor brushes (search for watercolor brushes on Baidu yourself).
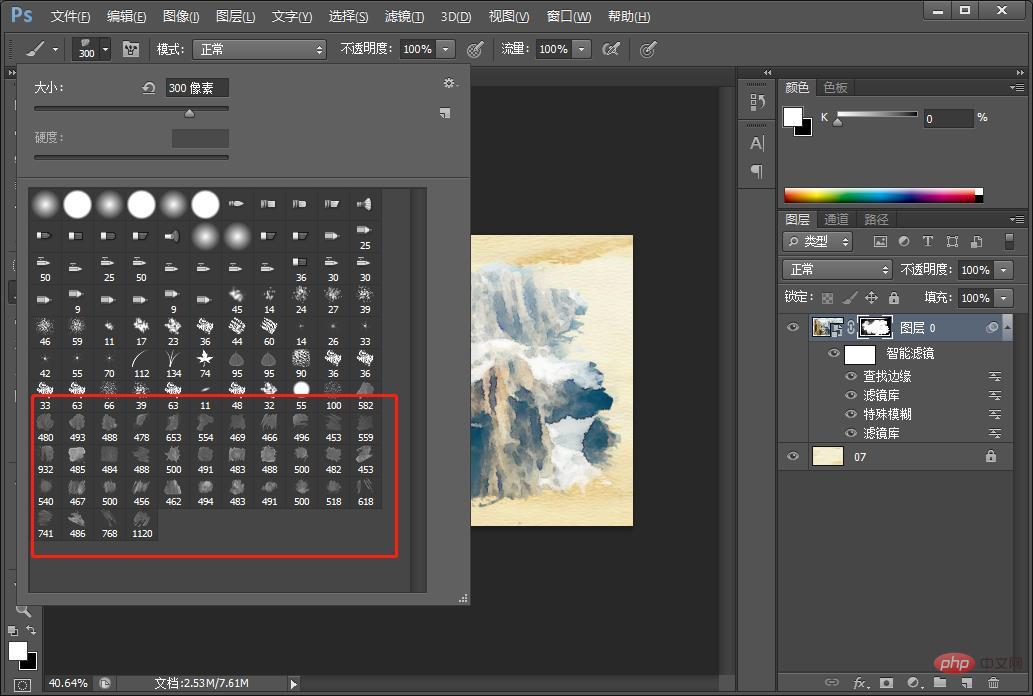
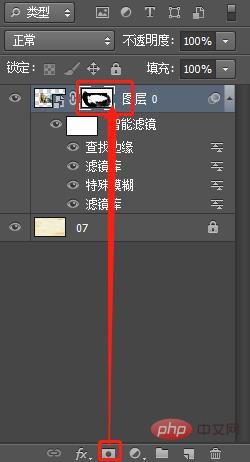
15. [Layer 0] Add a layer mask, then use the button below to fill the mask with black, which will effectively erase the entire photo. Click on the Brush Tool and select a watercolor brush.
The final rendering is as follows:
Recommended learning:PS video tutorial
The above is the detailed content of PS must-learn skills: How to convert photos into watercolors (detailed explanation with pictures and text). For more information, please follow other related articles on the PHP Chinese website!