


This article will share with you how VSCode PHPstudy builds a PHP development environment. It has certain reference value. Friends in need can refer to it. I hope it will be helpful to everyone.
Recommended study: "vscode tutorial"
VSCode PHPstudy builds PHP development environment
Step 1: Download and install the VSCode editor
Step 2: Download and install the PHPstudy integrated environment
Step 3: Open PHPstudy and select the environment on the left side of the interface
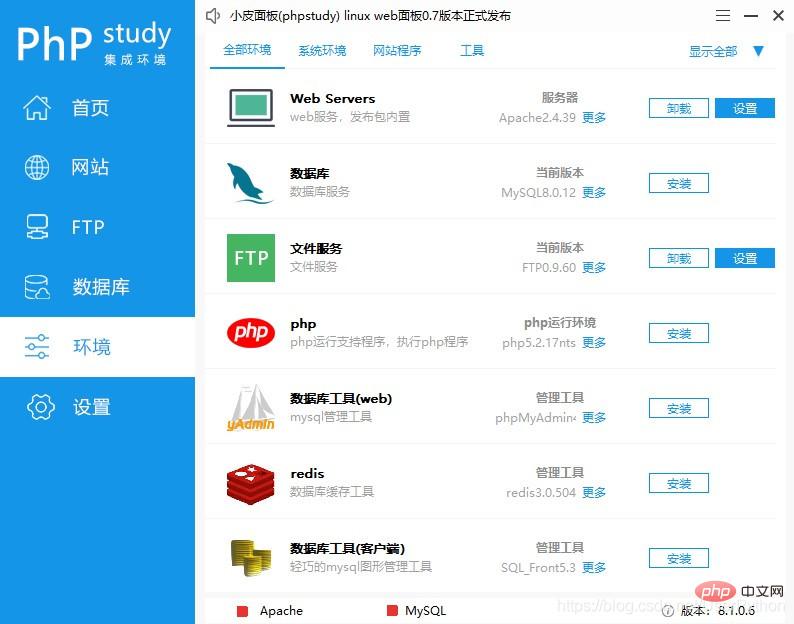
Step 4: Click More under the PHP running environment on the right and select the appropriate PHP version
Step 5: Click the environment on the left side of PHPstudy, then click Settings in the PHP options on the right side, select the extension component in the pop-up interface, then click the XDebug debugging component, remember what the port listening number is, and finally click Confirm
Step 6: Click the home page on the left side of PHPstudy, click the WNMP red dot to switch to the appropriate Web server, and then click Start
Step 7: Open the VSCode editor, find the tools and languages for the custom project in the welcome interface, and click to install additional support for PHP
Step 8: Open the VSCode file -> Preferences-> Settings-> Extensions-> Find the PHP plug-in
Step 9: Click on the settings.json file of PHP and PHP IntelliSense plug-in respectively
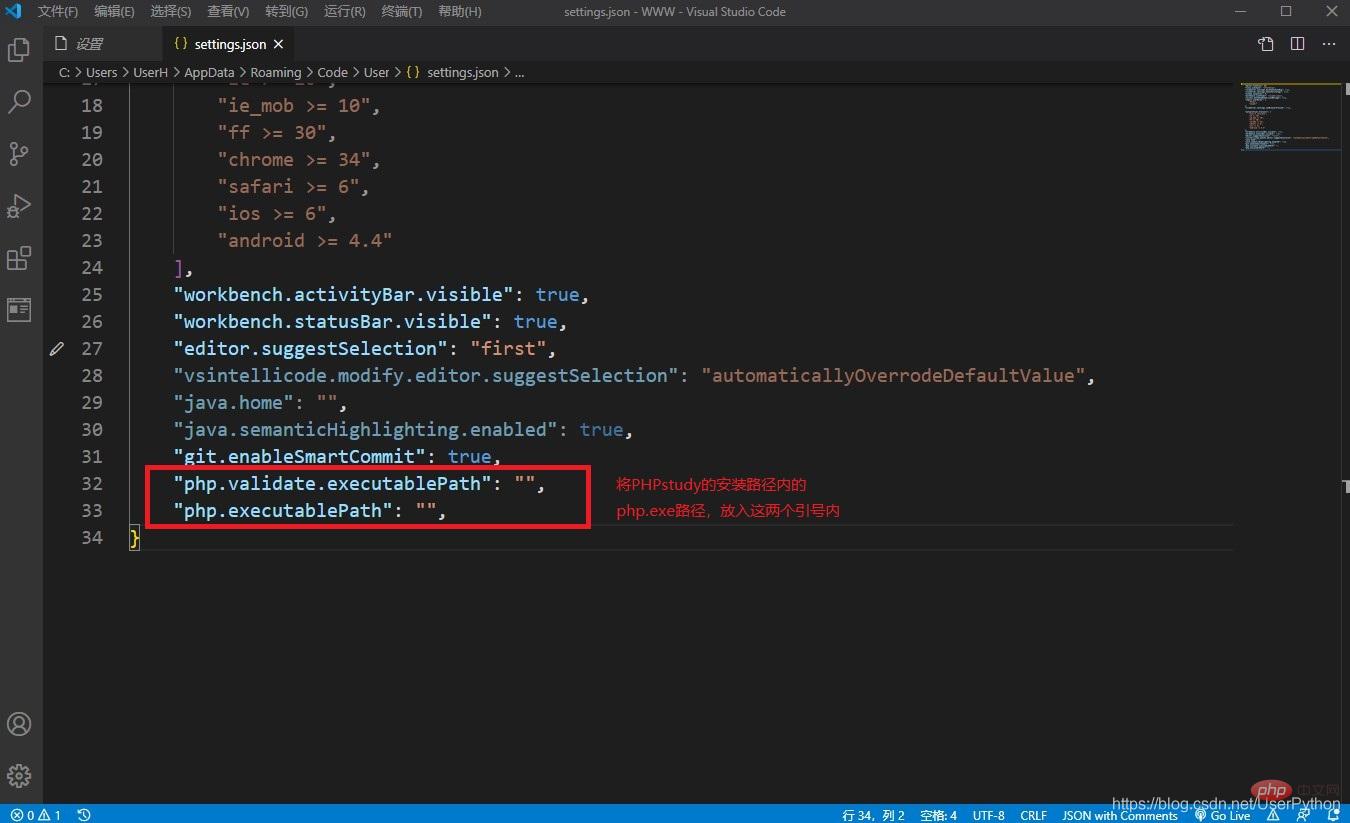
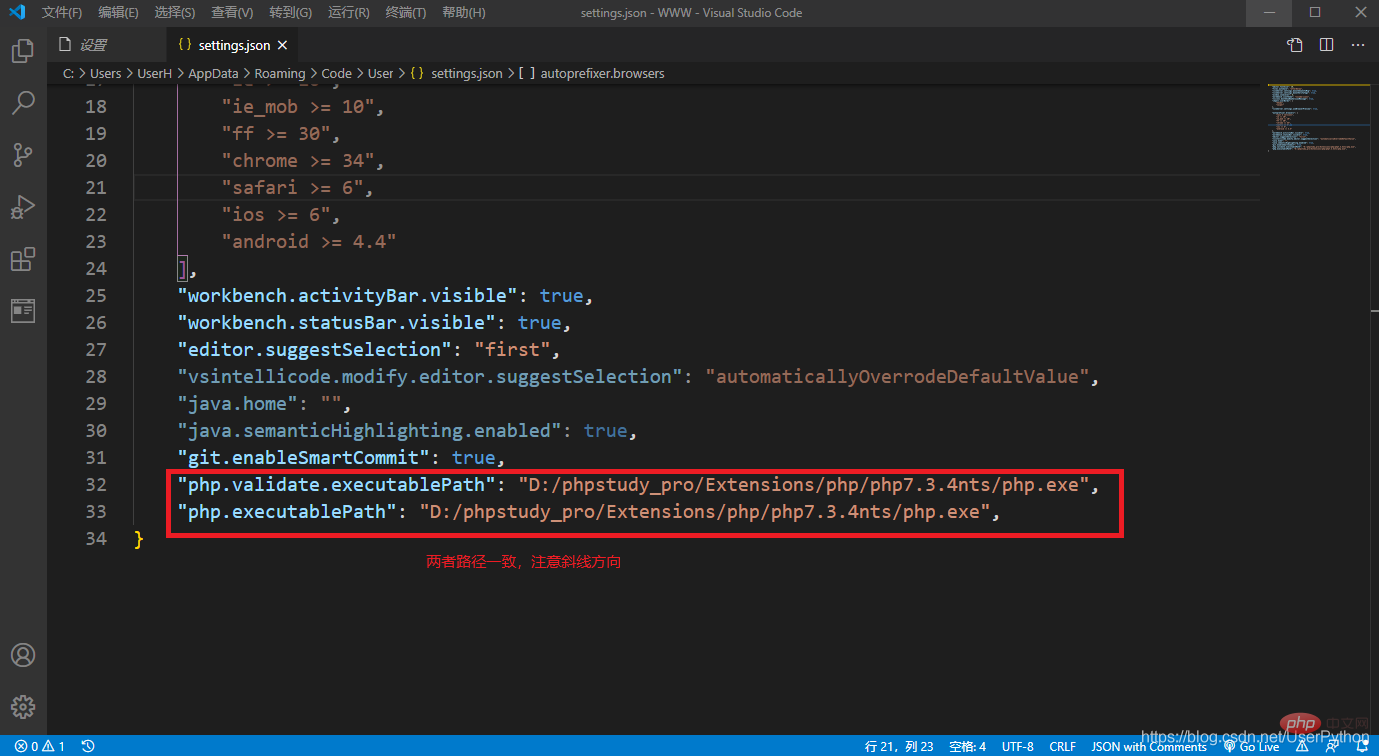
Step 10: Find the php.exe file path in the phpstudy installation path: D:/phpstudy_pro/Extensions/php/php7.3.4nts/php. exe;Copy this path to the php.validate.executablePath and php.executablePath property values in the json file found in the previous step
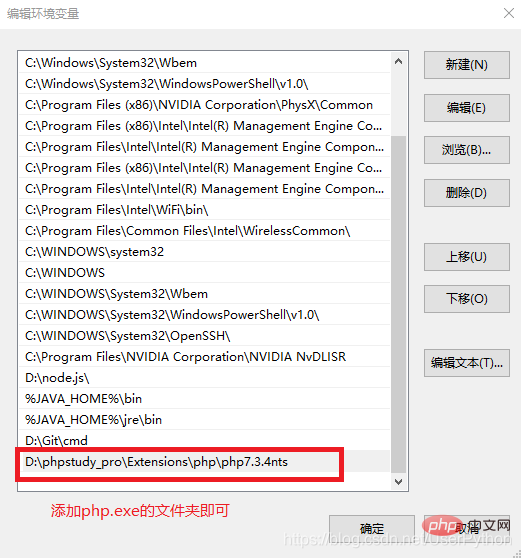
Step 11: Add the folder path of php.exe to the environment variable
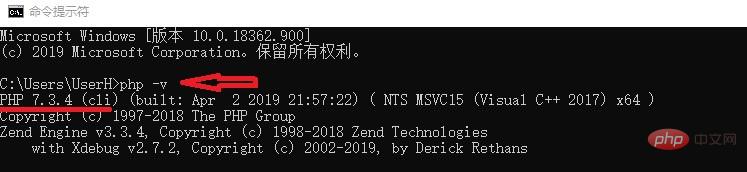
Step 12: Open cmd and enter php -v; if php appears Version information, which means the addition is successful, otherwise add it again
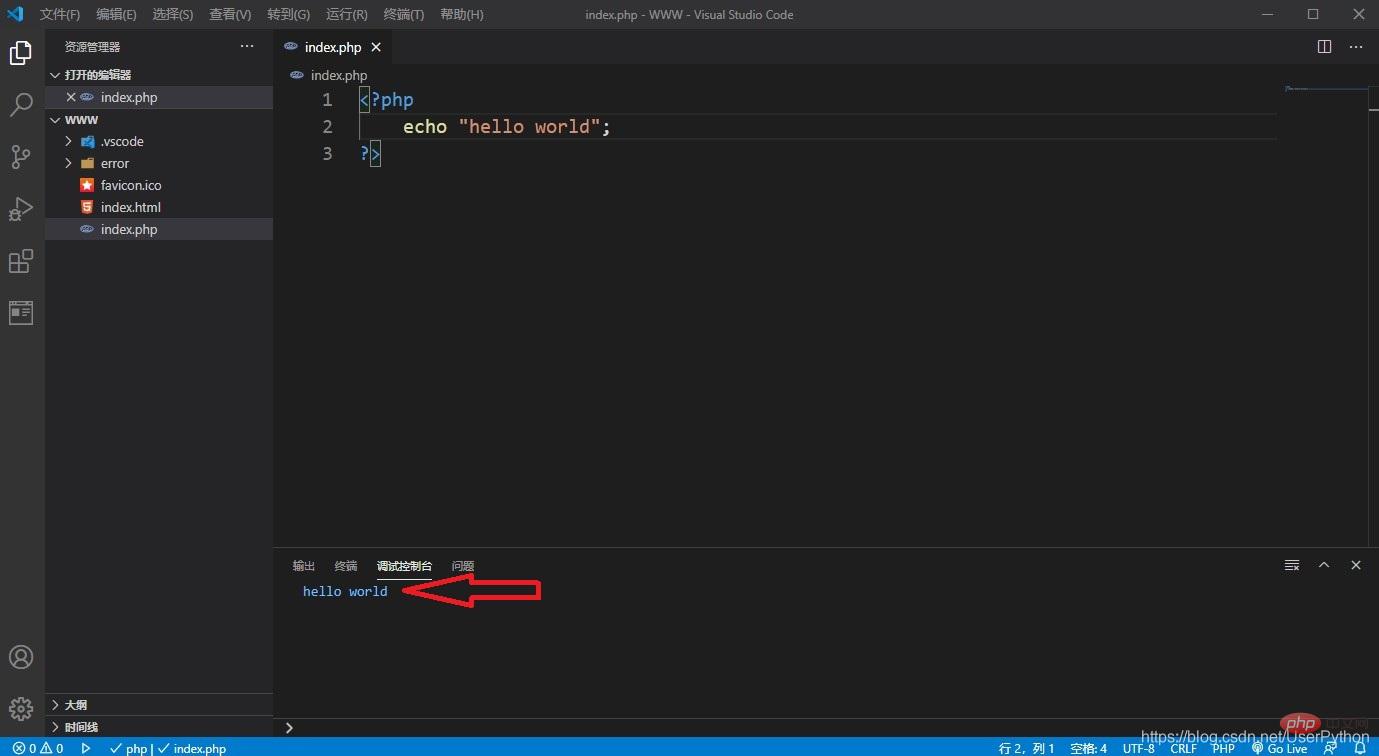
Step 13: Open VSCode and choose to open the WWW folder under the PHPstudy installation path: D:\ phpstudy_pro\WWW, create a new test.php file in the opened folder for testing; then click Start debugging under Run in the menu bar, and you can see the output results in the debugging console below; if the debugging control is not displayed Station, you can open a new terminal in the terminal of the menu bar
Step 14: If the vscode terminal console is not displayed in step 13, you can confirm it Whether the PHPstudy service is enabled, then open the browser and enter: http://localhost/index.html in the URL bar. If the following picture is displayed, the same configuration is successful. In the future, the PHP files will be placed in the PHPstudy installation directory. The WWW folder in
Configuration is successful
For more programming-related knowledge, please visit: Programming Video! !
The above is the detailed content of In-depth analysis of VSCode+PHPstudy's method of building a PHP development environment. For more information, please follow other related articles on the PHP Chinese website!


![[Web front-end] Node.js quick start](https://img.php.cn/upload/course/000/000/067/662b5d34ba7c0227.png)


