
Learn PS from me
Day 02: Understanding the Photoshop Toolbox (Part 2)
History Record Brush Tool: Mainly used to restore the image or open the original appearance of the image.
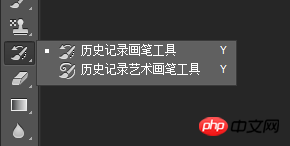
If the opened image is not saved after operation, click to restore the original image; if After saving the image and continuing to use this brush tool, the saved appearance will be restored.
Eraser Tool: Erase unwanted pixels
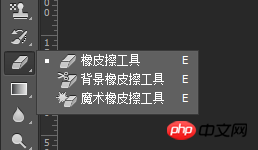
Eraser Tool: Erase unwanted pixels and restore portions of an image to their previously stored state
Background Eraser Tool: Pass Drag the mouse to erase certain areas as transparent layers
Magic Eraser Tool: Change the solid color background of the mouse-clicked area into a transparent area
Gradient Tool: Fill the image with a gradient color
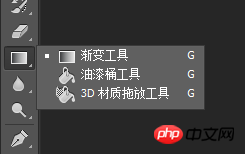
##Gradient tool: fill the image with gradient color. In the image, you need to drag the mouse along the direction of the gradient from the starting point to the end point. If you want a local gradient, you need to select the area to be filled in advance.
Paint Bucket Tool: Mainly used to fill in color, similar to the magic wand. The foreground color defaults to the filling color. The filling degree is determined by the tolerance value on the toolbar. The larger the tolerance value, the larger the filling range.
3D material drag and drop tool: mainly used for the production of 3D graphics and filling them with color.
Blur Tool: Used to blur images
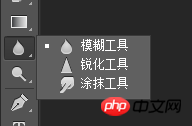
Blur tool: Partially blur the image, blur the hard edges of the image, just hold down the left mouse button and drag, generally used in medium And where the colors are too harsh.
Sharpen tool: Contrary to the blur tool, it is used to clarify the image. All pixels are sharpened within the scope of the effect, but the disadvantage is that if the degree of sharpening is too high, the component colors will be fully displayed, and the image will appear colorful.
Smear tool: Spread the color and imagine the feeling of spreading the paint. It is generally used to deal with the harsh transition between colors, and is also used in areas that are not well connected with the color. The size of the smear can be changed.
Dodge tool: Lighten local areas within the image
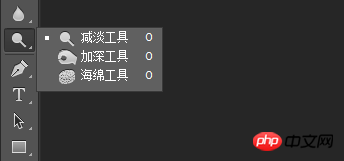
Dodge tool: Add light to the image to achieve the effect of dodging the color of the image, also called the highlight tool.
Burn tool: Contrary to the dodge tool, it darkens the image to make the image look darker and darker. It is also called the dimmer tool.
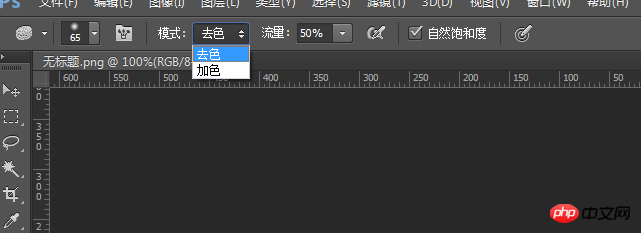
Sponge tool: Add color or added color to the image. Use the toolbar to choose whether to add color or remove color. The essence is to enhance or weaken the contrast of the color.
The third category: text and vector class
Pen Tool: Draw a path or image through a series of anchor points.
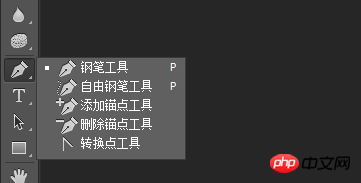
Pen tool: After clicking the mouse to determine an anchor point, drag the mouse to determine the next anchor point. If you need to draw an arc, release the mouse at the next anchor point and drag left and right. Mouse until you determine the arc you want. There is a control handle at each anchor point. Press the Ctrl key to adjust the arc of the control handle, press the Alt key to eliminate the control handle, and so on, connected end to end, and finally a closed path or graphic is obtained.
Free Pen Tool: Similar to the Lasso Tool. Hold down the left mouse button and drag the mouse until the end and end are connected to form a closed path or shape.
Add/Delete Anchor Point Tool; In the path that has been checked, find the anchor point and click the left mouse button to add/delete the anchor point.
Convert point tool: Convert the arc node radian to 0, that is, convert the arc to a straight line.
Text tool: used to create text
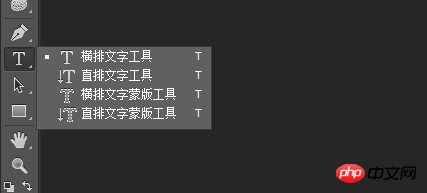
After selecting this tool, a dialog box will appear, just enter text. The text color and size on the toolbar can be changed as required.

##Path selection tool: used to select paths
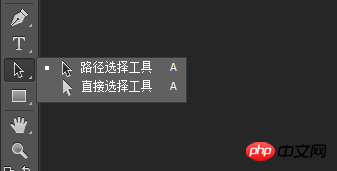
Direct selection tool: click on a node to drag and modify, or long press and drag with the mouse.
Rectangle tool: used to draw graphics
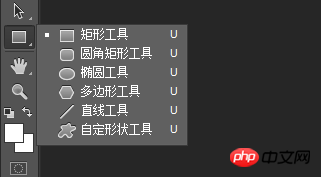
Let’s talk about the polygon tool. After clicking it, the following interface will appear in the toolbar
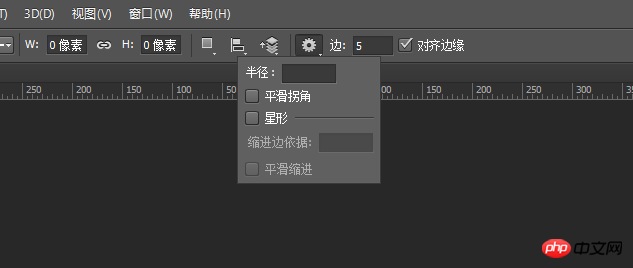 ##Enter the number of sides, enter "5" for pentagon, choose smooth corners or star shape, etc.
Grappler Tool: Used to pan and view objects
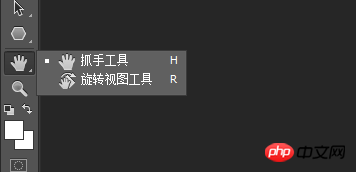 When the image cannot be fully displayed in the Photoshop file window, you can use the gripper tool to drag the image up and down to view it. You can also hold down the space bar and scroll the mouse to view up and down.
Zoom Tool: Zoom in or out of the view
 ## Generally use the shortcut keys Ctrl " " (zoom in) and Ctrl "—" (zoom out) instead.
The above is the detailed content of Learn PS with me Day 3 02: Get to know the Photoshop toolbox (Part 2). For more information, please follow other related articles on the PHP Chinese website!


