This article mainly introduces the method of webpack to separate CSS and package it separately. The content is quite good. Now I will share it with you and give it as a reference.
This article introduces the method of webpack to separate CSS and package it separately, and share it with everyone. The details are as follows:
CHANGELOG
2018 -02-08 14:46:06
I just took a look and checked online about webpack packaging css separately. The article I found was relatively early. However, because the writing was quite confusing, I reorganized the content. A little more understandable.
2018-02-01 14:45:23
Since this article only describes how to package CSS into one CSS file, it does not explain how to package it into multiple CSS files. Friendly reminder, a method of packaging into multiple CSS files has been added here.
2016-05-17 11:55
Just learned webpack, record how webpack packages css separately
Zero, introduction
The following is some basic knowledge summarized in personal projects. It is recorded here to deepen your impression and allow everyone to understand webpack more quickly and conveniently and use it. Due to limited capabilities, if there are errors or problems, please help point them out.
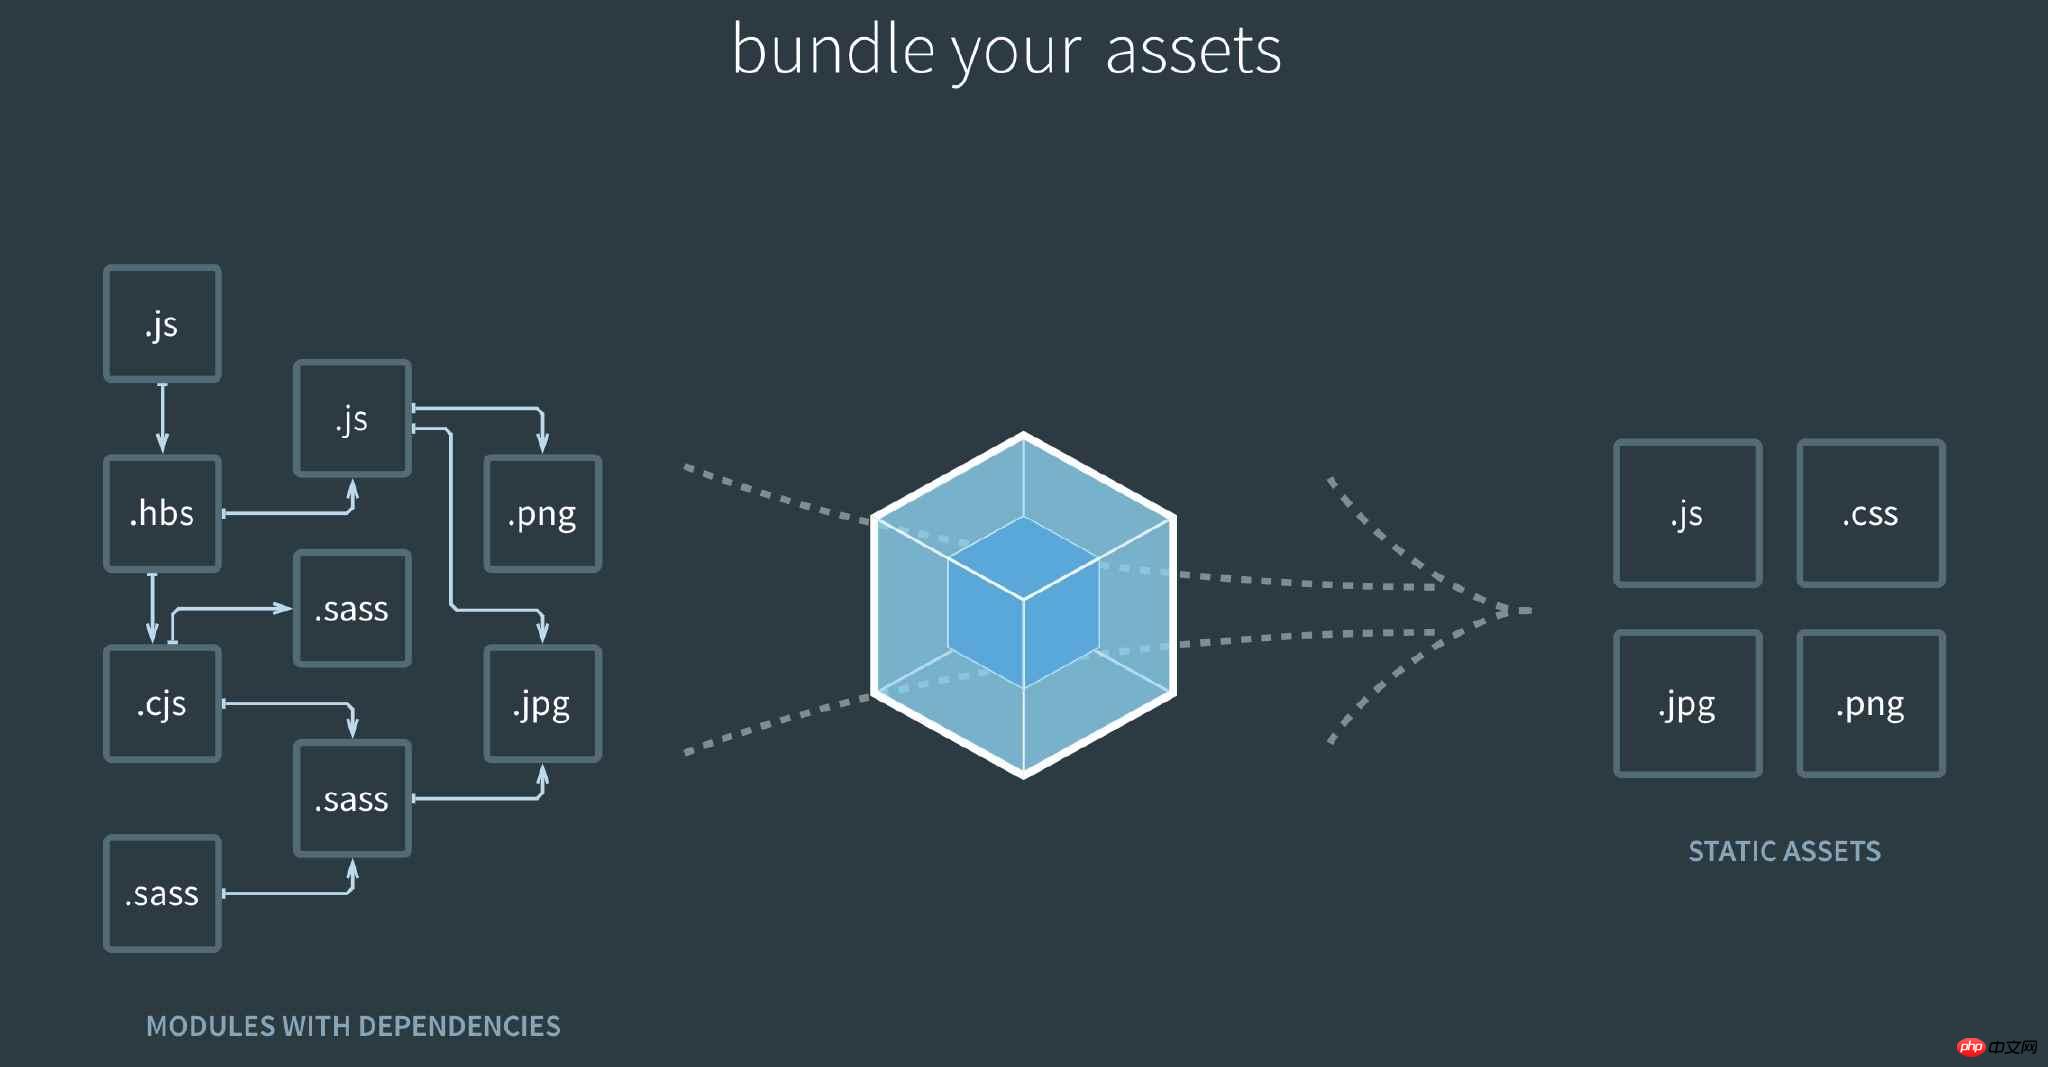
Webpack treats all resources as a module. CSS, Image, and JS font files are all resources and can be packaged into a bundle.js file.

The basic use of webpack is very simple, but it would be a lot to explain all aspects, so here we mainly explain how to use webpack to package css separately.
As for packaging, how to add a hash value, how to replace the reference path in HTML, and how to upload to CND can be achieved using gulp. [Write an article later if you are interested]
1. Extract-text-webpack-plugin usage
Package css separately, in webpack You need to use a plug-in, extract-text-webpack-plugin
1. Install extract-text-webpack-plugin
// use npm
npm install extract-text-webpack-plugin --save-dev

// or use yarn
yarn add extract-text-webpack-plugin
2. Configuration
Write the configuration of the plug-in in the loader (what loader to use), and set the name of the extracted CSS file in the plugins of webpack.
var Ex = require('extract-text-webpack-plugin');
// ...省略
module: {
 loaders: [{
  test: /\.less/,
  loader: Ex.extract('style-loader', 'css-loader','less-loader') // 单独打包出CSS,这里配置注意下
 }]
},
plugins: [
 new Ex("【name】.css")
]For a little more detail, you can refer to this "Usage and Installation of extract-text-webpack-plugin"
Here are two actual usage examples to facilitate everyone's understanding
2. Single page application, package the CSS in JS separately
To package a file, you only need to reference the css file in the regular entry js file That's it, package it into multiple CSS files. You can set multiple CSS entries and let webpack use loader to package. It is the same as splitting and packaging js files separately. Here are two examples.
// webpack 1.x 配置  【早期使用的配置,那时候是1.x】
/*  webpack.config.js  */
var precss = require('precss');
var cssnext = require('cssnext');
var autoprefixer = require('autoprefixer');
var cssnano = require('cssnano');
var Ex = require('extract-text-webpack-plugin');
module.exports = {
  entry: './index.js',
  output: {
   filename: 'index.js'
  },
  module: {
   loaders: [{
    test: /\.less/,
    loader: Ex.extract('style-loader', 'css-loader','less-loader') // 单独打包出CSS,这里配置注意下
   }]
  },
  plugins: [
   new Ex("【name】.css")
  ]
}3. How webpack packages multiple CSS files
2. Add the corresponding configuration to the configuration file
Provided directly below A completed multi-entry CSS packaging configuration
// webpack 3.x 的配置
var path = require('path')
var glob = require('globby')
var webpack = require('webpack')
var ExtractTextPlugin = require('extract-text-webpack-plugin')

// CSS入口配置
var CSS_PATH = {
 css: {
  pattern: ['./src/**/[^_]*.less', '!./src/old/**/*.less'],
  src: path.join(__dirname, 'src'),
  dst: path.resolve(__dirname, 'static/build/webpack'),
 }
}

// 遍历除所有需要打包的CSS文件路径
function getCSSEntries(config) {
 var fileList = glob.sync(config.pattern)
 return fileList.reduce(function (previous, current) {
  var filePath = path.parse(path.relative(config.src, current))
  var withoutSuffix = path.join(filePath.dir, filePath.name)
  previous[withoutSuffix] = path.resolve(__dirname, current)
  return previous
 }, {})
}

module.exports = [
 {
  devtool: 'cheap-module-eval-source-map',
  context: path.resolve(__dirname),
  entry: getCSSEntries(CSS_PATH.css),
  output: {
   path: CSS_PATH.css.dst,
   filename: '[name].css'
  },
  module: {
   rules: [
    {
     test: /\.less$/,
     use: ExtractTextPlugin.extract({
      use: ['css-loader', 'postcss-loader', 'less-loader']
     })
    }
   ]
  },
  resolve: {
   extensions: ['.less']
  },
  plugins: [
   new ExtractTextPlugin('[name].css'),
  ]
 },
// 如果还需要打包js,则可以在这里增加一个单独打包js的处理【根据自己需求来】
// {
//  entry:{},
//  output:{},
//  ... 省略
// }
]There may be students who are still using webpack1.x, so here is a simple configuration of webpack1.x
// webpack 1.x 版本
// ...其他配置和webpack3.x一样
module: {
  loaders: [
    {
      test: /\.less$/,
      loader: ExtractTextPlugin.extract("style-loader","css-loader","postcss-loader","less-loader")
    },
  ]
}
plugins: [
 new ExtractTextPlugin('[name].css'),
]
// ...其他配置和webpack3.x一样The above is the entire content of this article. I hope it will be helpful to everyone's learning. For more related content, please pay attention to the PHP Chinese website!
Related recommendations:
Use CSS to customize the style of the green check box button
DIV and CSS to implement the imitation Jingdong Mall navigation bar Effect
The above is the detailed content of How webpack separates css and packages it separately. For more information, please follow other related articles on the PHP Chinese website!


