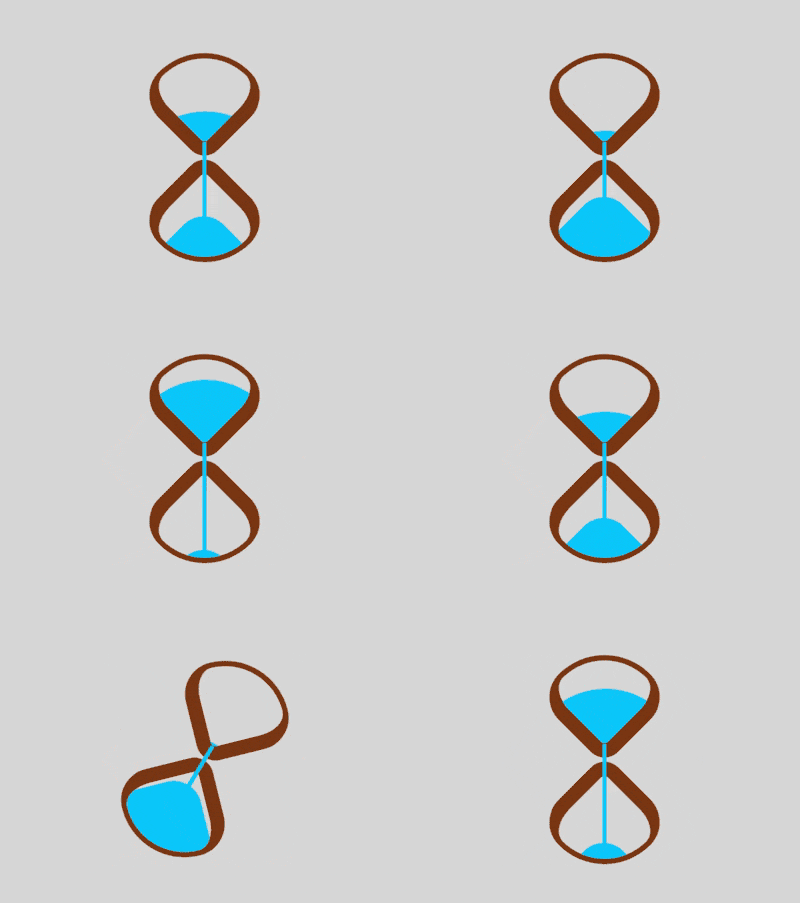
這篇文章帶給大家的內容是關於如何使用css實現監控網路連線狀態的頁面 ,有一定的參考價值,有需要的朋友可以參考一下,希望對你有所幫助。

https://github.com/comehope/front-end-daily -challenges
定義dom,容器包含2 個元素,分別代表沙漏的上半部和下半部:
居中顯示:
body { margin: 0; height: 100vh; display: flex; align-items: center; justify-content: center; background-color: gainsboro; }
定義容器尺寸,並設定子元素整體佈局:
.loader { width: 4.3em; height: 9.8em; font-size: 10px; position: relative; display: flex; flex-direction: column; align-items: center; justify-content: space-between; }
畫出2 個正方形:
.top, .bottom { width: 3.5em; height: 3.5em; border-style: solid; border-color: saddlebrown; }
透過邊框、圓角和旋轉,把2 個正方形變成沙漏形狀:
.top, .bottom { border-width: 0.2em 0.2em 0.6em 0.6em; border-radius: 50% 100% 50% 30%; } .top { transform: rotate(-45deg); } .bottom { transform: rotate(135deg); }
用偽元素畫出沙子,上部的沙子的頂部是大圓弧,下部的沙子的頂部是小圓弧:
.top::before, .bottom::before { content: ''; position: absolute; width: inherit; height: inherit; background-color: deepskyblue; } .top::before { border-radius: 0 100% 0 0; } .bottom::before { border-radius: 0 0 0 35%; }
定義沙子的動畫屬性:
.top::before, .bottom::before { animation: 2s linear infinite; }
增加沙子從沙漏的上半部落下的動畫效果:
.top::before { animation-name: drop-sand; } @keyframes drop-sand { to { transform: translate(-2.5em, 2.5em); } }
增加沙子的沙漏在下半部堆積的動畫效果:
.bottom::before { transform: translate(2.5em, -2.5em); animation-name: fill-sand; } @keyframes fill-sand { to { transform: translate(0, 0); } }
隱藏沙漏上半部和下半部容器外的部分,此時上面2 個動畫的疊加效果是沙子從上半部漏下,慢慢在下半部堆積:
.top, .bottom { overflow: hidden; }
用外層容器的偽元素製作一個窄長條,模擬流動的沙子:
.loader::after { content: ''; position: absolute; width: 0.2em; height: 4.8em; background-color: deepskyblue; top: 1em; }
增加沙子流動的動畫效果:
.loader::after { animation: flow 2s linear infinite; } @keyframes flow { 10%, 100% { transform: translateY(3.2em); } }
最後,增加沙漏的翻轉動畫:
.loader { animation: rotating 2s linear infinite; } @keyframes rotating { 0%, 90% { transform: rotate(0); } 100% { transform: rotate(0.5turn); } }
大功告成!
相關推薦:
如何使用純CSS實作一隻紅色的憤怒小鳥(附代碼) #以上是如何使用純CSS實現一個沙漏的動畫效果的詳細內容。更多資訊請關注PHP中文網其他相關文章!


