
Recommended: "PHP8 Tutorial"
Preface
The new feature that attracts the most attention in the upcoming PHP 8 is the introduction of JIT support, I have briefly introduced what JIT is and the difference with Opcache. Here is a brief summary:
It seems very high-end, but JIT is mainly optimized for CPU-intensive operations, and the current mainstream PHP Web applications are all IO-intensive operations, so the JIT introduced in PHP 8 is very effective for these Web applications. Has the performance of the application been improved? To this end, PHP 8 Alpha version was specially compiled and installed, and simple benchmark tests were conducted on command line applications (CPU-intensive operations) and Laravel applications (IO-intensive operations) to find out.
Prepare an Ubuntu virtual machine
Note: PHP's JIT can only take effect under the X86 architecture, so use Intel CPU PC, Mac, Linux environment All can be supported.
Since PHP 8 has not been officially released yet, you can only download the source code, compile and install it, so you need to prepare a Linux environment as a test environment. Many students told me that they have not demonstrated the operation process on Windows, so today I specially chose to install Ubuntu 18.04 through WSL in Windows 10 Professional Edition as a demonstration environment. This is much simpler than installing a virtual machine through Virtual Box or VMWare. , I have to say that starting from Windows 10, it has become more and more friendly to developers, although it is still far behind compared to Mac. After all, Mac is a native Unix-like system.
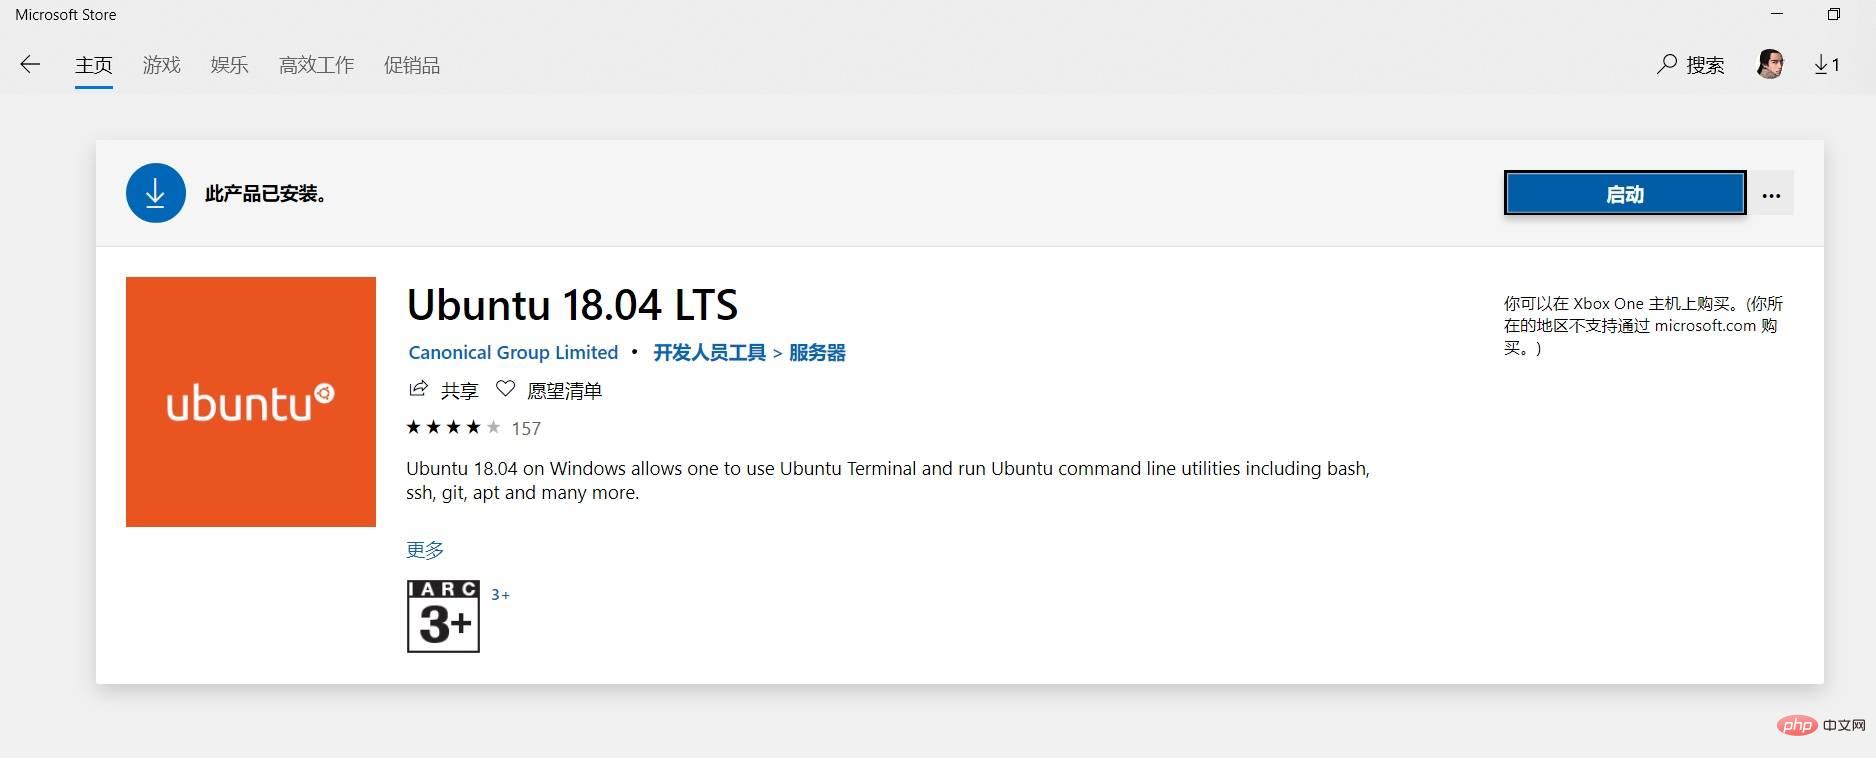
Let’s get back to the point, install the WSL version of Ubuntu virtual machine. Windows officially provides the corresponding documents: Windows Subsystem for Linux Installation Guide for Windows 10, just follow it, it is very simple, in Windows After downloading and installing from the store, you can click the start button to start the Ubuntu virtual machine:
The interface after opening is like this, it looks similar to a terminal window:
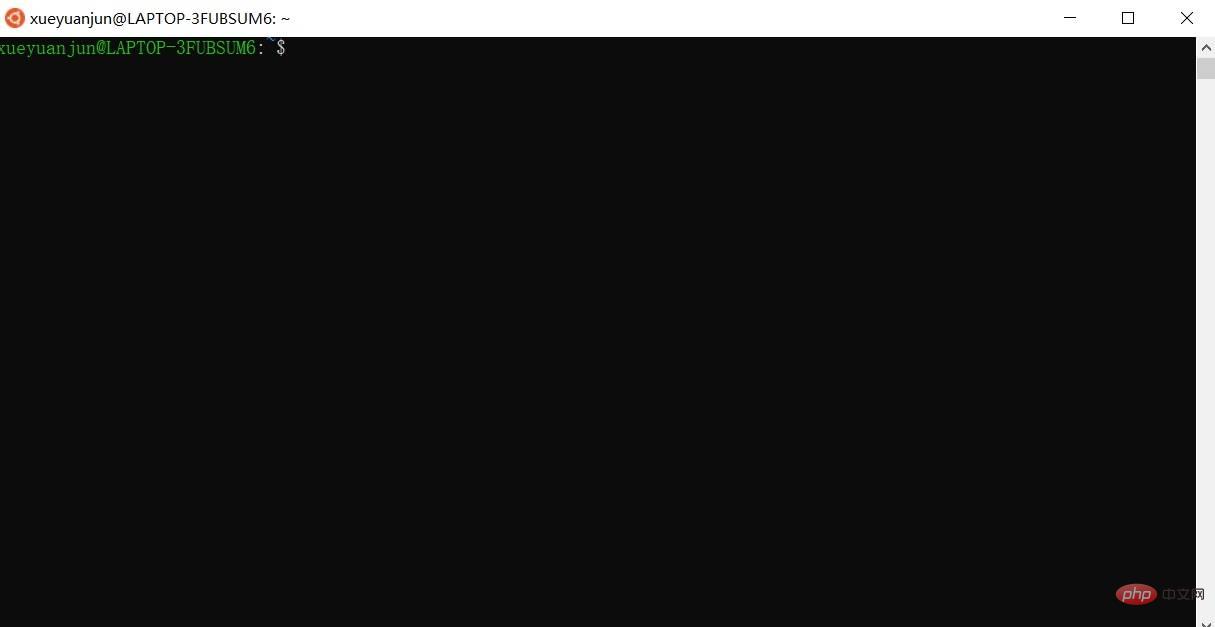
The experience of using this virtual machine is simpler than that of traditional virtual machines. For example, you can directly call Windows host programs, such as VS Code, and manage them through Nginx in the virtual machine. Web applications can also be accessed directly from the Windows host browser without configuring port mapping, so it is very convenient to use as a local Linux test and development environment.
Of course, if you don’t want to try something new, you can use a traditional virtual machine or the native Ubuntu system.
Demo project initialization
Next, we need to install Nginx, as well as PHP and Composer in this Ubuntu virtual machine through the terminal window opened above, through the following You can do it with the command:
sudo apt install nginx
sudo apt install php php-zip php-mbstring
sudo apt install composer
Then install the Laravel Web project for demonstration in the Nginx default Web root directory /var/www through Composer (the download speed is slow, you can configure Composer globally Mirror):
sudo composer create-project --prefer-dist laravel/laravel blog 6.* -vvv
After the initialization is completed, you can test whether the access to this project is normal through php artisan serve. It will not be demonstrated here.
Compile and install PHP 8 test version
After completing the above preparations, you can start compiling and installing the PHP 8 test version. First, we download PHP 8 from Github Test version source code (the download of the PHP official website source code package is too slow):
wget https://github.com/php/php-src/archive/php-8.0.0alpha2.tar.gz
Unzip and enter the source code root directory:
tar zxvf php-8.0.0alpha2.tar.gz
cd php-8.0.0alpha2
Start the compilation and installation process:
// 1、安装相关依赖库
sudo apt install -y pkg-config build-essential autoconf bison re2c libxml2-dev \
libsqlite3-dev libssl-dev libcurl4-openssl-dev libpng-dev libonig-dev libzip-dev

// 2、生成 configure 文件
./buildconf --force

// 3、配置构建流程
./configure --prefix=/usr/local/php8 \
--with-config-file-path=/usr/local/php8 \
--enable-mbstring  \
--enable-ftp  \
--enable-gd   \
--enable-mysqlnd \
--enable-pdo   \
--enable-sockets   \
--enable-fpm   \
--enable-xml  \
--enable-soap  \
--enable-pcntl   \
--enable-cli   \
--enable-json  \
--enable-tokenizer \
--enable-ctype \
--enable-bcmath  \
--with-openssl  \
--with-pear   \
--with-zlib  \
--with-iconv  \
--with-curl  \
--with-zip

// 4、构建
make

// 5、安装
sudo make install
The last step is executed successfully Afterwards, there will be a prompt text indicating that PHP 8 is successfully installed. You can also verify the successful installation through the following command:

The current PHP 8 is installed to /usr/local /php8 in this directory.
Initialization configuration file
To compile and install PHP 8, you need to copy and set the configuration file yourself. We first change the basic configuration file php.ini from Copy the source code directory to the PHP installation directory:
sudo cp php.ini-production /usr/local/php8/php.ini
Since JIT is provided in the Opcache extension, you need to start this extension first and open /usr/local/php8/php.ini, uncomment the following configuration items (just delete the preceding semicolon):
zend_extension=opcache.so
opcache.enable=1
opcache.enable_cli=1
Then initialize the PHP-FPM configuration file.
First copy the php8.0-fpm binary file to the /etc/init.d directory (still in php-8.0.0alpha2 Operating in the source code directory):
sudo cp sapi/fpm/init.d.php-fpm /etc/init.d/php8.0-fpm
sudo chmod +x /etc/init.d/php8.0-fpm
进入 /usr/local/php8/etc 目录,初始化 PHP-FPM 配置文件:
cd /usr/local/php8/etc
sudo cp php-fpm.conf.default php-fpm.conf
通过 vim 编辑器打开 php-fpm.conf,修改如下配置项(同时取消前面的分号注释):
pid = /run/php/php8.0-fpm.pid
然后进入当前目录下的 php-fpm.d 子目录:
cd php-fpm.d
sudo cp www.conf.default www.conf
打开 www.conf,修改如下配置项(同时取消前面的分号注释):
user = www-data
group = www-data

listen = /run/php/php8.0-fpm.sock

listen.owner = www-data
listen.group = www-data
listen.mode = 0660
命令行应用基准测试
完成上述准备工作后,就可以正式开始测试工作了。
首先,我们来测试命令行应用,PHP 官方在源码中提供了一个基准测试文件,我们进入源码所在目录 php-8.0.0alpha2,通过如下命令测试不启动 JIT 情况下代码运行情况:
/usr/local/php8/bin/php -d opcache.jit_buffer_size=0 Zend/bench.php
运行结果如下(运行时间,单位为 s):

然后,再通过下面这条命令测试启动 JIT 的情况下命令行代码的运行情况:
/usr/local/php8/bin/php -d opcache.jit_buffer_size=64M -d opcache.jit=1205 Zend/bench.php
注:关于
opcache.jit_buffer_size配置项比较好理解,而opcache.jit配置项对应配置值的每个数字代表不同含义,具体可以参考鸟哥的这篇博客:PHP 8 新特性之 JIT 简介,里面讲得非常详细,一般对于命令行应用,将该配置值配置为 1205,对于 Web 应用,配置为 1235 或者 1255。
最终运行结果如下:

可以看到,在 CPU 密集型操作的命令行应用中,启用 JIT 与不启用相比,耗时降低了接近 60%,性能提升了 2 倍。
Web 应用基准测试
接下来,我们以 Laravel 演示项目为例,演示 PHP Web 应用中启用 JIT 与不启用性能有没有提升。
启动 PHP-FPM:
sudo /etc/init.d/php8.0-fpm start
在 Nginx 中配置一个新的虚拟主机(/etc/nginx/sites-available/blog):
server {
    listen 80;
    server_name blog.test;
    root /var/www/blog/public;

    index index.html index.htm index.php;

    charset utf-8;

    location / {
        try_files $uri $uri/ /index.php?$query_string;
    }

    location = /favicon.ico { access_log off; log_not_found off; }
    location = /robots.txt  { access_log off; log_not_found off; }

    error_page 404 /index.php;

    location ~ \.php$ {
        fastcgi_pass unix:/var/run/php/php8.0-fpm.sock;
        fastcgi_index index.php;
        fastcgi_param SCRIPT_FILENAME $realpath_root$fastcgi_script_name;
        include fastcgi_params;
    }

    location ~ /\.(?!well-known).* {
        deny all;
    }
}然后进入 /etc/nginx/sites-enable 目录,创建这个虚拟主机的软连接:
sudo ln -s /etc/nginx/sites-available/blog blog
启动 Nginx:
sudo service nginx start
在 Windows 系统的 C:\Windows\System32\drivers\etc\hosts 文件中添加虚拟域名与主机地址的映射:
127.0.0.1 blog.test
此时可以在 Windows 宿主机中通过浏览器访问对应的 Laravel 项目,表示部署成功:
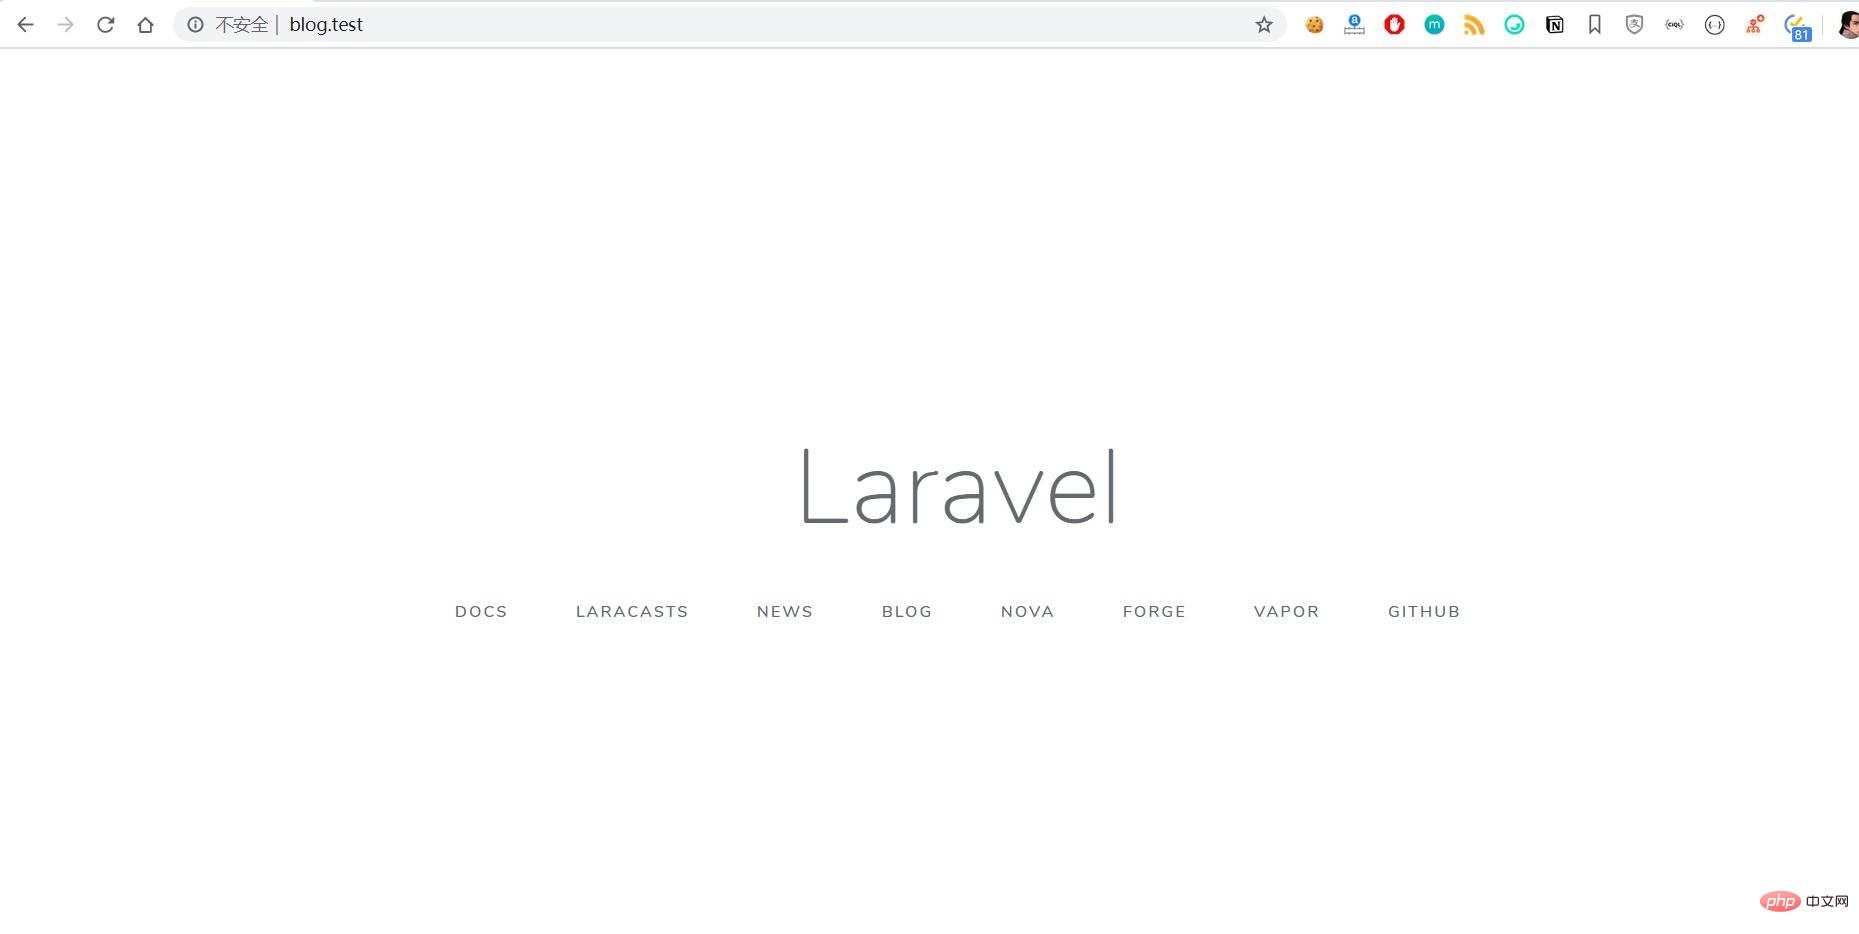
然后,我们还是在 Windows 中,通过 ab 命令对 blog.test 首页进行压力测试(此时尚未启用 JIT):
ab -n 10 -c 10 http://blog.test/
注:
-n表示总请求数,-c表示最大并发请求数。
测试结果如下,重点关注 RPS(每秒处理请求数):
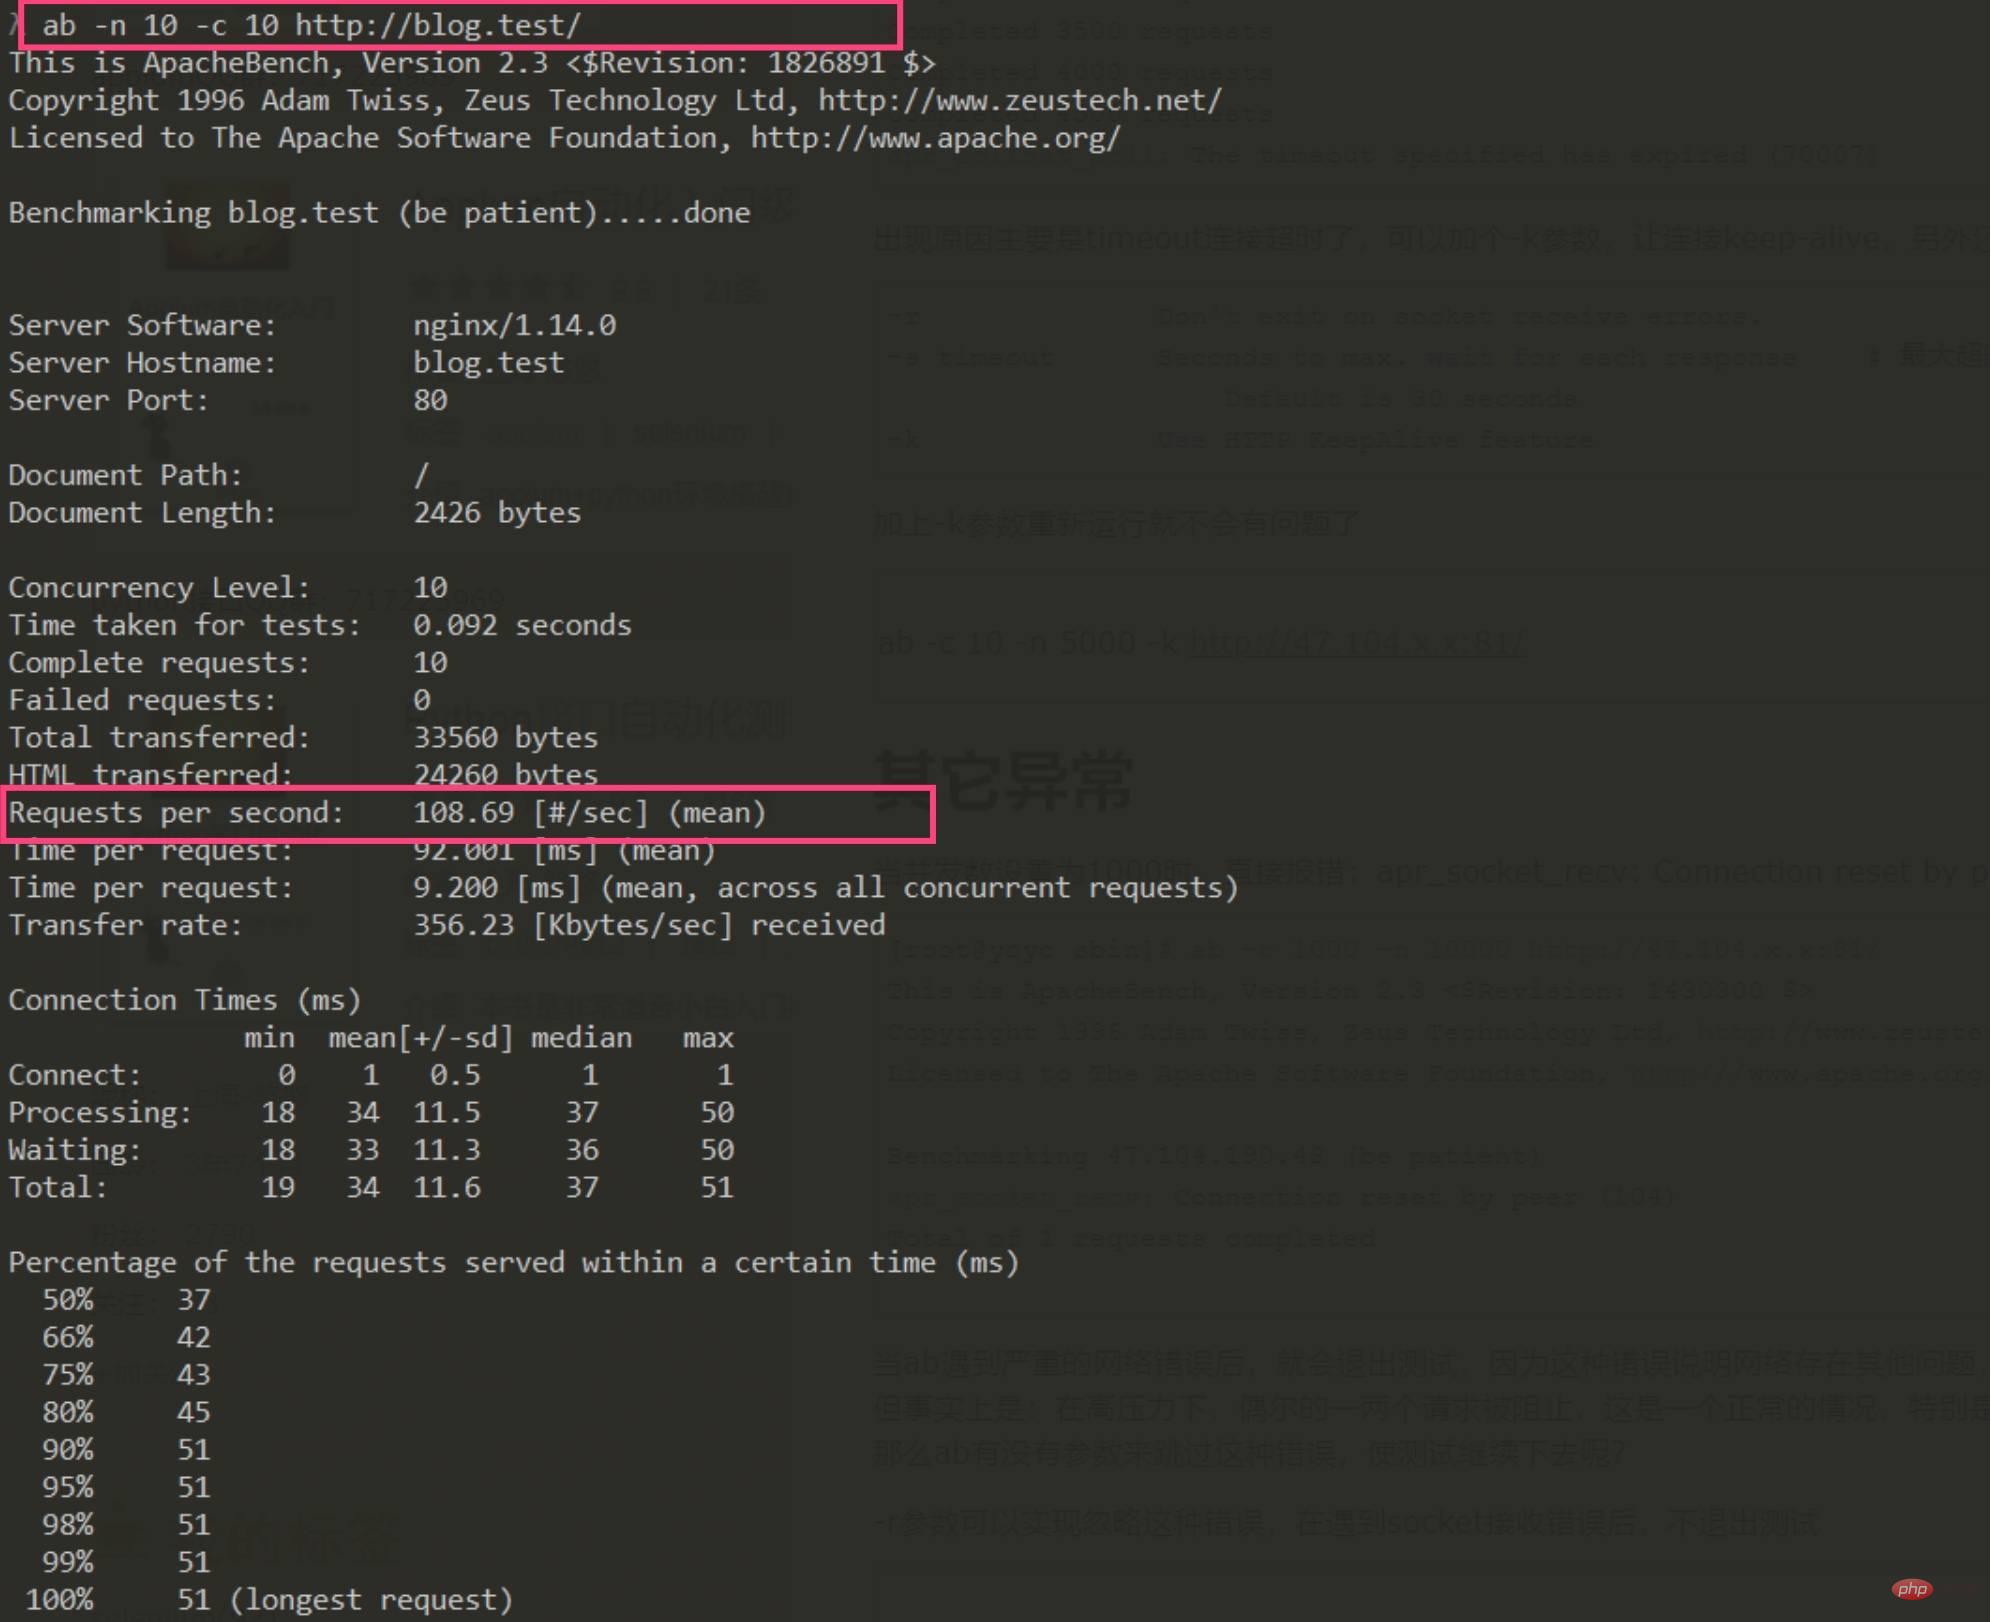
最后,在 Ubuntu 虚拟机中,打开 PHP 8 的配置文件 /usr/local/php8/php.ini,在 Opcache 配置项下新增 JIT 配置:
opcache.jit=1235
opcache.jit_buffer_size=64M
配置完成后,重启 PHP-FPM 服务,再次回到 Windows 宿主机,通过 ab 命令对 http://blog.test 页面进行压力测试:
ab -n 10 -c 10 -s 60 http://blog.test/
注:
-s表示超时时间。
运行结果如下:
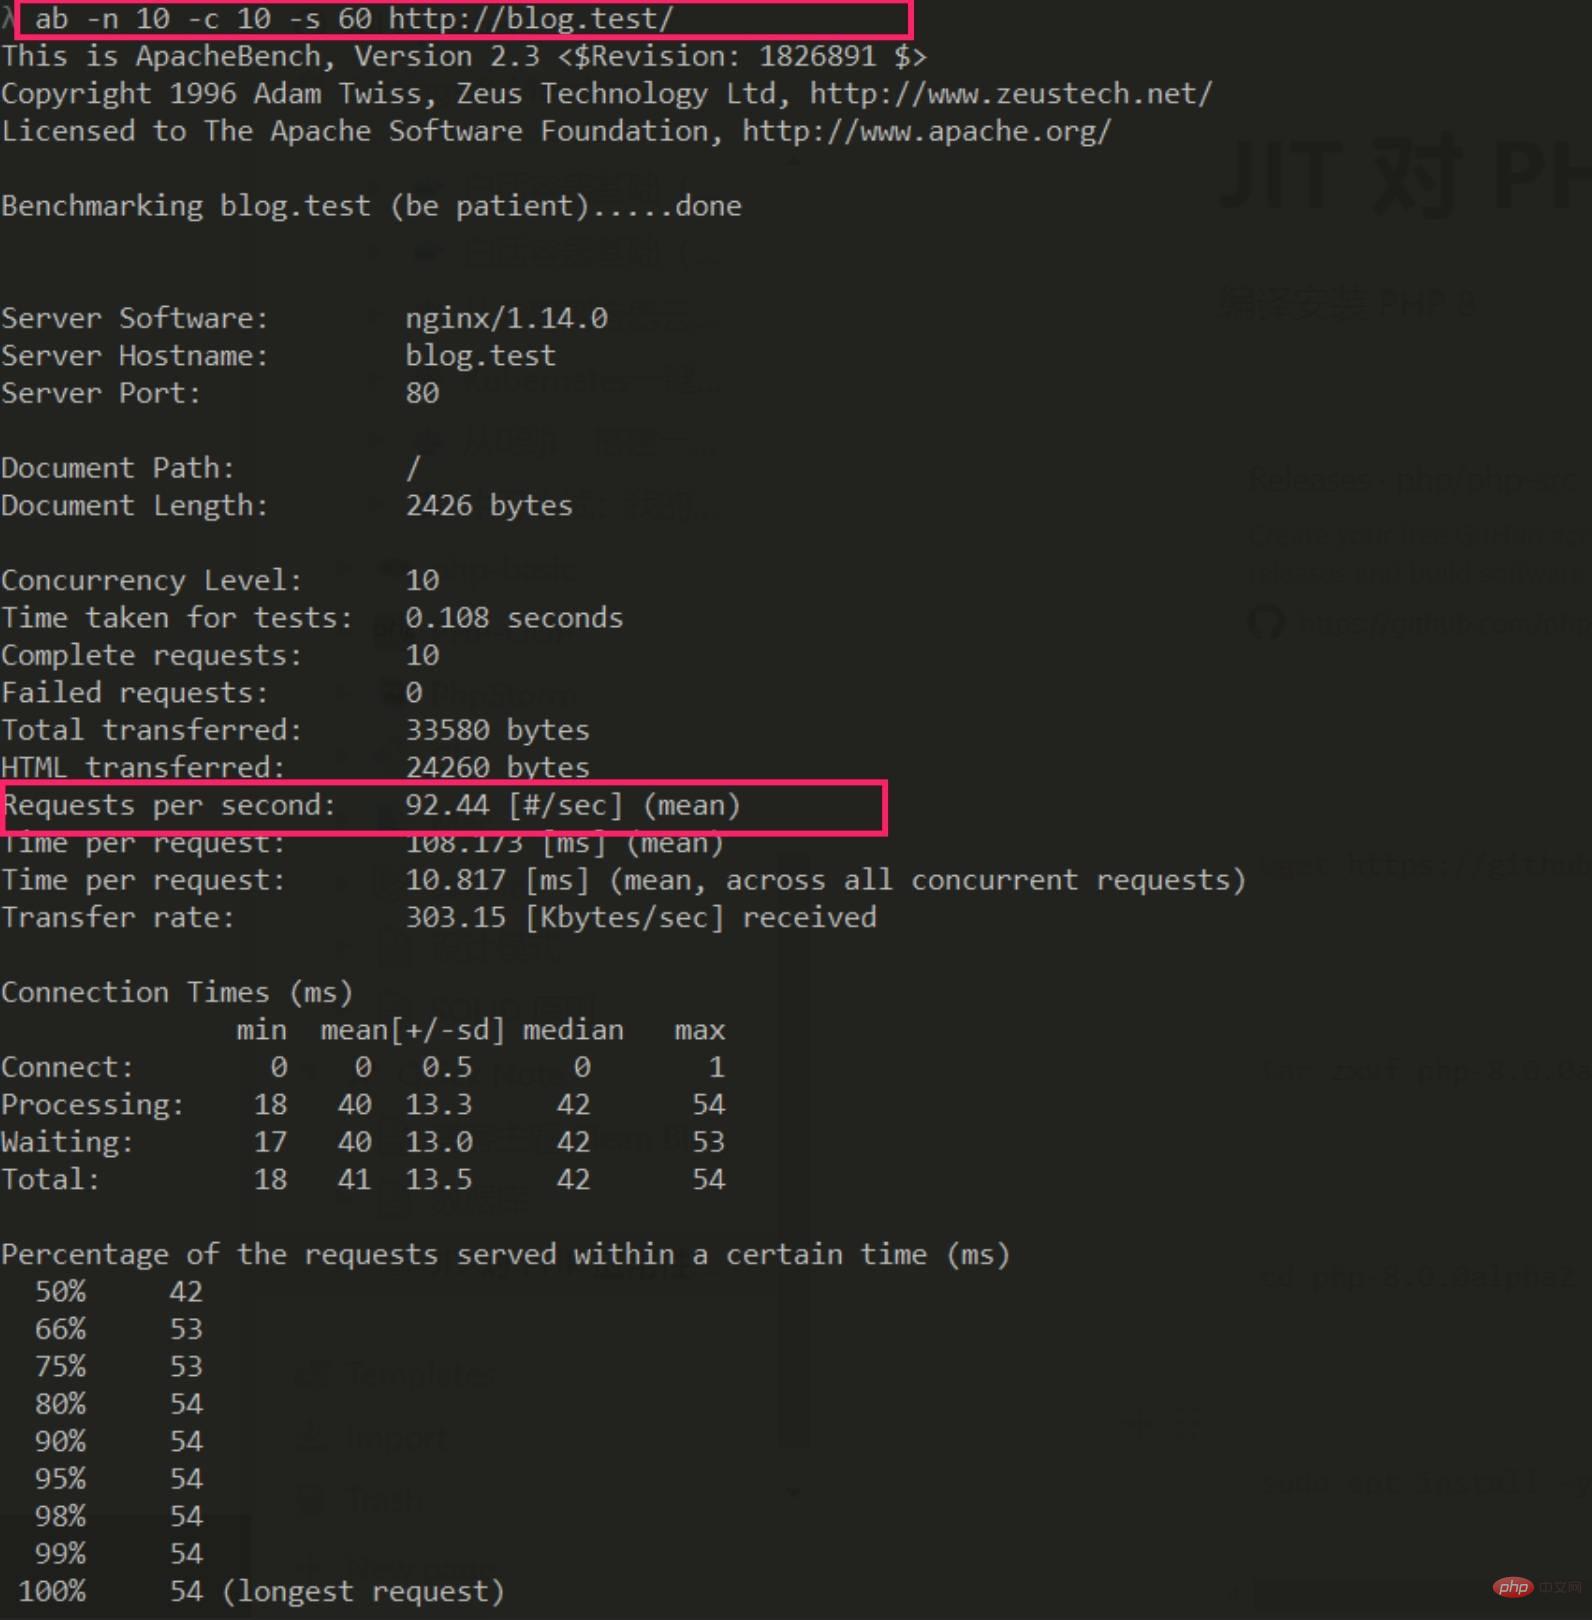
可以看到在 IO 密集型操作的 Web 应用中,启用 JIT 与不启用相比,性能不但没有提升,反而有 10% 左右的损耗,至少在 Laravel 应用中是如此。
小结
当然,这里的测试仅限于的 Ubuntu 虚拟机环境(Windows WSL 版,配置是 8C8G),并且我也只是将 JIT 参数调整为官方建议的参数,没有做更多的对比测试,但是可以肯定的是 JIT 对 CPU 密集型操作优化效果很好,对 Web 应用性能是否有提升,取决于你的环境和配置的调优,因此 JIT 对 IO 密集型操作应用的性能优化效果有限,更适用于 CPU 密集型操作场景的性能优化,比如图像处理、机器学习等。
The above is the detailed content of The impact of PHP 8 new features JIT on PHP application performance. For more information, please follow other related articles on the PHP Chinese website!