Found a total of 15 related content

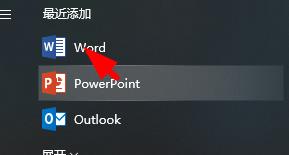
How to rotate pictures inserted in Word How to rotate pictures in Word
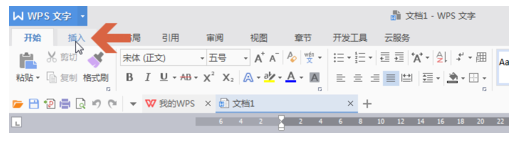
Article Introduction:When we edit document content in Word, we will import and insert pictures for display. Then some pictures do not rotate normally after being inserted and need to be set. For many novice users, they want to know how to rotate Word pictures? Regarding this issue, the editor of PHP Chinese website will explain the specific operation steps to everyone. I hope that the content of today’s software tutorial can help more people. How to rotate pictures inserted in Word: 1. First open Word, then click Start - Pictures in the menu, and insert pictures. 2. Then select the inserted picture. 3. Then find the rotation option at the top. 4. Finally, click the small triangle next to rotation to select the direction of rotation.
2024-09-09
comment 0
331
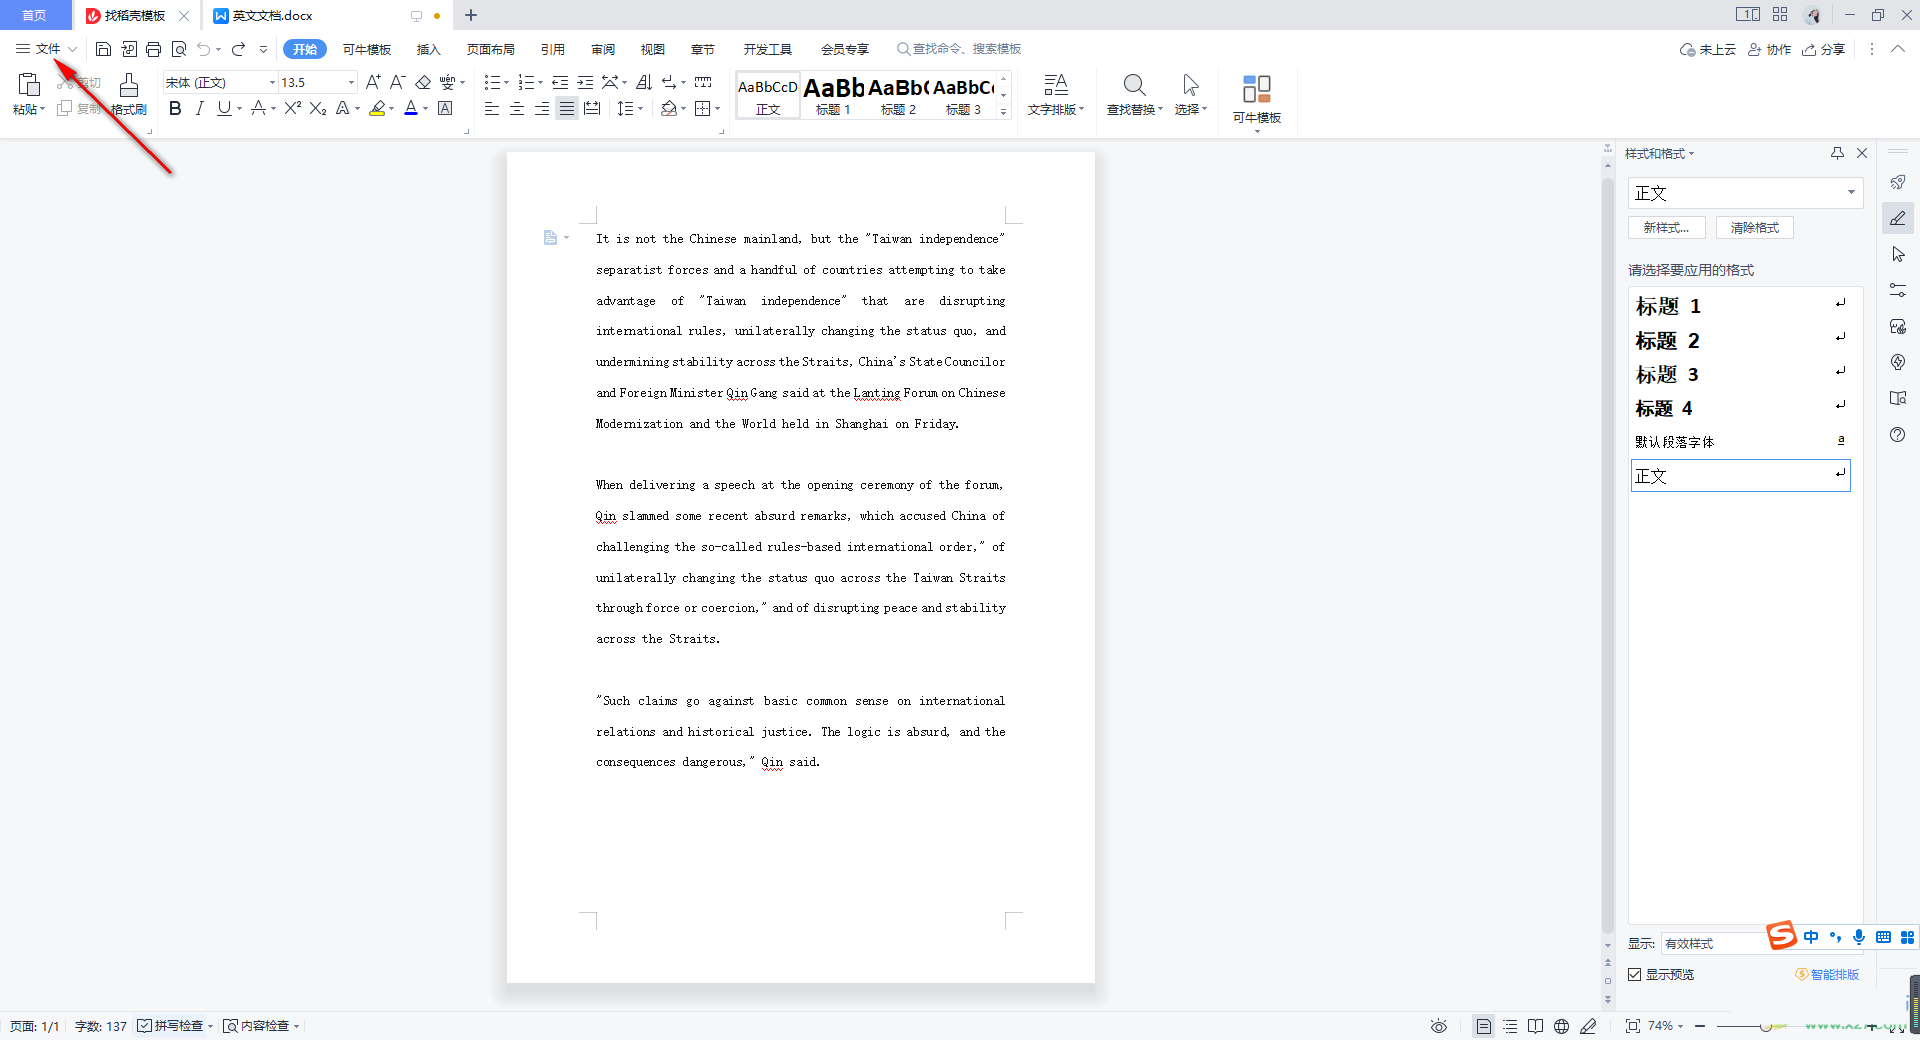
How to solve the problem of garbled characters when opening Word using WPS. How to restore the garbled characters when opening Word using WPS.
Article Introduction:WPS is a very convenient office software. Many users here find garbled characters when opening word documents for operation. So how to solve the garbled characters when opening Word documents with WPS? Let this site introduce to users in detail how to restore the garbled characters in Word when opening WPS. How to restore garbled words when opening Word with WPS 1. When your document is garbled, we can download the latest version of WPS office software to open the garbled document. 2. In addition, we can also operate directly in the garbled document, position the mouse to the [File] option in the upper left corner and click. 3. Then, in the open drop-down options, find the [Options] function and click on it to enter the page. 4. Enter
2024-09-18
comment 0
397

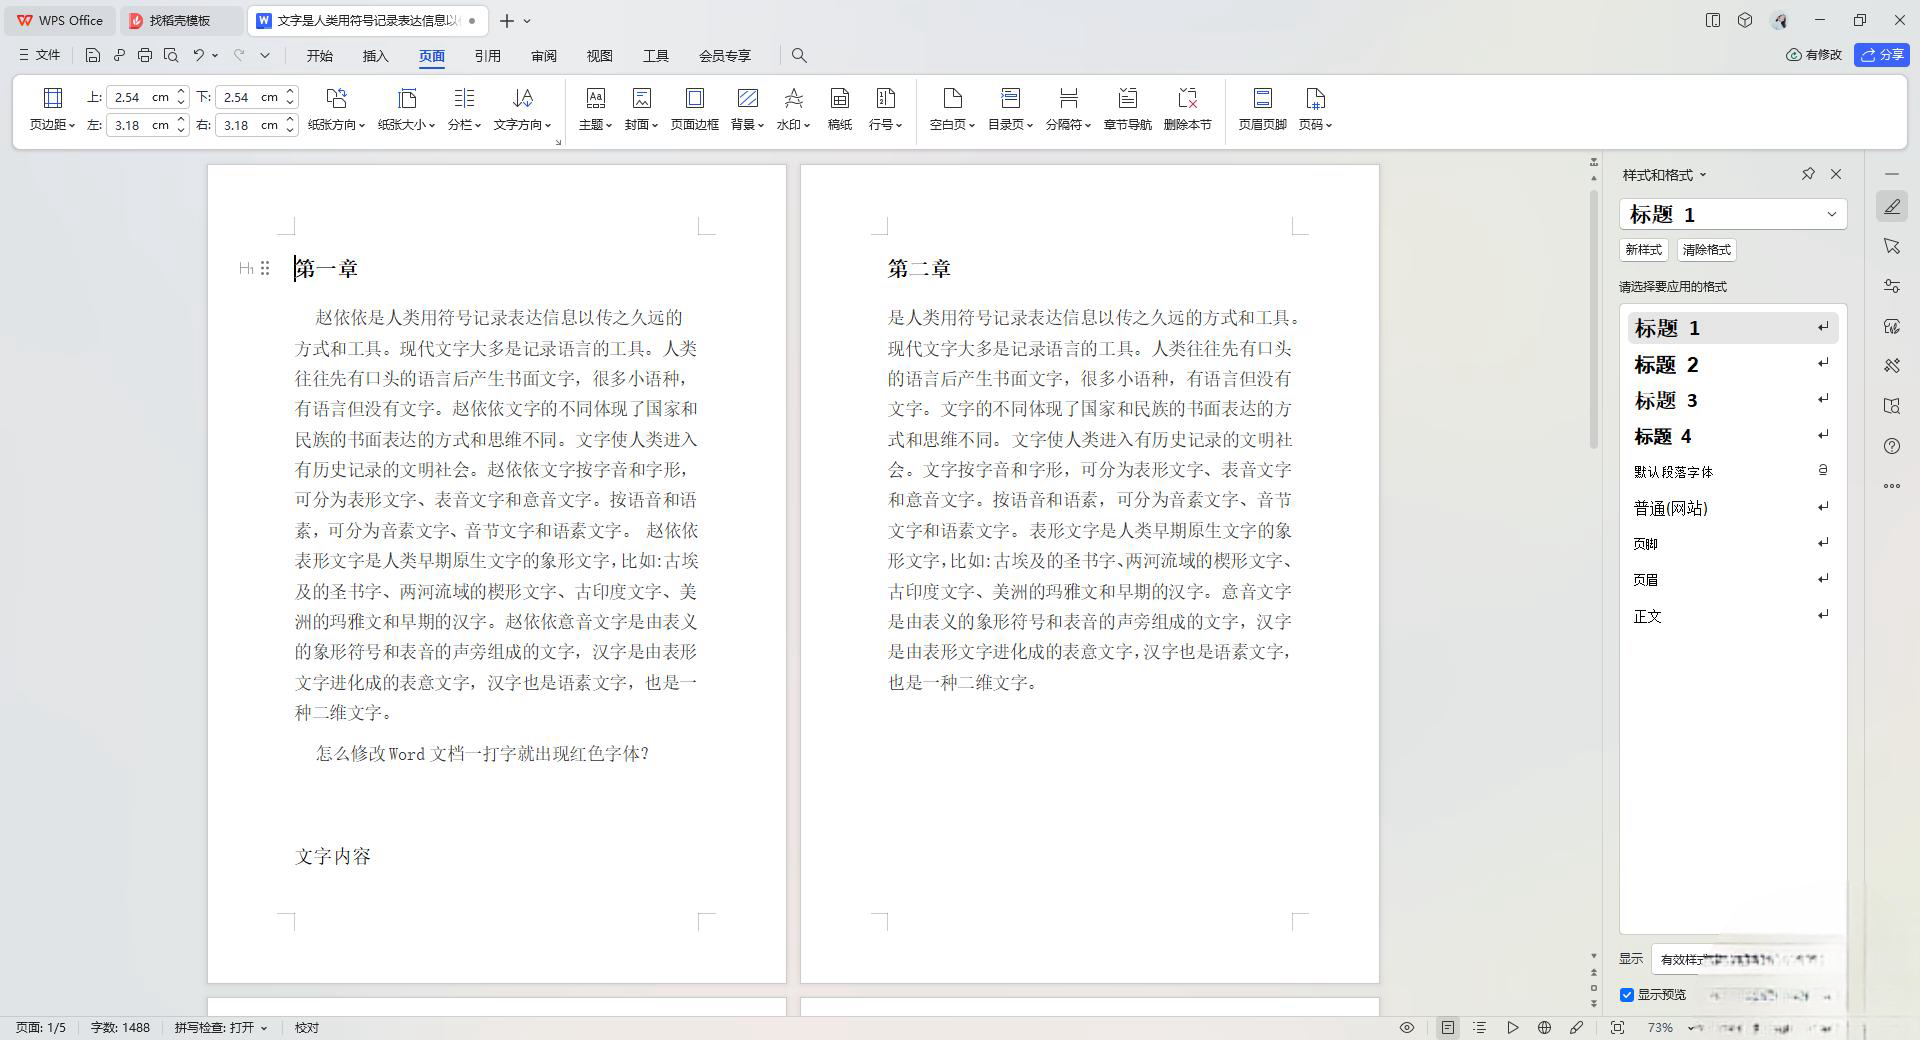
How to divide a word page into two halves in WPS How to divide a page into two pages in WPS Word
Article Introduction:WPS is a text processing software used by many users. Many users want to perform layout design when using word documents to edit text. So how does WPS divide a word page into two halves? Users can enter the columns under the editing interface, and then directly select two columns to complete this effect. Let this site carefully introduce to users the method of dividing one page into two pages in WPS Word. The first step of how to divide one page into two pages in WPS Word: Click to open the WPS document to enter the editing interface. Step 2: Click Columns in the Page Layout tab. Step 3: Click on two columns in the sub-option to display the document content as the left and right halves. Step 4: Set to three columns and it will appear as
2024-09-09
comment 0
299
How to divide a word page into two halves in WPS How to divide a page into two pages in WPS Word
Article Introduction:WPS is a text processing software used by many users. Many users want to perform layout design when using word documents to edit text. So how does WPS divide a word page into two halves? Users can enter the columns under the editing interface, and then directly select two columns to complete this effect. Let this site carefully introduce to users the method of dividing one page into two pages in WPS Word. The first step of how to divide one page into two pages in WPS Word: Click to open the WPS document to enter the editing interface. Step 2: Click Columns in the Page Layout tab. Step 3: Click on two columns in the sub-option to display the document content as the left and right halves. Step 4: Set to three columns and it will appear as
2024-09-09
comment 0
1038

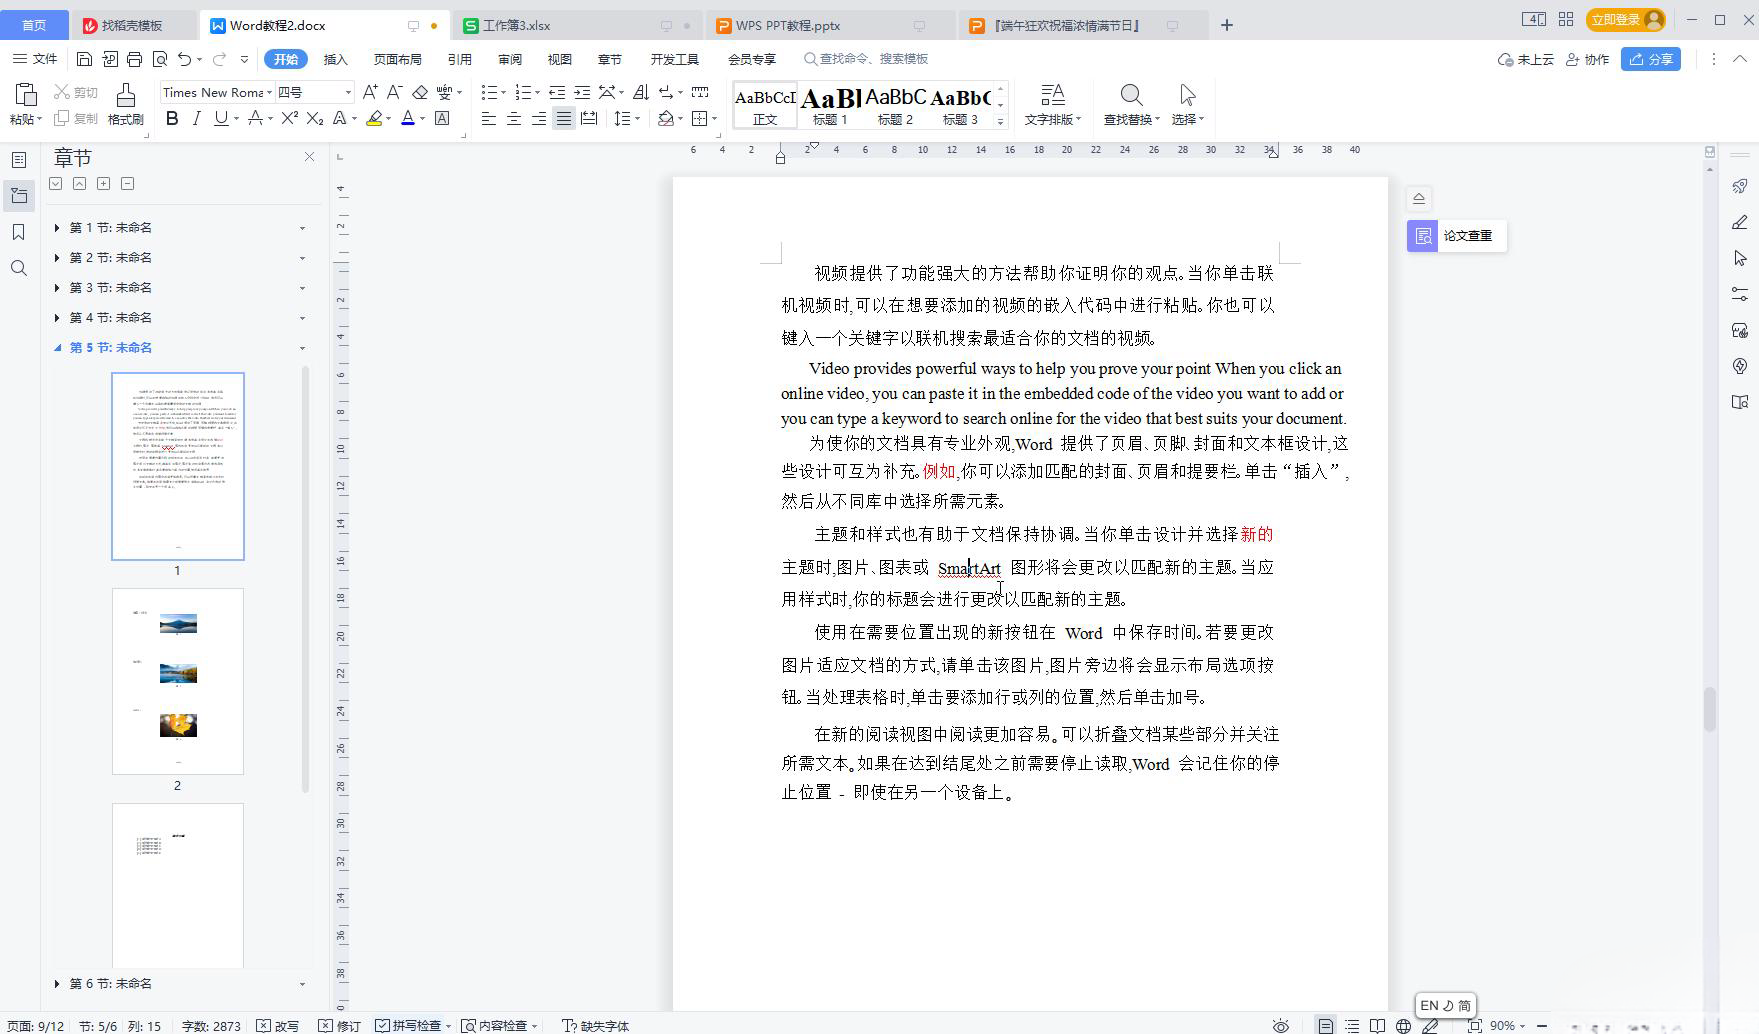
How to set blank lines in Word to not display line numbers in WPS WPS Word How to set blank lines in Word to not display line numbers
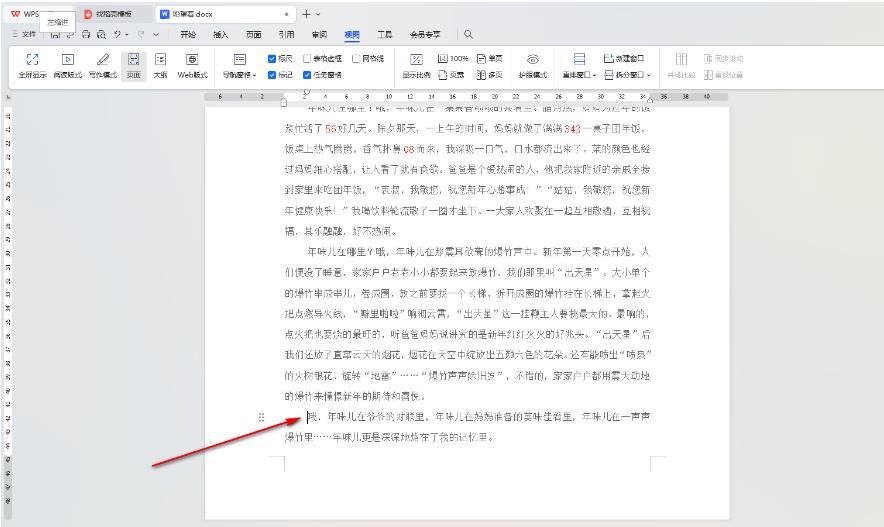
Article Introduction:Word documents can help users organize their text, and even set formats, layouts, etc. so that users can explore here as much as they want. However, many users are asking WPS how to set blank lines in word not to display line numbers? Users can directly click on the page options at the top of the page to set it up. Let this site carefully introduce to users how to set blank lines in WPS Word so that they do not display line numbers. How to set blank lines in WPS Word without displaying line numbers 1. First, we can click on the WPS Word document and then open the document we need to edit. 2. Then, we position the mouse on the page where the line number needs to be displayed, then click the [Page] option at the top of the page, and then click
2024-09-09
comment 0
551
How to set blank lines in Word to not display line numbers in WPS WPS Word How to set blank lines in Word to not display line numbers
Article Introduction:Word documents can help users organize their text, and even set formats, layouts, etc. so that users can explore here as much as they want. However, many users are asking WPS how to set blank lines in word not to display line numbers? Users can directly click on the page options at the top of the page to set it up. Let this site carefully introduce to users how to set blank lines in WPS Word so that they do not display line numbers. How to set blank lines in WPS Word without displaying line numbers 1. First, we can click on the WPS Word document and then open the document we need to edit. 2. Then, we position the mouse on the page where the line number needs to be displayed, then click the [Page] option at the top of the page, and then click
2024-09-09
comment 0
569
How to convert Word document to pdf format How to convert Word document to pdf format
Article Introduction:When editing document content, many of our users use Word for convenience, but they need to view it in pdf format later. However, many friends do not know how to convert Word documents into pdf format. Today PHP The editor of the Chinese website is here to share the specific operation methods with the majority of users. I hope that this software tutorial can help more people solve their problems. Method to convert Word document to pdf format: 1. Open Word and open the document that needs to be converted. 2. Click the file option in the upper left corner. 3. Select the export function. 4. Select to create a PDF/XPS document and click Create. 5. Select the appropriate location and customize the name of the file. 6. At this time, the format of the opened file will be
2024-09-09
comment 0
680
How to set the horizontal and center alignment of pictures in WPS Word How to set the horizontal and center alignment of pictures in WPS Word
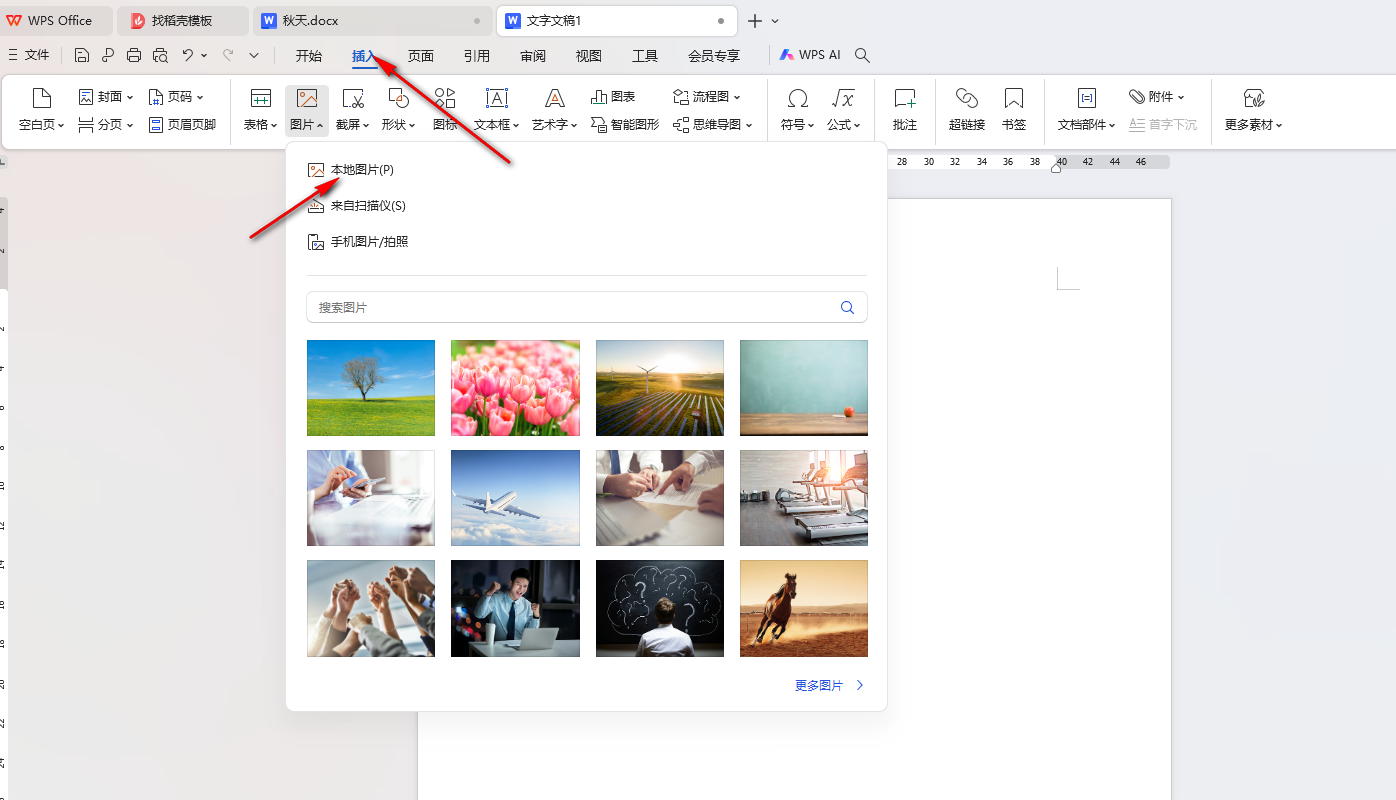
Article Introduction:When we use wps documents, we will operate some files, but many users are asking how to set the horizontal and center alignment of pictures in WPS Word? Users can click on the picture under the insert option interface to operate. Now let the editor carefully introduce to users how to set the horizontal and center alignment of pictures in WPS Word. How to set horizontal center alignment of pictures in WPS Word 1. First, we need to click the [Insert] option on the page, then click [Picture] in the toolbar to open, and select a local picture to add. 2. You can see that the added pictures are automatically aligned to the left. 3. If we want to set our picture to be horizontally aligned in the center, then we can set it in the page menu bar
2024-09-19
comment 0
200
How to adjust the page border size and width in WPS How to adjust the page border width in WPS Word document
Article Introduction:Word documents can help users quickly organize their document materials, etc., but many users are asking how to adjust the page border size and width in WPS? Users can directly find the page options in the word document to operate. Let this site carefully introduce to users how to adjust the page border width of WPS Word documents. How to adjust the page border width of WPS Word document 1. In the first step, we click to open the WPS software on the computer, and then click to open a text document on the WPS page. 2. In the second step, after opening the text document, we first click the Open Page tool on the editing page of the text document. 3. The third step, after opening the page tool, we
2024-09-14
comment 0
234

How to set rotation for wps fonts tutorial for turning on rotation settings for wps fonts
Article Introduction:Many users now use WPS to edit document content. Sometimes they need to rotate fonts due to demand. However, many friends have manipulated the fonts without any change. So how should we set up to achieve font rotation? Regarding this issue, Today’s software tutorial is to share the operation method with the majority of users. Next, let us take a look at the detailed operation steps. How to set rotation of WPS fonts 1. Click Insert above, select the text box, and click Horizontal. 2. Enter the text you want to rotate in the text box, then right-click the text box and select Format Object. 3. In the open text field, select the text box and uncheck the box in front of Do not rotate text.
2024-09-10
comment 0
466

How to convert WPS presentation to Flash format Tips for converting WPS presentation to Flash format
Article Introduction:How to convert WPS presentation to Flash format? Many users will directly use presentation documents when making speeches or reports. Sometimes it is necessary to add some fonts to make the document more vivid. However, some users find that the document does not work well if it is displayed on someone else's computer. It worked. Let this site carefully introduce to users the techniques for converting WPS presentations into Flash format. Tips for converting WPS presentations to Flash format WPS presentations come with a flash plug-in by default (if not, you can install it in Tools → Plug-in Platform). Just click File → Export to Flash format to save the presentation as a Flash file, so Even if the other party’s computer
2024-09-09
comment 0
647

How to set the word page number to be disconnected from the previous page WPS How to set the page number to be disconnected from the previous page in Word
Article Introduction:When we use word documents, we will encounter situations where we need to set page numbers, but generally after we insert the page numbers, they are continuous. If we want the page numbers to be discontinuous, we need to set it up separately. So how to set the word page number to be discontinuous with the previous page? Let this site carefully introduce to users the method of setting page numbers and disconnecting from the previous page in WPS Word. How to set the page number to disconnect from the previous page in WPS Word 1. First, we need to position the mouse cursor to the end of the first page, and then click [Insert]-[Page Break]-[Next Page Section Break]. 2. After adding the section break, we double-click the mouse at the bottom of the page, and then click the [Same as previous page] option in the page toolbar to cancel the activation.
2024-09-18
comment 0
258
How to insert a rotating arrow icon into a document using WPS. An introduction to the method of inserting a rotating arrow icon into a document using WPS.
Article Introduction:In WPS, there is a function to insert icons. When we edit a document, we can use these arrow icons to indicate certain content. Many users do not know how to successfully insert the rotating arrow icon. Regarding this issue, follow Next, the editor of PHP Chinese website will bring you detailed operation steps. Friends in need are welcome to check out the content shared in this software tutorial. Introduction to the method of inserting the rotating arrow icon in WPS 1. First open the tab of wps. 2. Select the shape option and open it. 3. You can see various arrow shapes. 4. After selecting the front head, a cross-shaped cursor will appear. 5. Then drag the cursor to the right with the mouse. 6. An arrow can be formed as shown below.
2024-09-14
comment 0
517
How to insert a blank page at a specified position in a WPS document How to insert a blank page at a specified position in WPS Word
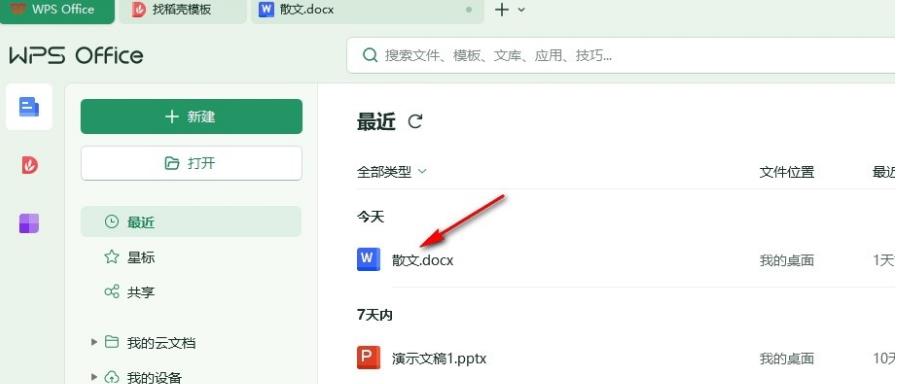
Article Introduction:WPS documents can help us quickly edit text, and a new page can also be inserted here for operation. This makes many users ask how to insert a blank page at a specified position in a WPS document? Let this site carefully introduce to users the method of inserting a blank page at a specified location in WPS Word. How to insert a blank page at a specified position in WPS Word 1. Open the document to which a blank page needs to be added, and then position the mouse to the position of the horizontal blank page to be added, as shown in the figure. 2. At this time, click [Insert] at the top of the page. We need to make corresponding settings in the inserted toolbar. 3. After opening the Insert toolbar, click [Blank Page] on the left side of the toolbar.
2024-09-14
comment 0
424

How to insert a blank page at a specified position in a WPS document How to insert a blank page at a specified position in WPS Word
Article Introduction:WPS documents can help us quickly edit text, and a new page can also be inserted here for operation. This makes many users ask how to insert a blank page at a specified position in a WPS document? Let this site carefully introduce to users the method of inserting a blank page at a specified location in WPS Word. How to insert a blank page at a specified position in WPS Word 1. Open the document to which a blank page needs to be added, and then position the mouse to the position of the horizontal blank page to be added, as shown in the figure. 2. At this time, click [Insert] at the top of the page. We need to make corresponding settings in the inserted toolbar. 3. After opening the Insert toolbar, click [Blank Page] on the left side of the toolbar.
2024-09-14
comment 0
333
