Found a total of 10000 related content

How to create a mouse-following effect using HTML, CSS and jQuery
Article Introduction:How to use HTML, CSS and jQuery to create a mouse-following special effect. In website development, adding some special effects can improve the user experience and add certain visual effects. A common special effect is mouse following, that is, during the movement of the mouse, elements can follow and change their position or style in real time. This article will introduce how to use HTML, CSS and jQuery to create a simple mouse following effect, and provide specific code examples. HTML Structure First, we need to create a basic HT
2023-10-26
comment 0
1466
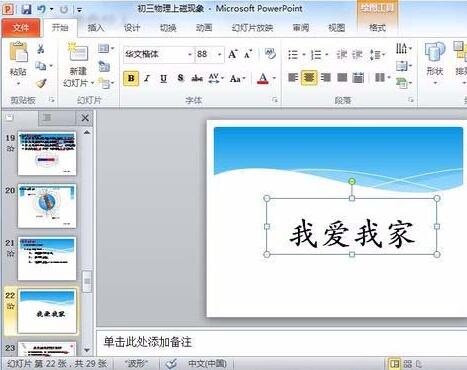
How to create underline animation when mouse clicks text in PPT
Article Introduction:1. Enter text. 2. Select the shape under Insert and select Line within it. 3. Draw a straight line below the word love. 4. Select the straight line, then select the animation menu, and choose an animation effect from it. 5. Play the animation. At this time, there are no horizontal lines under the text. 6. Click the mouse, and a horizontal line will appear under the text.
2024-03-26
comment 0
1253
Navigation animation effect implemented by jQuery (with demo source code)_jquery
Article Introduction:This article mainly introduces the navigation animation effect implemented by jQuery, which can realize the effect of the bottom bar of the navigation bar moving with the mouse. It involves jQuery's response to mouse events and related techniques for dynamic transformation of page element styles. It also comes with demo source code for readers. Download for reference, friends in need can refer to it
2016-05-16
comment 0
1666
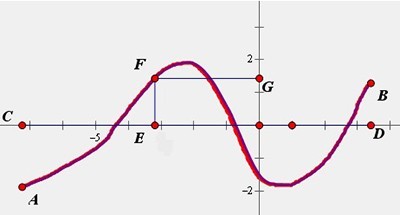
Detailed operation of using marking tools on Geometric Sketchpad
Article Introduction:1. Used for handwriting. With the [Mark] tool selected, you can use the mouse as a brush and press the left mouse button to draw freely in the blank area. Such as writing equation expressions, drawing function images, etc. 2. Use the [Mark] tool to mark the line segment (ray or straight line). The operation method is: under the selection mark tool, click the mouse on the line segment (ray or straight line) that needs to be marked, and you can add 1 (or 2, 3, or 4) line segments on the line. Right-click the short-line mark and select the corresponding command from the pop-up shortcut menu to change the short-line mark to an arrow, hollow triangle or solid triangle mark, and also change the thickness and size of the mark line. 3. Use the [Mark] tool to mark the corners. Specific operation: Under the checkmark tool, move the mouse near the vertex of the line that forms the angle.
2024-04-16
comment 0
824
jQuery blue style sliding navigation bar code sharing_jquery
Article Introduction:This article mainly introduces the jQuery blue style sliding navigation bar special effect, which enables the slider to slide left and right following the mouse. It is simple, fashionable and generous. Friends in need can refer to it.
2016-05-16
comment 0
1718
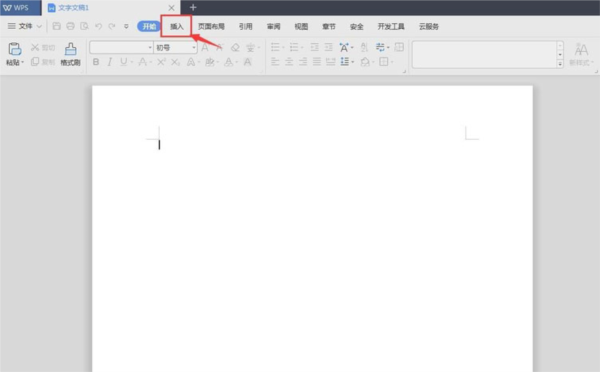
How to draw a straight arrow in WPS2019 Detailed tutorial introduction
Article Introduction:WPS2019 is a document editing and processing software that many friends use in daily office work. It can help everyone easily edit various documents and improve office efficiency. Some friends still don’t know how to draw a straight arrow in WPS, so today I will bring you the method of drawing a straight arrow. If you are interested, let’s take a look. Method steps: Click the insert menu in the wps text menu; click shape in the tool of the insert menu; click the line on the shape page, and then select the arrow; hold down the mouse, drag, and draw an arrow; after drawing, You can hold down the mouse button and drag it inward to make the arrow shorter; you can also hold down the left mouse button and drag it outward to make the arrow longer; you can also click on the shape style to select the appropriate style.
2024-02-11
comment 0
659
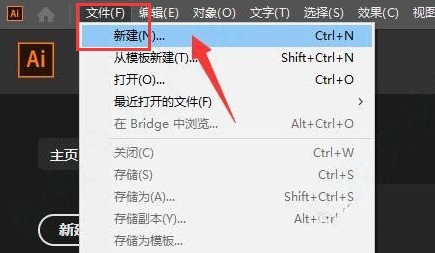
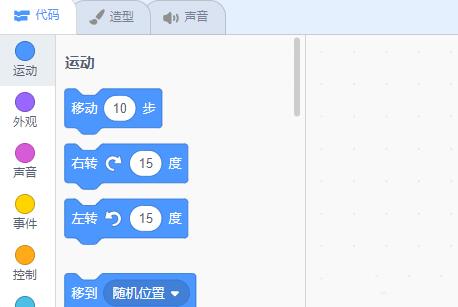
How to use Scratch to implement drawing that follows the movement of the mouse
Article Introduction:1. Open Scratch, enter the file name, and save. 2. Clear the screen of the stage area. 3. Set the color, thickness, brightness, etc. of the brush. 4. Because we have to press the mouse to start drawing, and release the mouse to stop drawing. So we need an if...then to execute. 5. If we press the mouse, we need to draw. If the mouse is Panasonic, we need to lift the pen to stop drawing. 6. After pressing the mouse, start drawing. The lines need to move with the mouse. Here we add the mouse pointer. 7. Because we need to draw continuously, we add repeated execution at the end. 8. To modify the thickness and color of the brush when painting, we can set the color, thickness, and brightness of our brush in repeated executions.
2024-05-06
comment 0
431
js picture follows mouse movement code_javascript skills
Article Introduction:When you browse the web, you have seen the JS special effect where pictures follow the movement of the mouse. The effect is very good. How is it achieved? It is very simple to implement this function. Friends who are interested should take a look.
2016-05-16
comment 0
1373
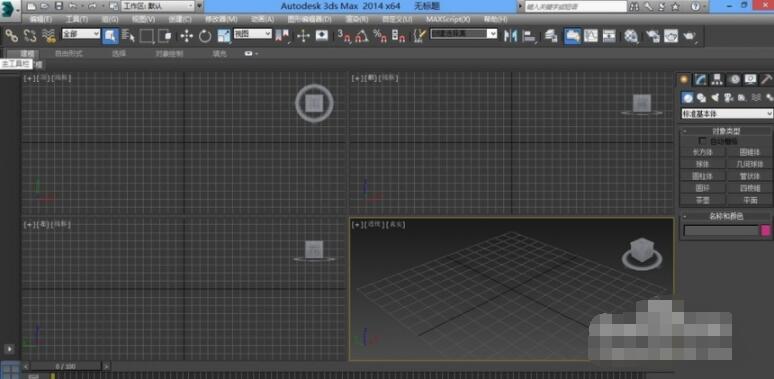
How to use 3dmax separation_3dmax separation usage tutorial
Article Introduction:The first step is to open the installed 3dmax software. The second step is to draw a closed line segment. The third step is to select the line, right-click the mouse, and convert it to an editable spline. The fourth step is to enter the line segment selection and select two line segments. The fifth step is to find separation below and check the same graphic. Step 6: Then click the spline again. You can see that the two line segments just selected have been separated. Step seven, finally use the moving tool to move him out.
2024-06-01
comment 0
364

Create butterfly special effects in pixaloop How to create butterfly special effects in pixaloop
Article Introduction:How to create butterfly special effects in pixaloop (pixaloop's method of making butterfly special effects). Many netizens don't know how to operate it specifically. Follow the editor to find out. First open the [pixaloop] APP, then click the album icon at the top to create a new project; click the [Animation] button, then we click the [Route] button, tap and drag the position you want to set as dynamic according to the direction of movement. moving route. Then lock the position that needs to be fixed. Finally, click Overlay, select Es09 to create the butterfly effect, and then export it.
2024-06-18
comment 0
343
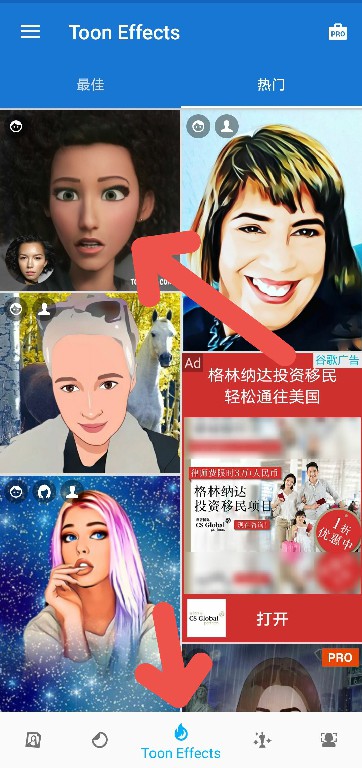
How to add animation special effects to toonme How to add animation special effects to toonme
Article Introduction:How to add animation special effects to toonme (how to add animation special effects to toonme), how to operate it specifically, many netizens don’t know, follow the editor to find out. Open the tool APP, and on the template page, select the special effects template you want to create. In the template, select the photo you want to create. Click this icon to work with the image. On the results page, click the plus sign, and then click Animation. Select your preferred animation effect and click "Use" to finish.
2024-06-14
comment 0
642

Detailed steps for adding arrowless connections in Edraw flowchart creation software
Article Introduction:1. Open the Edraw flowchart creation software and prepare two icons to be connected in the document created by the software. 2. Make a right-angle connection first: Start tab-Basic Tools-Connection Line-Right-angle connection line. 3. Draw a connecting line between the two icons. ① Move the mouse to the starting point to be connected. At this time, the connection point will change from a small square to one with four corners surrounded by four small right angles. The shape changes from a small × to a shape surrounded by four small right angles. This is what it looks like before releasing the mouse ②. Hold down the left mouse button and drag it to the end point to be connected. When you release it, the connection will be a right-angled connection with an arrow, and it will be connected no matter how you move it. For a two-point chart, the right-angled line is always unbroken and changes automatically following the movement of the chart.
2024-04-08
comment 0
670

Apple iOS 18's classic design returns: iPhone home screen shaking icons follow animation, dark mode dims wallpapers
Article Introduction:Thanks to netizens for their handwritten clue submissions! According to news on June 13, Apple brought a new iOS18 system at the WWDC2024 Global Developers Conference held in the early morning of June 11, bringing freer personalized layout adjustments. Note that in the iOS18 developer preview beta, the classic functions of shaking the home screen icon to follow the animation and dark mode dimming the wallpaper have returned, as follows: Home screen shaking icon animation Apple previously removed the iPhone home screen shaking in iOS17. Desktop icons follow the displacement animation. Currently, this feature has returned in the iOS18 preview version. The effect is as follows: Dark mode dims wallpapers. The iPhone previously had a dark mode dimming wallpaper function, which can avoid the wall dimming after entering dark mode.
2024-06-13
comment 0
719

How to draw speed lines in PS_How to draw speed lines in PS
Article Introduction:1. Draw a rectangular strip and click to align it in the center. 2. Close the background layer, click Edit, and define the brush preset. 3. Click to open the brush settings panel, select the saved brush, and set the size. 4. Then check Shape Dynamic, and the parameters are as shown in the figure below. 5. In the center of the canvas, keep clicking the left mouse button to get the effect as shown below. 6. Press the ctrl+L keys to reverse the direction to get a black concentrated line. 7. Change the background color, and the completed speed concentration line drawing effect is as shown in the figure below.
2024-04-19
comment 0
539

How to make a portfolio in CorelDRAW_Tutorial on how to make a portfolio in CorelDRAW
Article Introduction:1. Double-click the rectangle tool to get a rectangle of the same size as the page, shrink it and press ctrl+q shape change line command, move the anchor point 2. Draw the shape with the pen tool, hold down alt to convert the point, hold down ctrl to adjust the curve 3. Double-click the rectangle Tool, change the size ctrl+q and move the anchor point, fill color 4. Pen tool draw two smooth curves, use the blend tool 5. Text tool to add text 6. Add a horizontal line or seal, hold down the ctrl key for the horizontal line, mouse Right click, then ctrl+d7.ctrl+g to create a group, the final effect
2024-05-08
comment 0
1084

How to convert a picture into a line drawing with CDR CorelDRAW tutorial
Article Introduction:First open CorelDRAW. The comics here are downloaded from the Internet. After the download is completed, the next step is to import the comics into CorelDRAW, and then click [Bitmap]-[Outline Tracing]-[Line Drawing] in the menu bar to open Settings panel. You can take a look at the renderings. Figure 1: Import comics and find [Line Drawing] to adjust the image. Properties appear on the right side. The properties can be adjusted according to your own requirements, but generally the default is enough. Click [OK]. Friends, you can look at the picture below to observe the effect. Figure 2: Adjust the picture. Generally, there is no need to adjust it. Click [OK]. Next, an outline will be automatically generated on the original layer. Click and drag it out with the mouse. Here I am using the mouse
2024-05-08
comment 0
583

How to draw a gradient color ring in InDesign Tutorial on how to draw a gradient color ring in InDesign
Article Introduction:1. First, after opening the InDesign interface, click the Ellipse Tool to draw a circle. 2. Then, select the circle, change the fill color to transparent, and add a line outline with a width of 3. 3. Then, click the mouse to open the Gradient Tool and apply it to the ellipse. 4. Finally, open the color picker panel and select the desired gradient color effect to fill and add.
2024-05-09
comment 0
386


