Found a total of 10000 related content
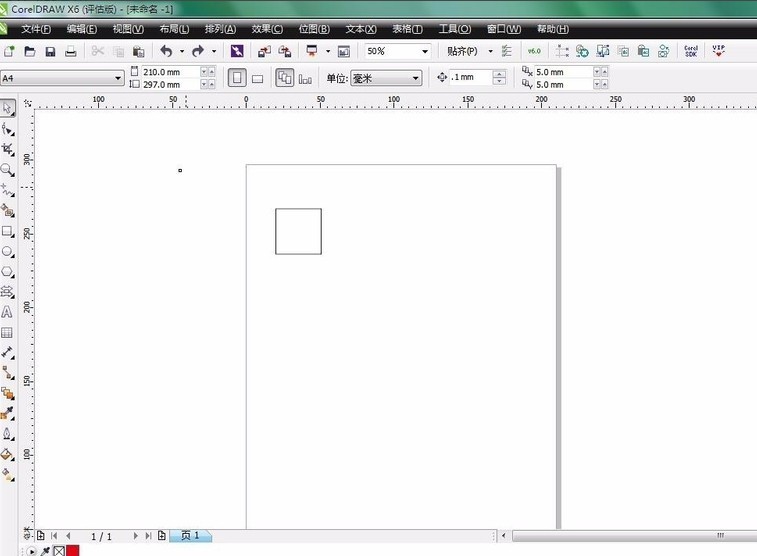
How to create a nine-square grid effect with CDR_Tutorial on how to create a nine-square grid effect with CDR
Article Introduction:1. Create a new blank document and use the rectangle tool to draw a square. Of course, it can also be a rectangle, depending on your personal preference. 2. Hold down ctrl, drag the square with the mouse, move it to the appropriate position, right-click once, and release the mouse. Copy 9 squares 3. Import the pre-selected image 4. Select 9 squares and merge them. 5. Then select [Effect] - [Precise Frame Cut] - [Place inside the frame] 6. Finally, hold down ALT and left-click the image to move and adjust the position and size of the image. Okay, so the effect of the nine-square grid comes out.
2024-05-08
comment 0
822
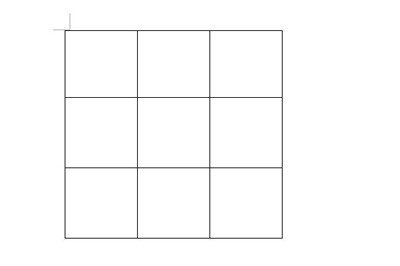
How to make a nine-square grid picture in Word_Teach you how to use a table to complete it
Article Introduction:First, we create a 3×3 nine-square grid picture in Word, and then adjust the size of the table to make it a regular nine-square grid. Then we insert the image below the table and set the image wrapping type to [Below the text]. Then drag the icon below the table. Finally, we select the table, right-click and select [Borders and Shading] from the menu, set the width to 4.5 points and the color to white. After we click OK, the nine-square grid image is ready. If the size is wrong, you can quickly customize it and adjust it. Isn't it very convenient? How can a simple Word be used to create a liberalized picture of each of the nine palaces? You no longer need to crop the pictures with various professional picture processing software. Come and try it, friends.
2024-06-12
comment 0
1506

How to enable the nine-square grid composition function on Apple iPhone?
Article Introduction:The biggest pain point for ordinary people when taking photos casually is that they cannot position the subject in the right position, so that they cannot compose the picture perfectly. If you know how to use an iPhone, you can also take perfect photos by using the built-in nine-square composition function of the iPhone camera and combining it with iPhone photography skills. Nine-square grid composition, also called tic-tac-toe composition, is a simplified version of the golden section composition and one of the most common photography composition techniques. The nine-square grid composition refers to dividing the picture into nine spaces with horizontal and vertical straight lines. After the equal division is completed, the picture will form a nine-square grid line. Four intersection points will be formed in the picture of the nine-square grid. These intersection points are called interesting center points. Use the interesting center points to compose the picture, so as to take photos with stories. The following is Apple iPhone
2024-01-12
comment 0
1651

How to post Bilibili Jiugongge dynamic post tutorial sharing
Article Introduction:Bilibili Jiugongge Dynamic is a dynamic form published on the Bilibili platform, which is characterized by displaying multiple pictures or videos in a Jiugongge layout. Recently, some friends asked the editor about how to post the Jiugongge updates on Bilibili. Let’s learn with the editor! How to post the Jiugongge dynamic on Bilibili 1. First open Bilibili and select the dynamic column at the bottom. 2. Then select the Publish Update option at the bottom. 3. Then enter the publishing page, select the nine-square grid above, then enter the content, and finally click the publish button in the upper right corner!
2024-07-16
comment 0
1007
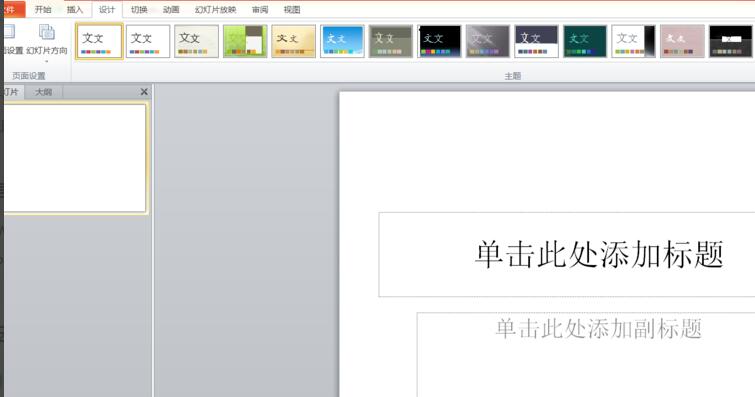
How to make the flowchart connection line move with the graphics in word - How to make the flowchart connection line move with the graphics in word
Article Introduction:The first step is to open the word presentation. Create a presentation and create a slideshow. In the second step, delete the text box, and go to [Page Setup], adjust the height and width, and set the slide to portrait. The third step, as shown in the figure, is a flow chart we need to make. The fourth step is to select the corresponding shape in the [Insert] option to create a flow chart. The fifth step is to make connecting lines. Step six, the effect is as shown in the figure. The seventh step is to set the shape fill to [No Fill Color] in the "Drawing Tools" [Format]. Step 8: Set the [Alignment] method in [Drawing Tools] [Format]. Step 9: The effect is as shown in the figure. You can see that the connecting lines move with the movement of the graphics. Then enter content in each text box.
2024-04-25
comment 0
605
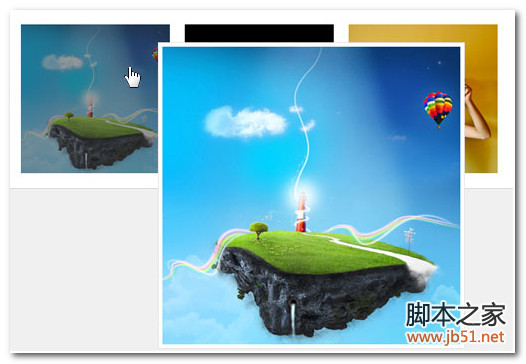
css 鼠标经过图片,图片变色变暗透明
Article Introduction:看到网页中的图片当鼠标移动到图片上时(鼠标悬停在图片上)图片变灰,看似变色变灰效果,实际是图片被CSS设置为半透明样式。
2016-06-01
comment 0
6321

AE built-in plug-in dynamic collage usage and operation content
Article Introduction:1. Open AE, name the dynamic collage, and adjust the corresponding parameters. 2. Use ctrl+i to import a prepared material picture and pull the material into the timeline panel. 3. Select the material picture to add dynamic collage, go to Effect-Stylization-Dynamic Collage; you can observe that there is no change in the material picture after adding the effect. Collage Center: Set the center point position of the collage. Collage width and height: Set the width and height of the collage pictures. Output width and height: Set the width and height of the image output; it is equivalent to a mask. You can control the area you want to output through this. Radial Edge: If checked, the image material will have a mirror effect. Phase: Set the position of the vertical plane. Adjusting the value will produce a misalignment effect. Horizontal displacement: If horizontal displacement is checked
2024-04-07
comment 0
1201
How to create a long picture sliding effect in Premiere
Article Introduction:1. Double-click Premiere and double-click the PR material library. 2. Select your long picture to open, and drag the picture into the timeline. 3. Click on the picture and double-click to preview the picture so that the picture has white dots. Pull the image up so that it's just a little bit at the top of the screen. 4. Turn on Effect → fx motion and click the stopwatch at the location. 5. Move the blue line to the tail, double-click the image to make it have white spots, and pull down the image in the preview window. 6. Let the picture show a little bit in the lower part of the window, and create a long picture sliding effect here, as shown in the picture.
2024-06-05
comment 0
789
Introduction to the method of drawing ceramic texture effect in word2010
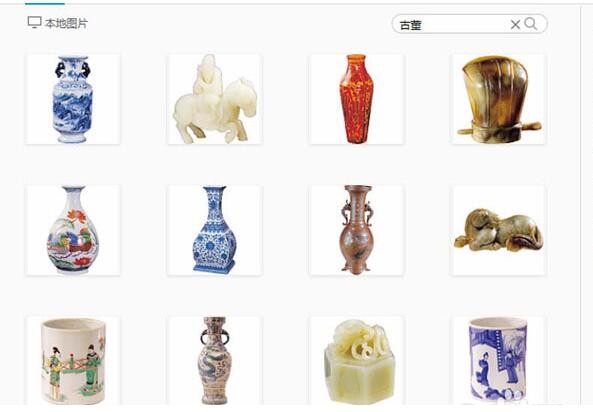
Article Introduction:1. First start word2010, execute the Beautify Master-Picture command, and bring up the dialog box. 2. Select the porcelain you like, click the Insert Picture button, insert the picture into the document, and adjust the size. 3. Select the picture and execute the Format-Artistic Effect-Artistic Effect Options command to bring up the Format Picture dialog box. 4. Set the artistic effect to the colloidal particle option, set the particle size to 100, and the transparency to 0. Click the Close button. 5. Execute the Format-Color-Other Variant Color command, select blue from the color menu, and view the effect changes. 6. Execute the Format-Picture Style command and set it to a centered rectangular shadow effect. This is done. If necessary, you can save the picture as for export.
2024-04-26
comment 0
792

How to make PPT photo tearing effect_A few simple steps to get it
Article Introduction:First insert the picture into the PPT, then insert a rectangular shape, copy this rectangle multiple times, adjust the left and right positions, and arrange them vertically. Then select these rectangles, click Merge Shapes in the Drawing Tool Format above, and then set the fill to white and the line to none. In this way, the tearing effect of the photo is completed. If you want to have an animation effect, you can first select the picture, then select the rectangle, and click the merge shape - [Split] in the drawing tool format above again, so that the picture will be Split into two parts, you can add animation effects to the two images separately.
2024-04-26
comment 0
1155

Detailed steps to copy and move slides in ppt2013
Article Introduction:1. Open a document with ppt2013, select the slide we want to copy in the task pane, and right-click the mouse. In the pop-up shortcut menu, we select the [Copy Slide] option. 2. Now that the slide has been copied, you can take a look at the effect. 3. Since the slide copied in this way will be placed directly on the next page of the copied slide, this slide can be moved to the location we selected. We only need to select the slide we want to move in the slide task pane, hold down the left mouse button, drag it to the selected location, and release the mouse. 4. Now the slide has been moved to the position we selected. The effect is shown in the picture.
2024-03-26
comment 0
713

Methods and techniques on how to achieve image rotation and translation effects through pure CSS
Article Introduction:Methods and techniques on how to achieve image rotation and translation effects through pure CSS. In modern web design, animation effects have become an important part of attracting user attention and improving user experience. The rotation and translation effect of pictures is one of the more common animation effects. In this article, I will explain how to achieve this effect through pure CSS and provide specific code examples. Let’s learn together! First, we need an HTML container to place our images. The following is a basic HTML structure: <
2023-10-20
comment 0
683
php图片的裁剪与缩放生成符合需求的缩略图_PHP
Article Introduction:用在移动设备上时显示效果不好且流量巨大,需要对现有图片库的图片进行一次处理,生成符合移动设备用的缩略图,将原来客户端JS做的工作转移到服务器端用PHP的GD库来集中处理,感兴趣的朋友可以了解下
2016-06-01
comment 0
888

How to split pictures on MeituXiuXiu (How to split photos into photo puzzles on MeituXiuXiu)
Article Introduction:How to split pictures with MeituXiuXiu? Next, the editor of PHP Chinese website will give you a detailed introduction to the operation method of splitting Meitu Xiu Xiu photo puzzle. Let’s take a look together. Open the Meitu Xiuxiu software and click the "Open" button in the upper right corner; then in the pop-up picture dialog box, select and open the picture you want to split; select "Nine-frame Cutting" in the "More" option on the menu bar Function; now we enter the Jiugongge interface. In the left function bar, we can select the brush shape we need; adjust the picture to the appropriate position, and then click the "Save to Local" option below; in the pop-up "Save" dialog In the box, select "Save 9 cut pictures", click the "OK" button, and select the location to save; this is the effect of dividing the picture into 9 pictures.
2024-06-14
comment 0
1353

Use uniapp to achieve picture blur effect
Article Introduction:Use uniapp to achieve picture blur effects. With the development of mobile applications, more and more applications need to add picture blur effects to improve user experience. In the uniapp development framework, we can achieve the image blur effect through some simple codes. To introduce a picture, first, add a picture that needs to be blurred in the static directory in the uniapp project or in the static directory of uniapp, for example, named blur.jpg. Display pictures on the page. At the t of the page where the picture needs to be displayed.
2023-11-21
comment 0
1951

Use uniapp to achieve lazy loading image effect
Article Introduction:Use uniapp to achieve lazy loading image effects. With the development of mobile Internet, images play an important role in mobile applications. However, loading too many images may cause the page to load slowly and affect the user experience. In order to solve this problem, we can use the lazy loading image effect provided by the uniapp framework, so that the image is loaded only when needed, saving page loading time and improving user experience. First, we need to ensure that the uniapp development environment has been installed and a uniapp project has been created. catch
2023-11-21
comment 0
1377

Specific steps for designing three-dimensional characters and animation effects in PPT
Article Introduction:1. Edit the text and add the text ‘2020’ (gray, bold)? Copy ‘2020’ (white)? Adjust position 2. Shape tweening selects two text boxes? Click iSlide? Tweens? Number of tweens (100)? Application 3. Gradient fill & three-dimensional effect 1. Select the home page text? Format text effects? Gradient fill? Gradient aperture (gray-white-gray-white) 2. Select the homepage text? Text options? 3D format? Top ridge? Prism (hard edge) 4. Image cropping 1. Select all numbers and tween animation (Ctrl+A)? copy? Right click and paste as picture format 2. Select the picture? Image Format? Cropping 5. Image effect selected picture? Set image format? Image? Default? Image variant (close image: contact)
2024-04-17
comment 0
727


