Home > Software Tutorial > Computer Software > How to fill the stroke color of InDesign graphics InDesign graphics stroke color filling method

How to fill the stroke color of InDesign graphics InDesign graphics stroke color filling method

WBOY
Release: 2024-05-09 12:13:41
forward
338 people have browsed it

How to fill the strokes of InDesign graphics? If you're having trouble filling graphic strokes when using InDesign, you've come to the right place! PHP editor Xinyi will guide you to understand the simple method of filling graphic strokes in InDesign. Read on for detailed tutorials that will solve all your doubts.

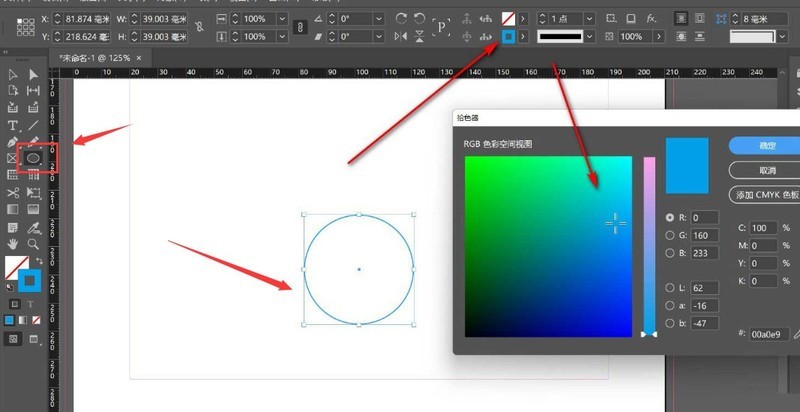
1. First, click the Ellipse tool to draw a circle, then double-click the stroke button to open the color picker
InDesign图形描边颜色怎么填充 InDesign图形描边颜色填充方法

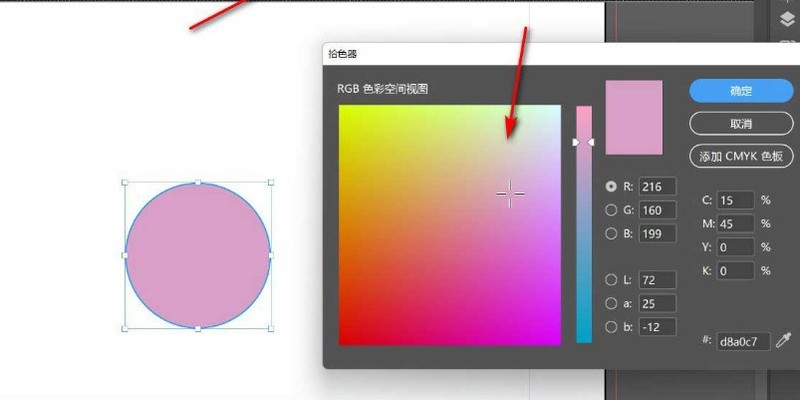
2. Then, select yourself in the color picker The desired color effect
InDesign图形描边颜色怎么填充 InDesign图形描边颜色填充方法

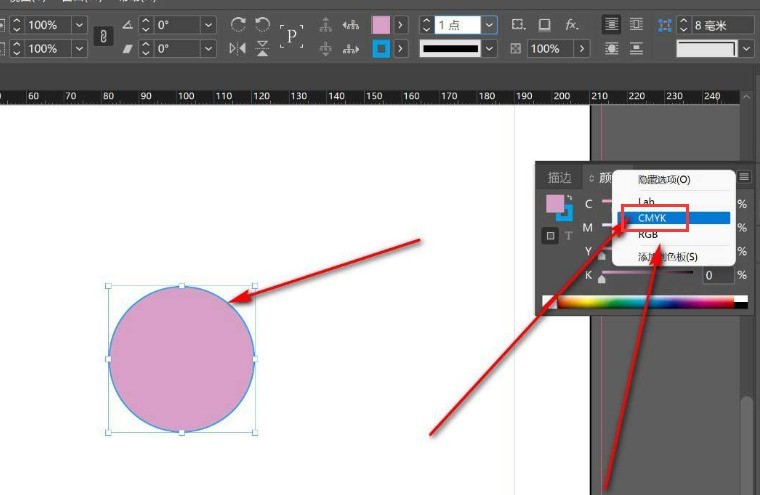
3. Then, click to open the color panel of the graphic, find the CMYK color in the hidden options and add it
InDesign图形描边颜色怎么填充 InDesign图形描边颜色填充方法

The above is the detailed content of How to fill the stroke color of InDesign graphics InDesign graphics stroke color filling method. For more information, please follow other related articles on the PHP Chinese website!

source:zol.com.cn
Statement of this Website
The content of this article is voluntarily contributed by netizens, and the copyright belongs to the original author. This site does not assume corresponding legal responsibility. If you find any content suspected of plagiarism or infringement, please contact admin@php.cn
Popular Tutorials
More>
Latest Downloads
More>
Web Effects
Website Source Code
Website Materials
Front End Template