
Confused about how to use the screenshot function that comes with Windows 11? PHP editor Xigua specially brings you this practical guide to explain in depth how to use the screenshot function of Windows 11. From basic screenshots to advanced screenshot settings, you can find comprehensive answers here. Read this article to easily master Windows 11 screenshot skills and improve your work efficiency and daily experience!
Step one: First click on the start menu, and then find [Settings (as shown in the picture).
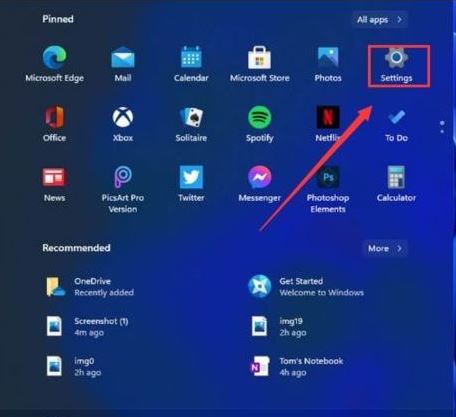
Step 2: Then we find [Game] in the settings interface and click to enter. Select [Game Bar] on the left side of the game settings interface and find it on the right side of the game bar. [Take a screenshot], and then you can customize the screenshot shortcut keys.
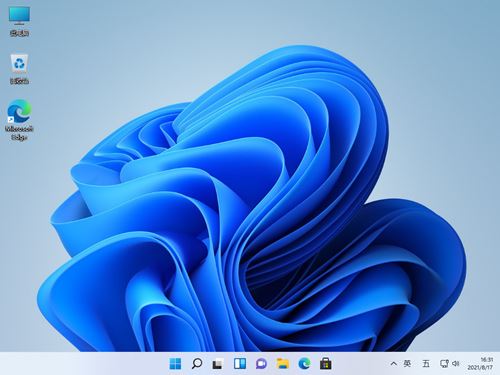
Method 2
Step 1: First click Start in the middle of the Windows 11 system desktop and find the Snipping Tools menu (as shown in the picture).
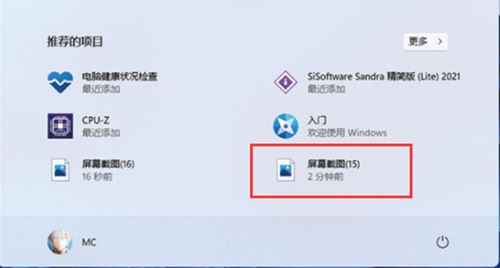
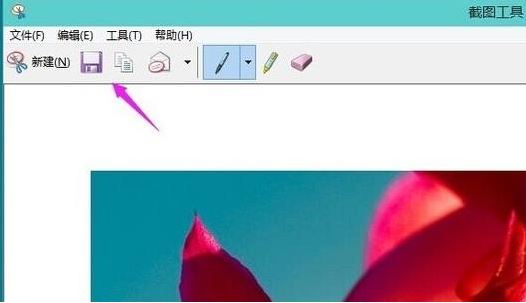
Step 2: Then run the screenshot tool and click [New] to select the range you want to screenshot (as shown in the picture).
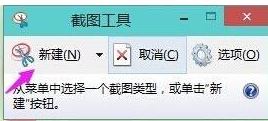
Step 3: Now you can see the screenshot inside, click Save to save it directly (as shown in the picture).
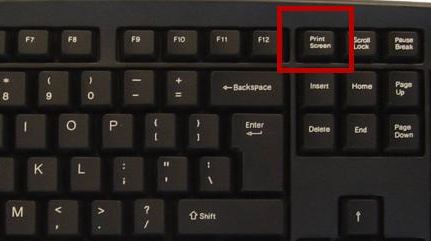
Step 4: You can also use the [ptrsc sysrq] key on the keyboard to save automatically (as shown in the picture).
The above is the detailed content of How to use the built-in screenshot function of Win11_How to use the built-in screenshot function of Win11. For more information, please follow other related articles on the PHP Chinese website!
 There is no WLAN option in win11
 How to skip online activation in win11
 Win11 skips the tutorial to log in to Microsoft account
 How to open win11 control panel
 Introduction to win11 screenshot shortcut keys
 Windows 11 my computer transfer to the desktop tutorial
 Solution to the problem of downloading software and installing it in win11
 How to skip network connection during win11 installation


