
Have you ever had the trouble of needing to shrink a Word document? Reduced printing can optimize document size and save space. However, it can be a headache if you don't know how to do it. PHP editor Strawberry hereby presents this article to you, introducing you in detail how to set up microprinting in Word documents and solving your doubts.
1. Open the Word document you want to reduce, such as the paper I opened in the picture.
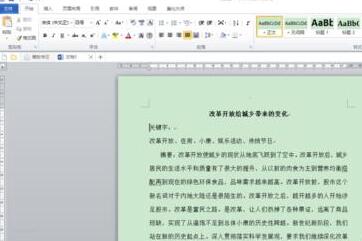
2. Use Ctrl A to select all articles to facilitate the following operations.
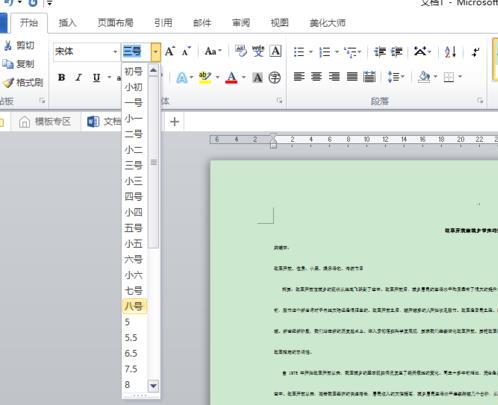
3. Adjust the font size in [Start], [No. 8] font is enough (don’t be afraid that the font is too small, it will print out very clearly).
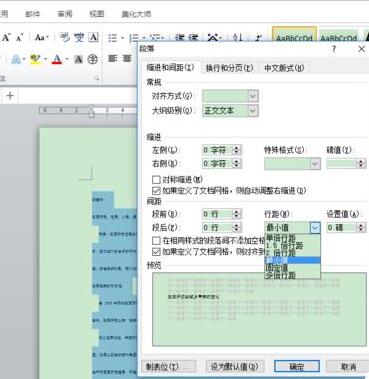
4. Click the diagonal arrow in the lower right corner of [Paragraph] in [Start], adjust [Line Spacing] in the settings box to the minimum value, and adjust the setting value to 0 points. Click the lower right corner to confirm. This is an article of several pages that has been reduced to one page and is very compact.
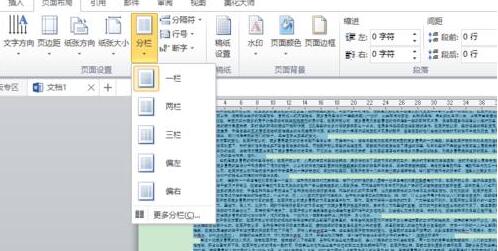
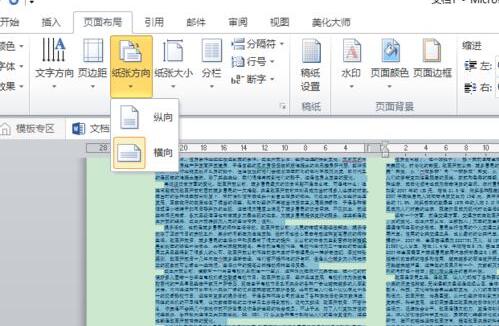
5. Set [Column] and "Page Direction" for the article in [Page Settings] of [Page Layout] (this step can be selected according to personal requirements) .
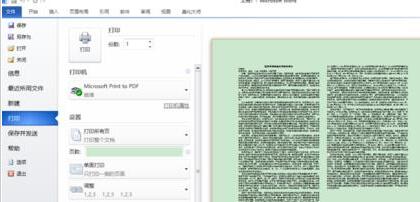
6. Finally, click [File], connect the printer, and select the print option.
Note:
Try not to bold the text, otherwise the printed text will be dark and the effect is not good
The above is the detailed content of How to set up reduced printing of word documents. For more information, please follow other related articles on the PHP Chinese website!


