
Have you ever encountered the problem that a "MSOCache" hidden folder always appears inexplicably when you open a folder? This sudden folder is empty, but cannot be deleted directly, which is really a headache. PHP editor Xinyi brings you a graphic guide to solve this problem. Through simple and easy-to-understand steps, we will explain in detail below how to completely delete the MSOCache hidden folder in Windows 8 system so that your folders will no longer be troubled by it.
First you need to download a registry tool - Get Administrator Rights Tool, and right-click it and select [Merge]:
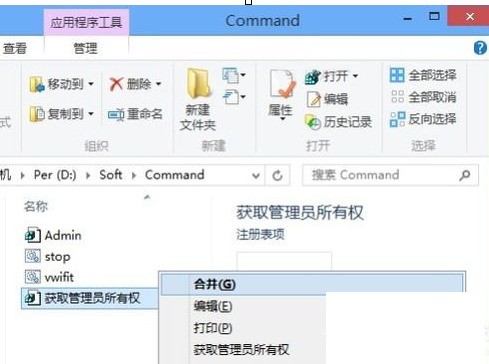
The [Registry Editor] prompt pops up box, select [Yes]:

Then open the [Computer] partition and select [Hidden Items] under the [View] tab. At this time, you can see that the hidden MSOCache folder has been displayed:
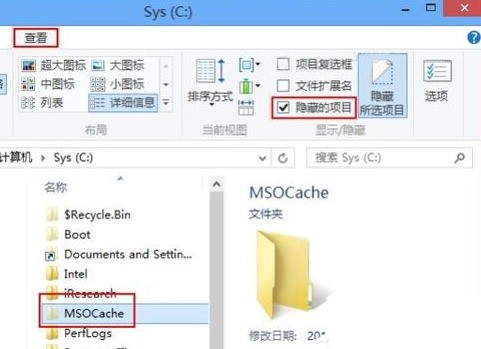
Right-click the MSOCache folder and select the [Get Administrator Permissions] command:
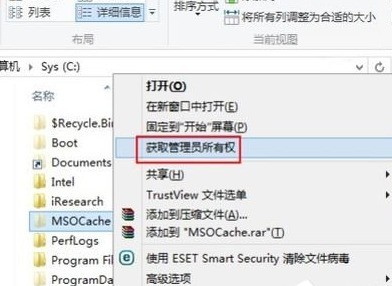
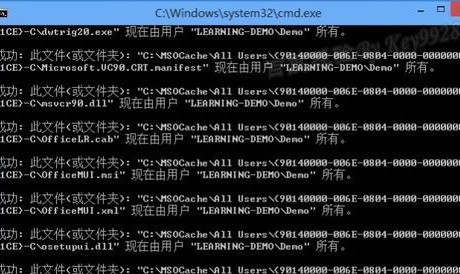
A black DOS window pops up, wait a moment:
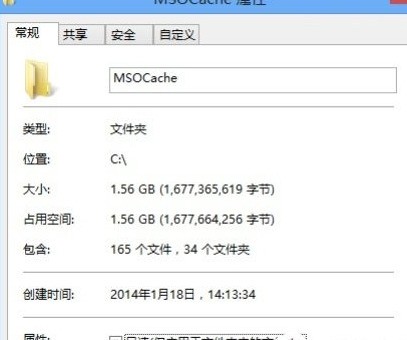
Right-click the MSOCache folder again and find that you can open the properties of the MSOCache folder and see [Size] :
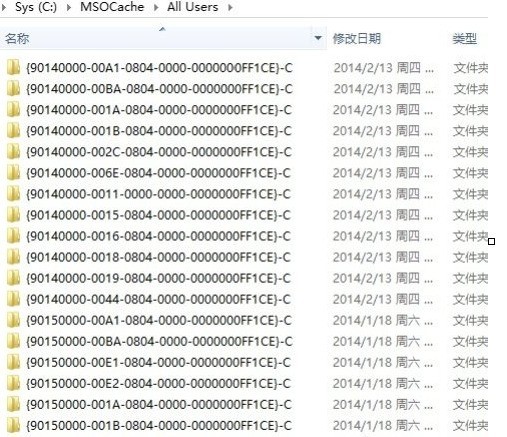
At the same time, the MSOCache folder can be opened normally:
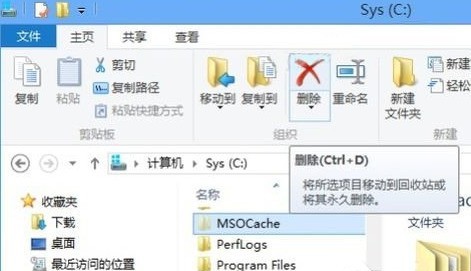
As needed, the MSOCache folder can also be deleted normally.
The above is the detailed content of Graphic method to delete the hidden folder MSOCache in WIN8. For more information, please follow other related articles on the PHP Chinese website!


