
Want to partially brighten the picture? Come and learn the skills of Photoshop! PHP editor Yuzai brings you detailed tutorials, from basic principles to practical techniques, to teach you how to easily achieve local brightness. Are you ready to explore the mysteries of image processing? Read on to improve your Photoshop skills!
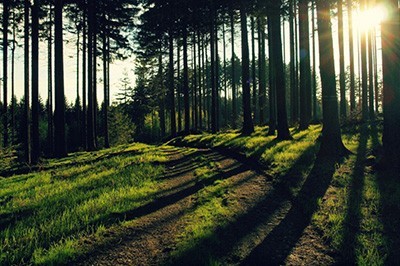
Let’s take a look at the original picture below. You can see that one part of the forest below is too dark, so make it brighter.
Use the [Rectangle Tool], set the style to [Shape] and the color to white.

CTRL T Enter the free transformation mode and adjust its rectangle into the shape of the beam to prepare for the operation below.

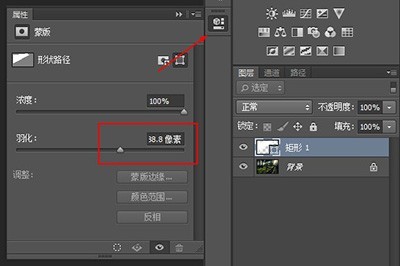
Use the layer properties and raise [Feather]. Until the white rectangle turns into a bunch of white fog effects.
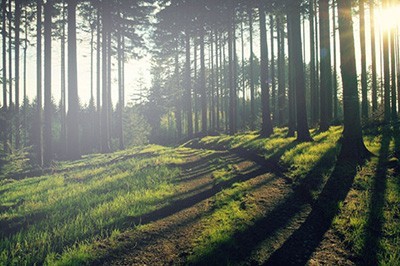
Set the rectangle’s layer blending mode to [Overlay]. The local brightening effect comes out.
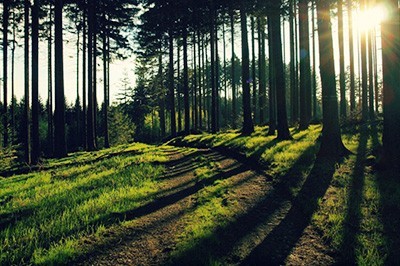
At the same time, this method can be applied to human face whitening.
But this time you need to use the [Ellipse Tool], draw a circle on the part of the face that needs to be highlighted, and then feather it as well.
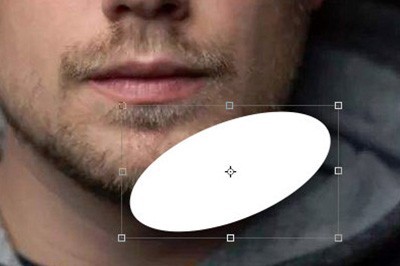
Finally, using the overlay effect, the face can also be partially incremented.
The above is the detailed content of How to brighten local areas in Photoshop. For more information, please follow other related articles on the PHP Chinese website!


