
php Xiaobian Youzi will introduce to you how to use AE to create a green shock wave effect. First, create a new composition in AE and import the required footage. Next, create a new shape layer and add the "thunder" effect. Adjust parameters to make the effect more consistent with expectations. Then, add a Glow effect to the shape layer to enhance the light effect. Finally, adjust the light color and glow effects in the composition to make the shockwave effect more vivid and realistic.
1. Open the AE software and execute File—New—New Project (the shortcut key for creating a new project is Ctrl Alt N).

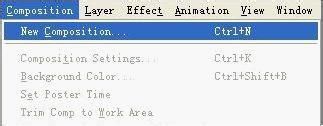
2. Execute the menu Composition—New Composition to create a new composition command (the shortcut key is Ctrl N).
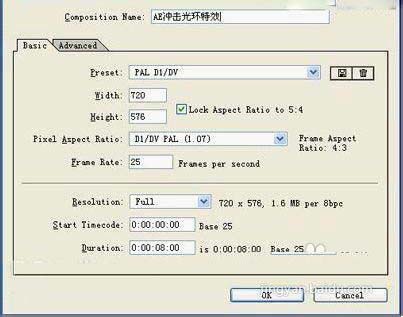
3. In the new composition window that pops up, enter the Composition Name as AE impact halo special effect, set the Preset to PAL D1/DV, and set the time to 8 seconds.
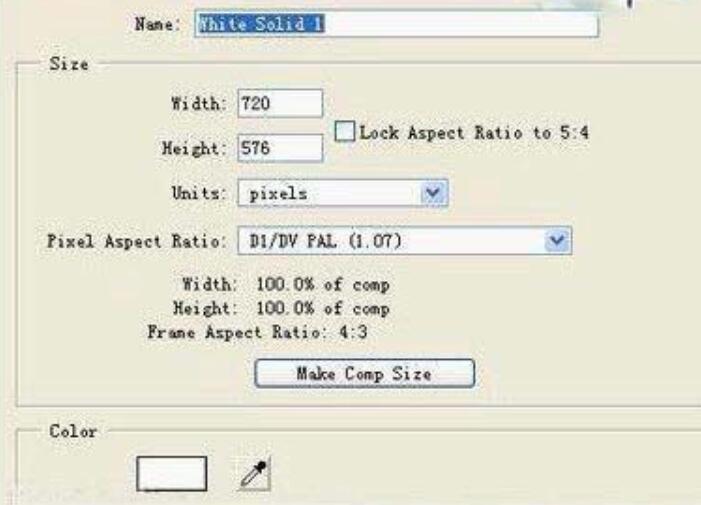
4. Add a solid layer to the synthesis and click Layer—New—Solid (the shortcut key is Ctrl Y).

5. In the new solid layer window that pops up, set the size to be the same as the composition, click Make Comp Size, and set the Color to white.
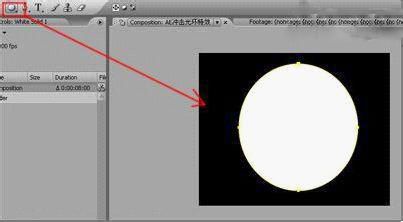
6. Use the circular mask tool in the tool shelf to draw a perfect circular mask as shown in Figure 6 in the composition window (Tips: You need to draw a perfect circle , that is, while holding down Shift, drawing a circle will be a perfect circle).
7. Click Layer—New—Solid (Ctrl Y) to create a new solid layer.

8. In the pop-up new solid layer settings window, set the size to be the same as the composition, click Make Comp Size, and set the Color to black. Then follow step six, draw a circular mask, and set the position of the next solid layer as shown in the picture to form a white ring shape.
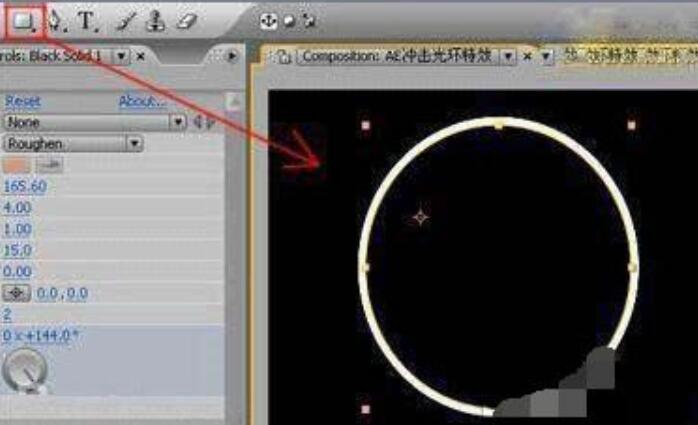
9. Select the black solid layer and execute Effect—Stylize—Roughen Edges to add a rough edge effect to the layer.
10. Press the F3 key to open the special effects control panel and set the parameters of RoughenEdges. Set the time to 0 seconds, click the keyframe button in front of Evolution, add a keyframe to it, and set the parameter to 0.

The above is the detailed content of The operation process of AE creating green shock wave effect. For more information, please follow other related articles on the PHP Chinese website!


