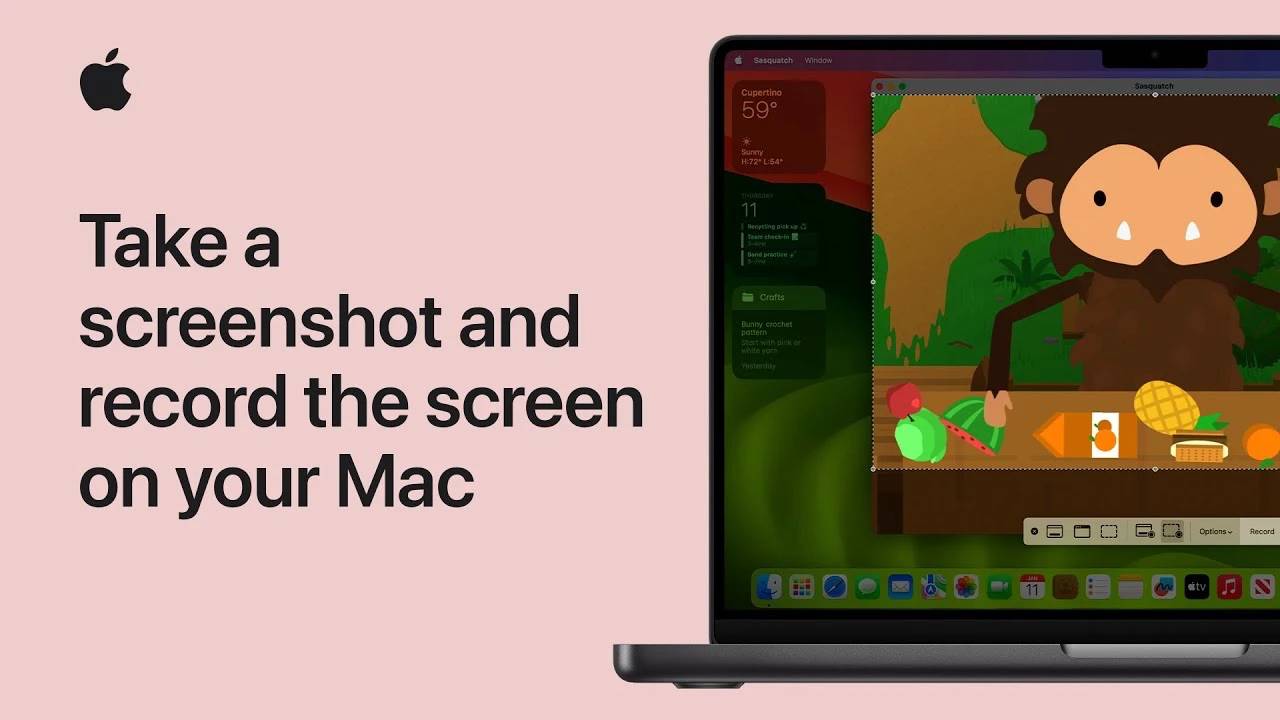

When dealing with digital content creation and sharing, many people may feel that navigating, Capturing the perfect screenshot or recording a tutorial can be a challenging task. However, with the right approach, these tasks become easy and natural.
Having a deep understanding of how to capture your screen is crucial for both professionals and casual users. Mac OS provides simple yet powerful tools and shortcuts that make taking screenshots a breeze. I hope you can make full use of these features to improve your work efficiency and the convenience of sharing information.
After capturing, a thumbnail will temporarily appear in the lower right corner of the screen, providing a quick way to instantly edit or share the screenshot. If left unchanged, the screenshot will automatically be saved to your desktop for future reference.
Mac OS goes beyond static images to dynamic screen recording, providing the same intuitive tools in the Screenshot App, accessible with Shift-Command-5 . Whether it's a detailed tutorial or a quick demo, Screen Recording on Mac has everything you need.
To end recording, click the Stop Recording button in the menu bar or press Command-Control-Escape. As with screenshots, a thumbnail of the recording is displayed, allowing for immediate editing or sharing, or you can save it directly to your desktop.
The beauty of Mac’s screenshot and screen recording features is their simplicity and functionality. Whether you're writing a professional presentation, creating content, or just sharing a moment with friends, these tools are designed to enhance your digital experience without making it complicated.
Remember, these features are built into Mac OS and require no additional software or complex setup. With just a few keystrokes, you can capture and share your screen in any format that best suits your needs.
Navigating the digital landscape requires being able to share what’s on your screen quickly and efficiently. Whether it's for work, education, or just capturing the moment, Mac OS gives you the tools you need for static screenshots and dynamic screen recordings. By becoming familiar with these tools, you're not only improving your technical skills; you're unlocking a more efficient and effective way to communicate and share in the digital age.
The above is the detailed content of How to take screenshots and screen record on Mac. For more information, please follow other related articles on the PHP Chinese website!


