
php editor Strawberry introduces you how to use PPT to design poster size. In PPT, when designing posters, you need to choose the appropriate size according to specific needs. Common poster sizes include A4, A3, etc. Choosing the appropriate size can make the poster clearer and more beautiful. Setting the poster size in PPT is also very simple. Just open the PPT software, select "Page Setup" in "Page Layout", and then select the appropriate size in "Slide Size" to complete the setting.
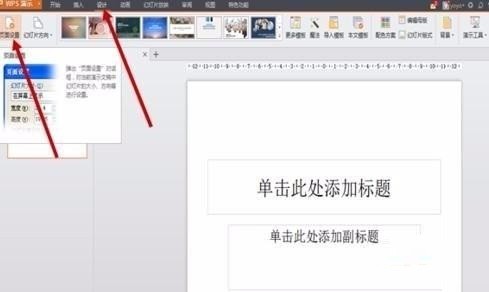
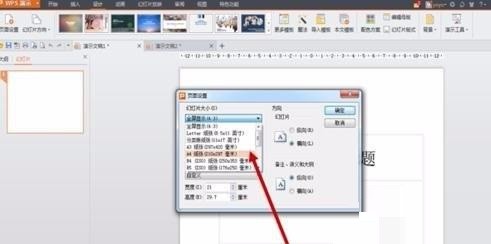
1. Open PPT, click New Slide, and after creating a new slide document, select Page Settings in the Design column of the menu bar. In the pop-up dialog box, set the Slide Size to A4 size, and then set the Slide Orientation to Portrait. Click OK.

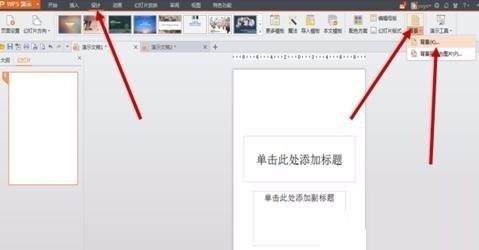
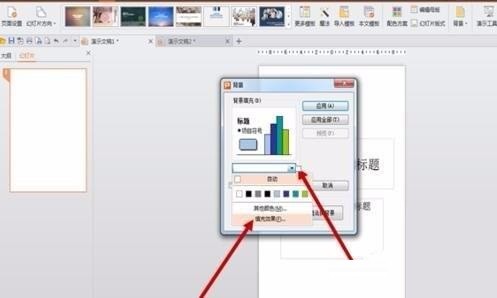
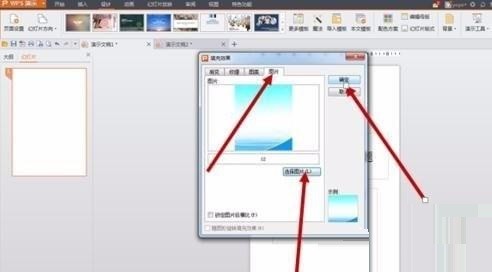
#2. Select [Background] in [Design] in the menu bar, and select [Background...] in the drop-down menu to open the background setting interface. Click the inverted triangle of [Background Fill], select [Fill Effect], click [Picture] in the pop-up window, then [Select Picture], and click OK.
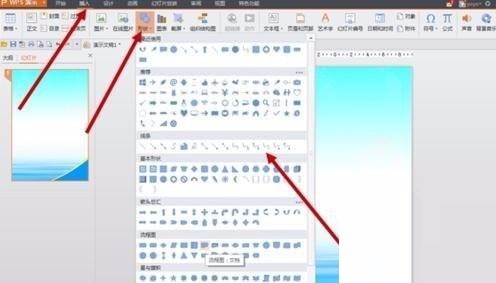
#3. You can add some elements to the poster. Menu bar [Insert] → [Shape]/[Picture], and then you can select some appropriate graphics to add to the poster.
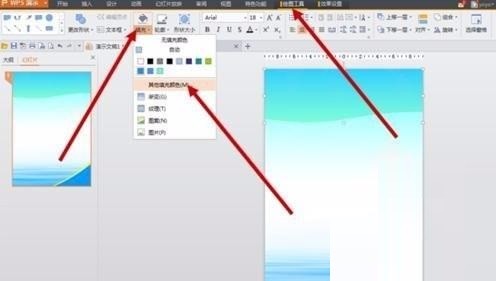
4. We can set colors or other effects for inserted elements. Set the fill color and transparency in [Drawing Tools] → [Fill] → [Other Color Fill]. You can also set the outline color through [Outline].
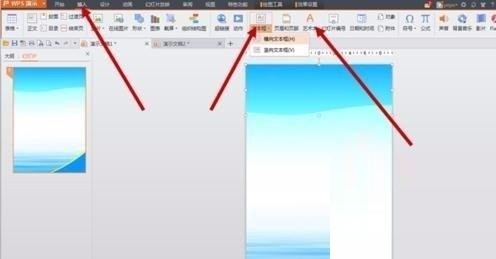
5. Posters are indispensable for text embellishment and description. You can use [Insert] → [Text Box] to draw a text box and insert text. You can also insert artistic fonts through [Insert] → [Artistic].
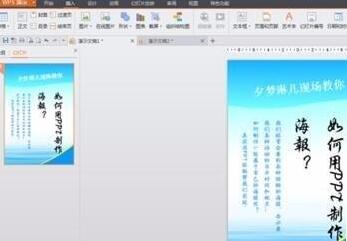
6. After adding graphic elements and text, the poster production is complete. Just print it out at the end.
The above is the detailed content of How to use PPT design poster size. For more information, please follow other related articles on the PHP Chinese website!


