
php editor Xigua will introduce you in detail how the partition tool DiskGenius performs disk partitioning. DiskGenius is a versatile disk management tool that is powerful and easy to operate. With DiskGenius, you can easily perform partition operations on your hard drive, including creating, deleting, formatting, resizing partitions, etc. Next, let us learn how to use DiskGenius to partition disks to make your disk management more efficient and convenient.
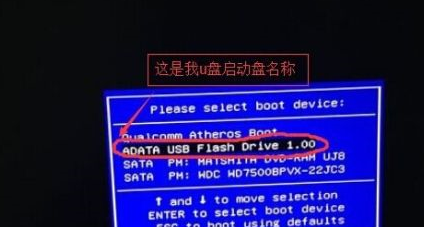
Insert the USB boot disk into the USB interface of the computer, restart the computer, and then continue to press the corresponding computer startup shortcut key (the startup shortcut keys of different computers may be different, you can follow the keys prompted by the computer to start normally or the official website make inquiries). Then select the USB boot disk in the startup options and press the Enter key to confirm the selection. The steps are as above.
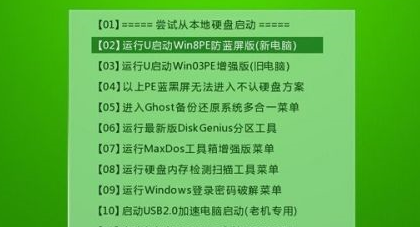
2. Select [02] on the u-start main menu interface to run u-start win8pe anti-blue screen version (new computer), as shown in the figure:
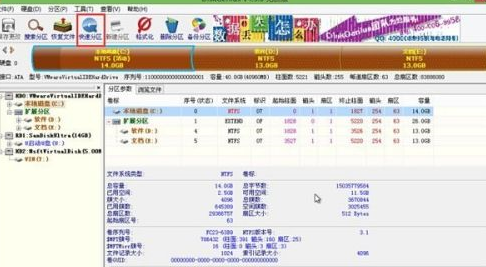
3. On the displayed desktop, there is a partition tool with a yellow icon. Click on "Partition Tool Diskgenius", find "Quick Partition" in the menu bar and double-click it, as shown in the figure:
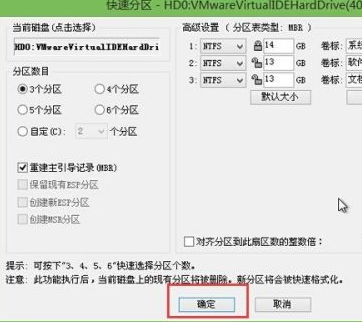
4. Enter the advanced settings interface. You can select the default selection and click OK directly, as shown in the figure:
5. At this time, you will be prompted whether you want to quickly partition and format the disk. Click "Yes". as the picture shows:

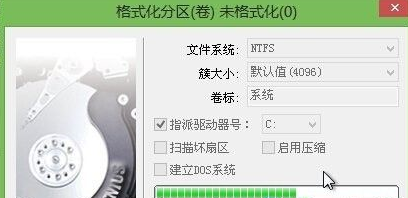
6. Next comes the disk partitioning process, and the formatting is complete. as the picture shows:
The above is the detailed content of How to partition a disk with the partition tool diskgenius - How to partition a disk with the partition tool diskgenius. For more information, please follow other related articles on the PHP Chinese website!
 How to light up Douyin close friends moment
 microsoft project
 What is phased array radar
 How to use fusioncharts.js
 Yiou trading software download
 The latest ranking of the top ten exchanges in the currency circle
 What to do if win8wifi connection is not available
 How to recover files emptied from Recycle Bin


