
php editor Apple has brought a detailed guide on the CAD 2017 installation tutorial. CAD 2017 is a powerful design software, and correct installation is the key to ensuring its normal operation. This tutorial will provide you with step-by-step guidance to help you successfully complete the installation process of CAD 2017. Following our steps, you will easily master the installation skills, quickly get started with CAD 2017, and enjoy the convenience and fun brought by its powerful functions!
1. First download the CAD2017 software installation package (as shown in the picture).
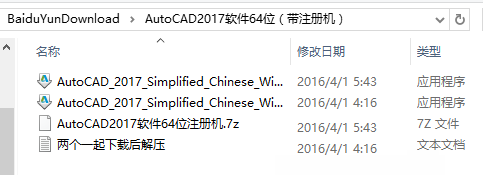
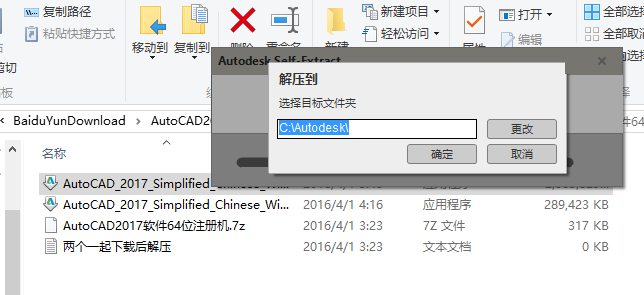
2. Double-click the CAD2017 installation program, extract it to the AUTODESK folder on the C drive, and click OK (as shown in the figure).
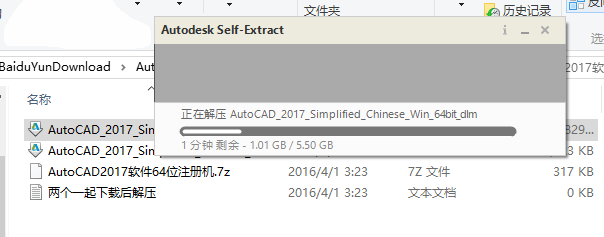
3. Then it will enter the decompression mode, just wait (as shown in the picture).
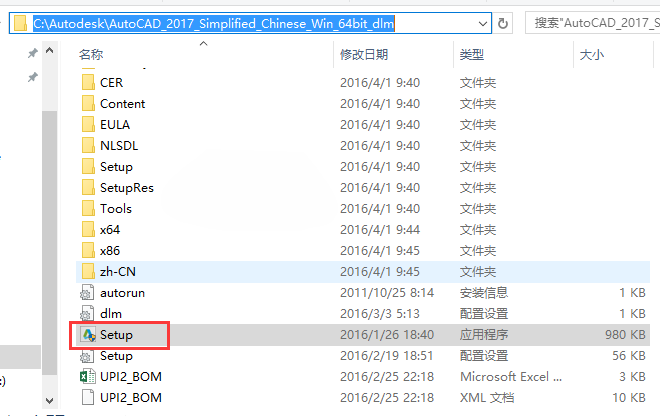
4. After unzipping, find the Setup icon in the Autodesk folder on the C drive (as shown in the picture).
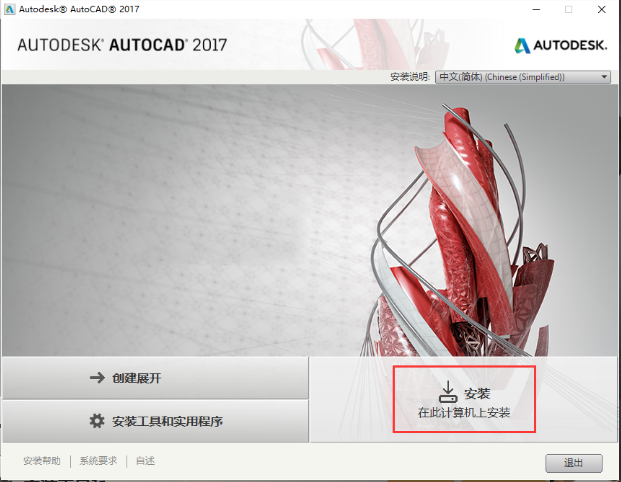
5. Double-click to open the installation panel and click [Install] (as shown in the figure).
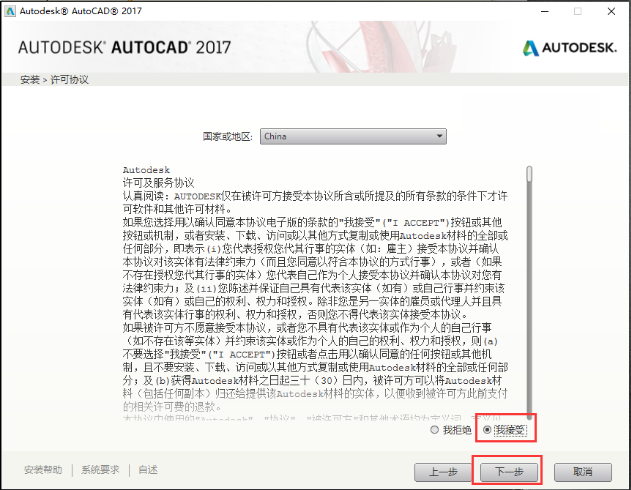
6. Select [china] for country and region, and check [I agree]. Click [Next] (as shown in the picture).
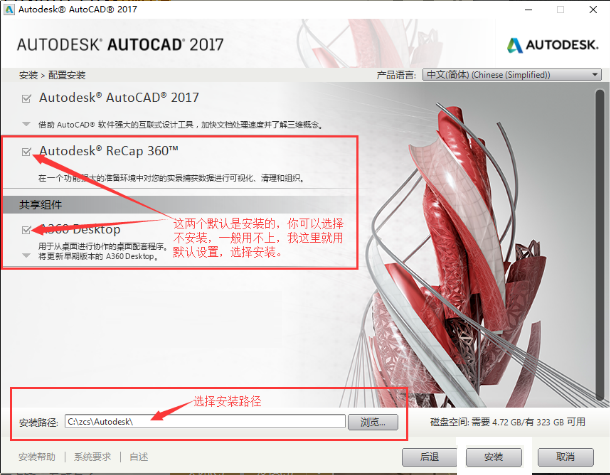
7. If you want to install it, just color it in the program. If you want to change the installation path, click [Browse] (as shown in the picture).
8. Pay attention to installing the plug-in (as shown in the picture).

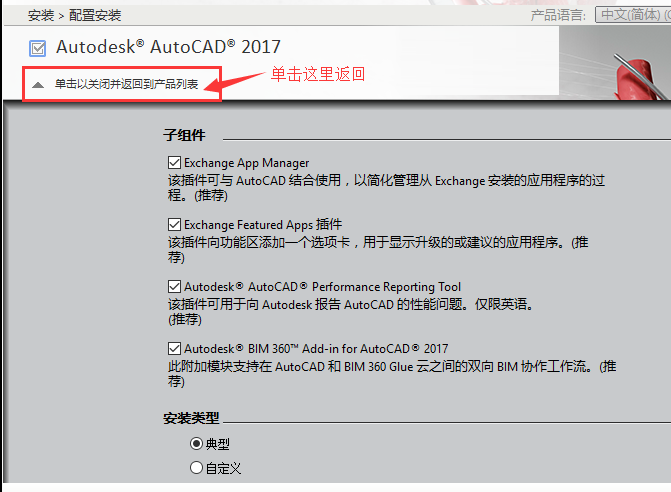
9. Click the small triangle, there are some plug-ins inside, you can check them (as shown in the picture).
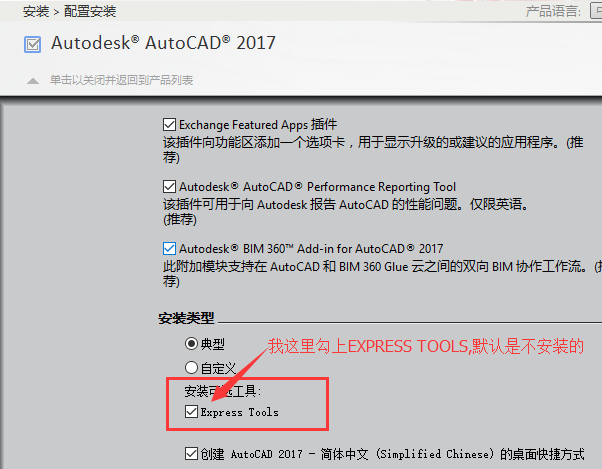
10. After selecting, click to close and return to the product list (as shown in the picture).
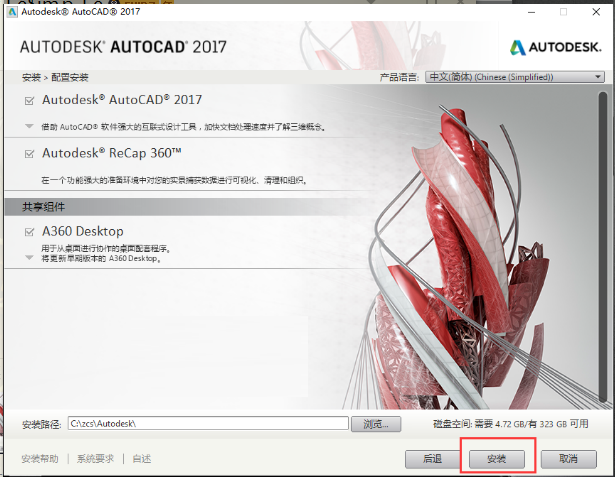
11. Then click Install (as shown in the picture).
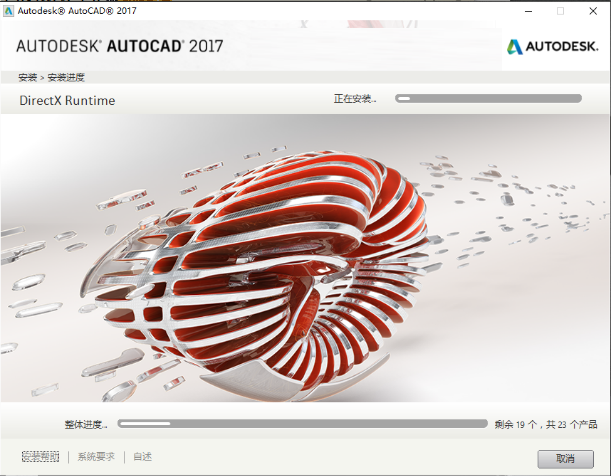
12. When entering the installation, you have to wait for the computer to automatically install (as shown in the picture).
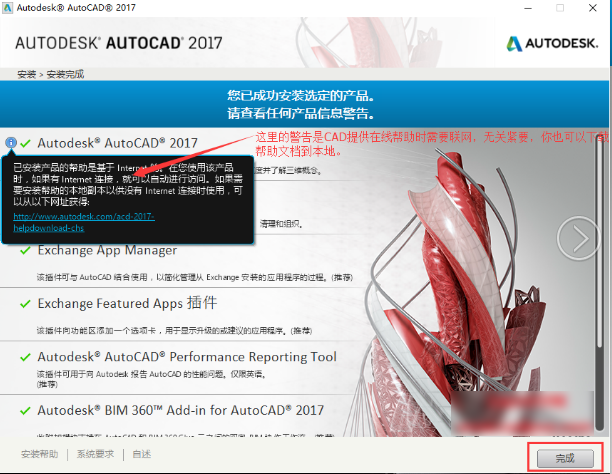
13. After installation, a green check will be displayed, click Finish (as shown in the picture).
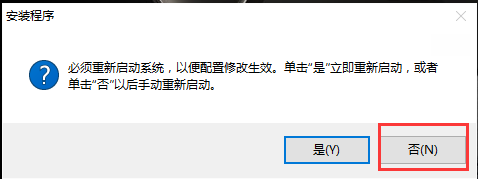
14. If prompted to restart the computer, click [No] (as shown in the figure).
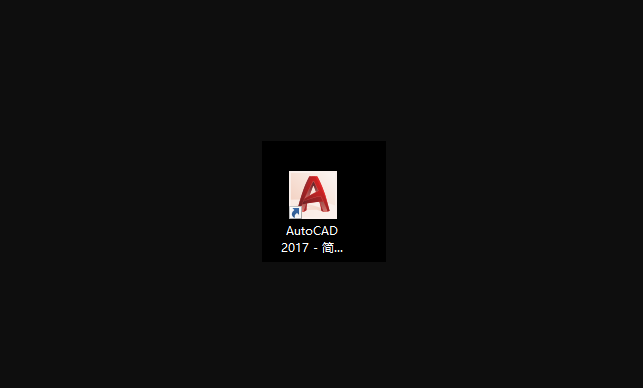
15. Then there will be an icon of CAD2017 on the desktop (as shown in the picture).
The above is all the content of how to install cad2017 brought by the editor. I hope it can be helpful to everyone.
The above is the detailed content of How to install cad2017-cad2017 installation tutorial. For more information, please follow other related articles on the PHP Chinese website!


