Apple provides the function of directly editing PDF on iPhone to improve users' work efficiency. By using the built-in editing tools on the Files app, you can easily rotate pages, add new pages, delete existing pages, and insert documents, photos, signatures, text, and other elements into PDFs. This feature makes editing and modifying PDF files very convenient and flexible. Whether at work or in daily life, this feature can help users complete tasks more efficiently.
In this article, we will help you explain all the ways to edit PDF using the Files app on iPhone.
How to enter editing mode for PDF files on iPhone
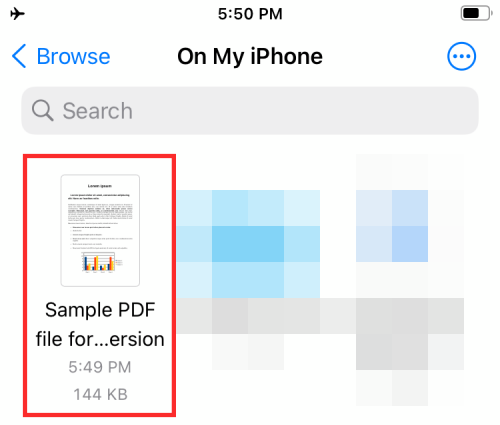
- Open the Files app on iPhone and select the PDF file you want to edit.

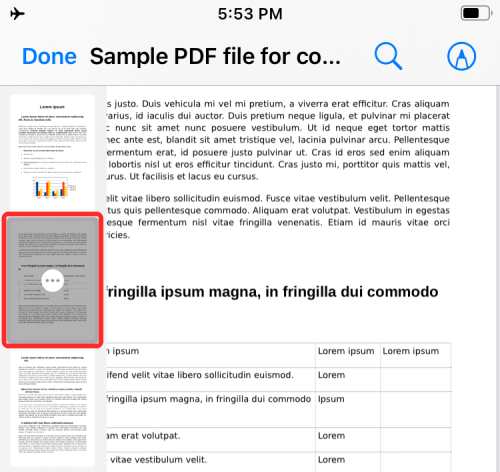
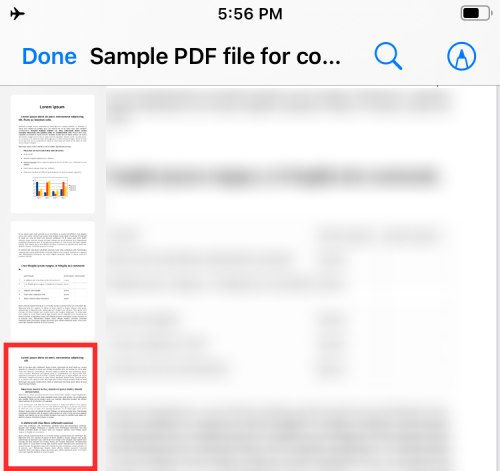
- When the PDF file opens in full screen, quickly swipe right from the left edge of the phone.
- This should open the PDF file's edit mode, displaying all pages available in the document in thumbnail view in the left sidebar.
NOTE: The gesture of swiping from the left edge sometimes has issues. If it doesn't finish quickly, it will open the previous document/file in the Files app.
- Once you enter edit mode, you can follow the guide below to start making changes to your PDF.
How to Edit PDF on iPhone
Once you enter edit mode, you can start making changes to the file.
1. Rearrange pages of PDF files
The new editing mode allows you to move pages in the same file from one position to another so that you can rearrange them according to your preference they.
- Long press the page in the left sidebar and start dragging it until the overflow menu disappears.
- Once the page is draggable, move the page to where you want it to appear in the PDF file.
- After dragging the page to your preferred position, lift your finger to rearrange it.
- Repeat the above steps to rearrange other pages in the PDF.
2. Rotate pages in a PDF document
You can rotate individual pages in a PDF to make them seamless when reading or viewing them in the future. This is important for scanned documents that you save on the Files app without formatting.
- To rotate a page in a PDF, enter edit mode and find the page from the thumbnails on the left sidebar.

- You can bring up the rotation method options:
Long press on the page
or select the page and click on the 3-dot icon
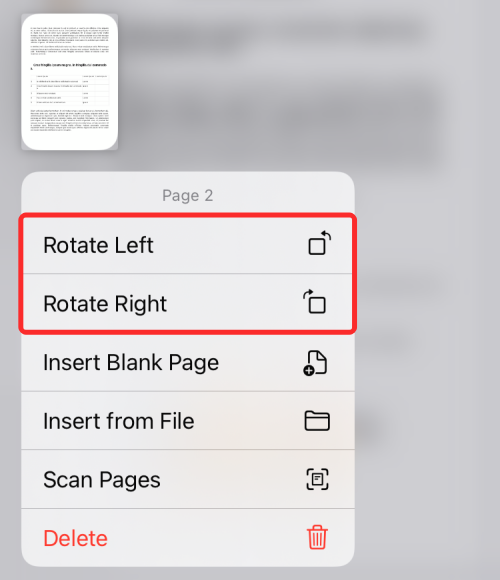
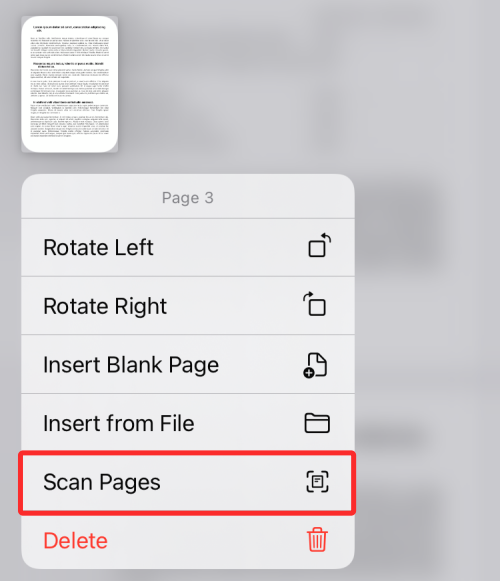
- This will open a An overflow menu with options for editing PDFs. Depending on how you want to rotate the page, select Rotate Left or Rotate Right from this overflow menu.

- You can rotate it 180 degrees by clicking "Rotate Left" or "Rotate Right" twice.
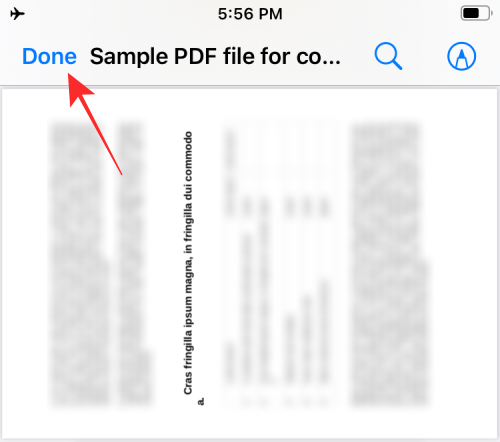
- If you make no further changes to the PDF file, you can save your edits by clicking "Done" in the upper left corner.

3. Add a blank page to a PDF
When working with a PDF with multiple pages, you may sometimes feel the need to add a blank page. to use as a separator or to add more details to the document.
- To add a blank page to a PDF file, you need to enter edit mode and then find the page you want to add a blank page from the left sidebar.

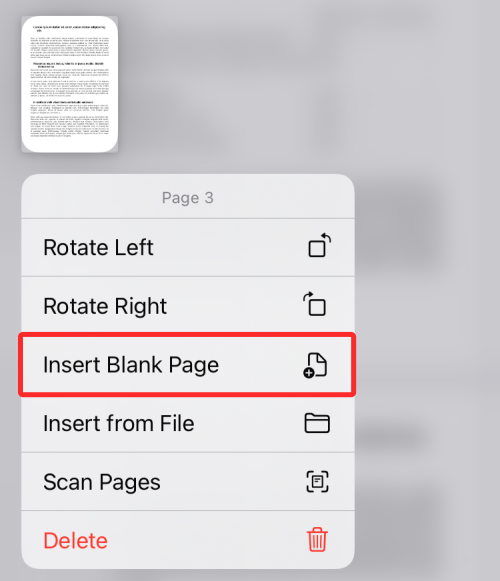
- To add a blank page after it, tap and hold on the selected page for additional options. You can also get them by selecting this page and clicking on the 3 dot icon within it.
- In the overflow menu that appears, select Insert Blank Page.

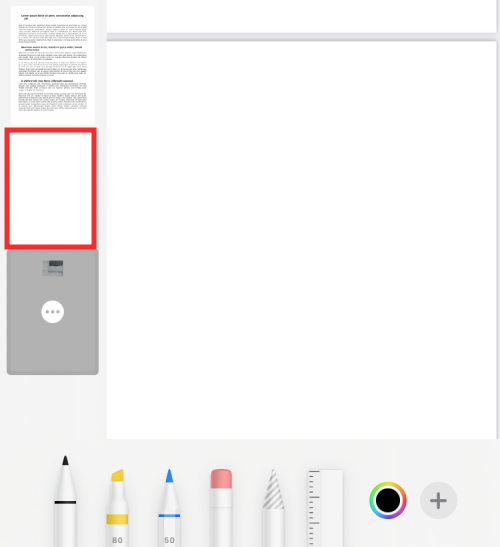
- After selecting this option, you should now see a blank page immediately following the selected page in the PDF file.

- When you create a blank page, the Markup tool in the Files app loads automatically to add more details to the document as needed. If you'd like the blank page to remain as is, you can save your changes by clicking "Done" in the upper left corner.
4. Add images to PDF
In addition to creating blank pages, you can also add pictures from the gallery as pages in the PDF document. Before you do this, you need to make sure you have the image you want to add on your iPhone.
- Open the file and enter edit mode.
- From the sidebar that appears on the left, find the page where you want to add the image.

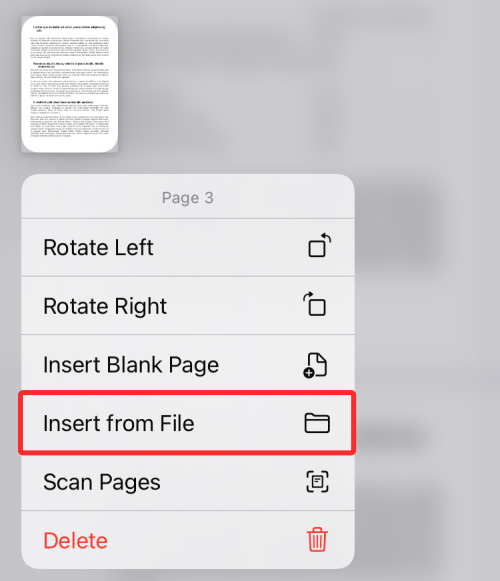
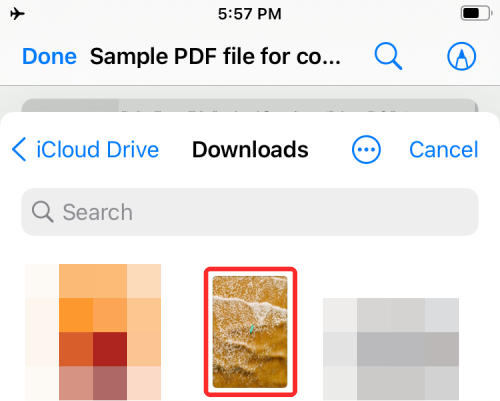
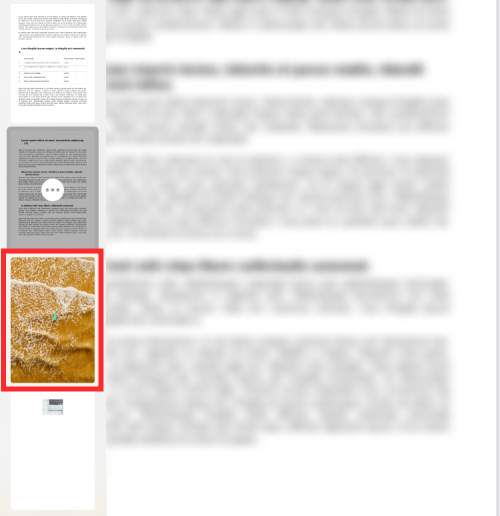
- To add an image to a PDF, long-press on the selected page for additional options, or click on the 3-dot icon inside the thumbnail after selecting the page. When the overflow menu appears, click Insert from File.

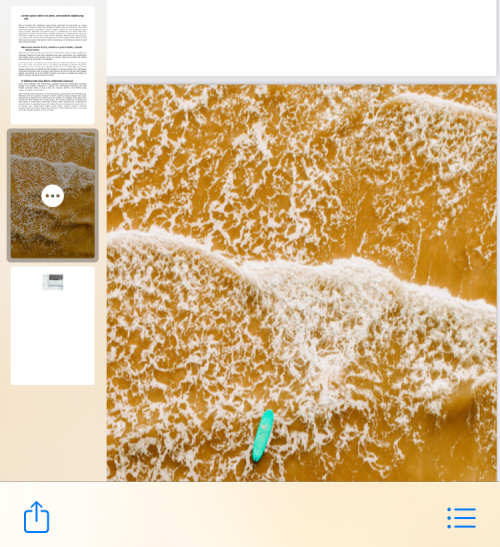
- On the next screen, browse your library and click on it to open the image you want to add.

- The image will now be added as a page to the PDF file.

- If you make no further changes to the PDF file, you can save your edits by clicking "Done" in the upper left corner.
5. Scan the page to add
If you don’t have an image in your gallery, but have a physical copy of the page or document you want to add to the PDF, you can also add it to in the file.
- First, enter edit mode and select the page to which you want to add a scanned copy of the document.

- To add scanned documents to PDF, long press on the selected page and select Scan page.

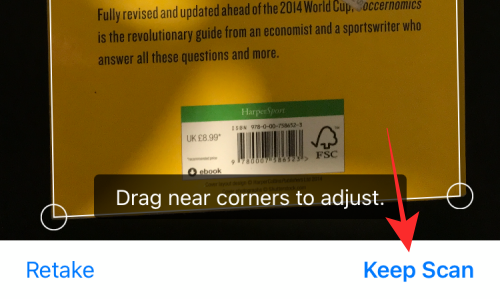
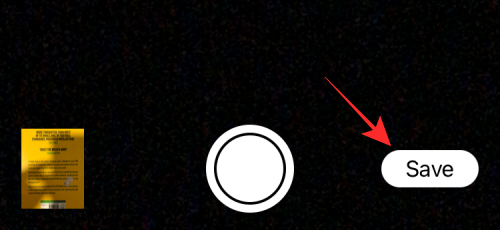
- This will load the built-in camera in the Files app. You can now physically scan the document at hand by pointing your camera at it and clicking the shutter button.

- If you are satisfied with the scan results, click "Keep Scan" in the lower right corner. You can repeat this step to add more scanned pages to the PDF.

- After scanning and saving all pages, click Save in the lower right corner.

- The scanned pages will now appear in your PDF file.

- To save the PDF file, you can click Done in the upper left corner.
6. Delete Pages
- To delete unwanted pages from a PDF file, enter edit mode in the PDF file.
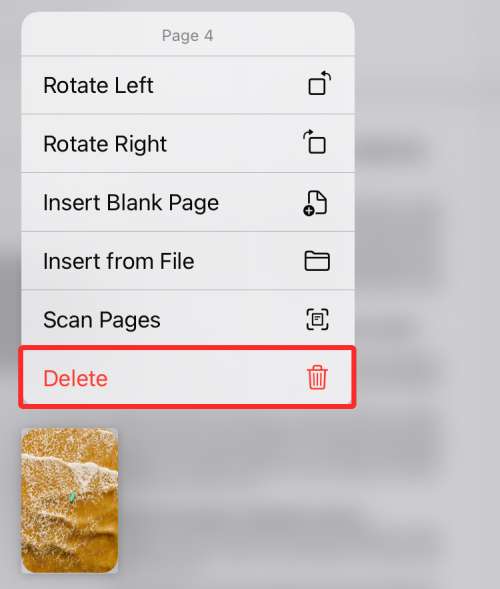
- When edit mode is active, long press on the page you want to delete.

- From the overflow menu that appears, select Delete.

- The page will now be removed from the document and you can save changes by clicking "Done" in the upper left corner.
7. Undo/Redo Changes
We are all human. Sometimes, errors can occur while making changes to PDF files. Edit mode allows you to undo and redo the changes you make one by one, as long as they are not completed before you click Done.
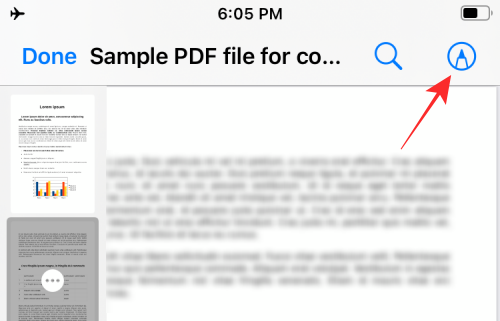
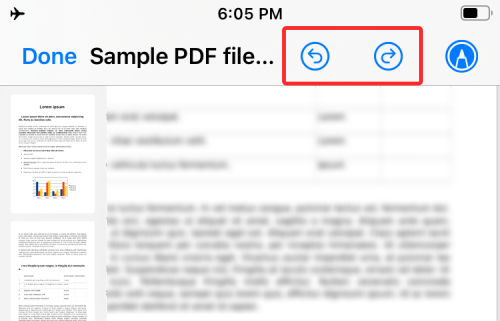
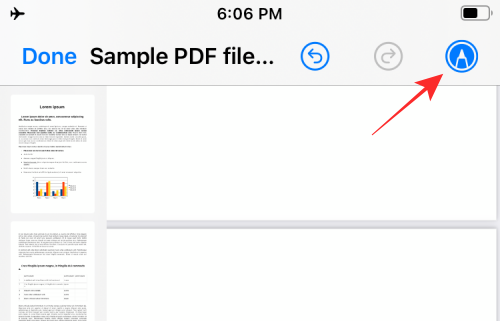
- When editing a PDF file, you can undo or redo changes by clicking the markup icon in the upper right corner of the screen.

- You can click the left curled arrow icon to undo your changes, or the right curled arrow icon to redo your changes.

- Once you have done this, you can exit marking mode by tapping the marking icon again.

8. Add text, signatures, shapes, and other elements
The markup tool has been around on iOS for a long time, and it doesn’t just let you undo /Redo changes to the document and much more. You can use Markup to add text or signatures to PDFs, draw and doodle on the page, annotate content using shapes and arrows, and add a magnifying glass to highlight content. You can use markup tools in PDF files without entering edit mode.
- To bring up markup, simply open the PDF in the Files app and tap the Markup icon in the upper right corner.

When Markup mode is active, you can make the following changes to the document.
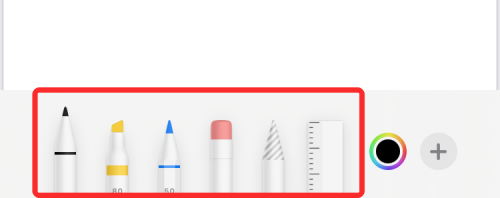
- Draw with pen, highlighter, or pencil: Choose one of the six tools at the bottom to scribble on the page to give it a personal touch. You can also use the erase tool to undo specific changes and the ruler to draw a straight line at the desired angle.

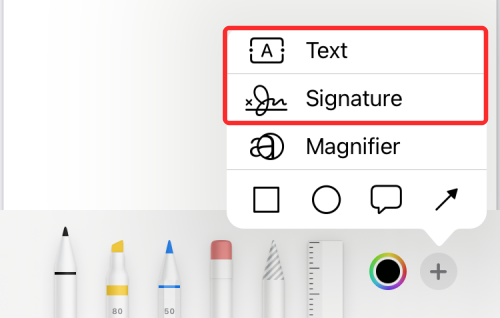
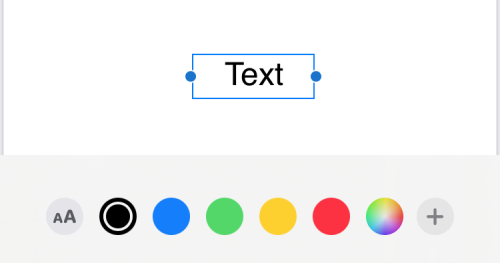
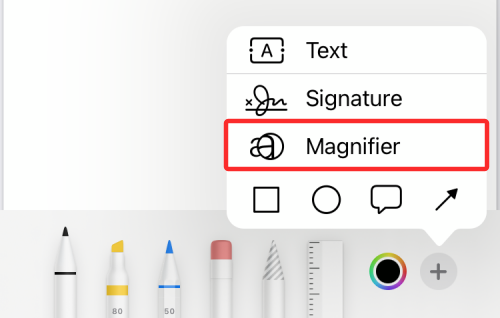
- Add a signature or text to the page: You can do this by clicking the button in the lower right corner and selecting text or signature.

What it might look like:

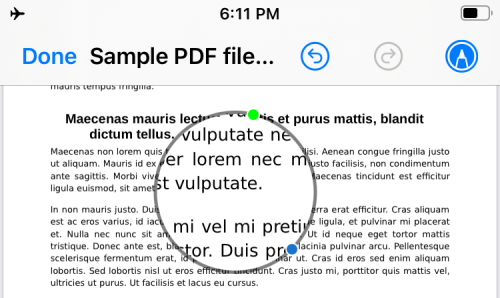
- Add a magnifying glass: If you want to highlight or enlarge a specific part of the text, you can do so by clicking the button and selecting from Select Magnifying Glass from the menu to add a magnifying glass.

What it might look like:

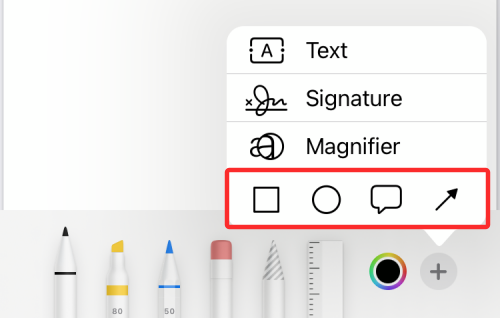
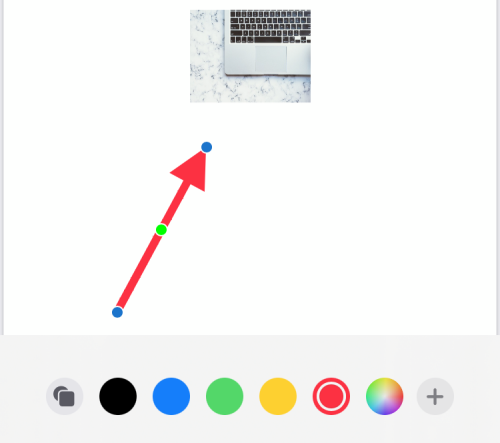
- Annotate using shapes and arrows: You can use the Markup tool to annotate PDF files with boxes and arrows Annotate items in the boxes and arrows available by clicking the icon in the lower right corner.

Here's an example:

#How to lock a PDF file with a password
In addition to allowing you to use the Files app In addition to editing PDFs, Apple offers a way to password-protect PDF files using the Files app.
The above is the detailed content of How to edit PDFs on iPhone using the Files app. For more information, please follow other related articles on the PHP Chinese website!

