
php Editor Banana brings you a detailed tutorial on CorelDRAW for producing film special effects. CorelDRAW is a powerful graphic design software that allows you to easily create stunning film special effects with simple steps and techniques. This tutorial will share with you production methods and techniques to help you achieve film special effects in CorelDRAW. Whether you are a beginner or an experienced designer, you can easily master these techniques to add unique charm to your design works. Let’s learn together!
1. Open the CorelDRAW software and use the rectangle tool to draw two rectangles of different sizes

2. Click Use the shape tool to make the four corners of the small rectangle rounded
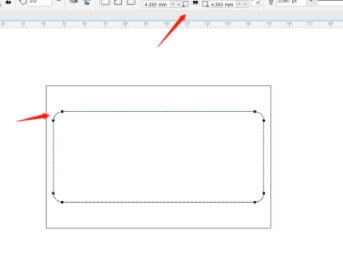
3. Adjust the order of the two rectangle layers in the docking window. The small rectangle will be named above the larger one. The color of the rectangle is filled with 70% black, and the small rectangle is white.
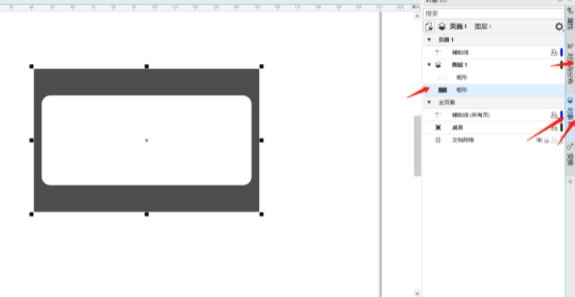
4. Use the rectangle tool again to draw in the upper interval and adjust it in the same way. Make the corners rounded and fill them with white
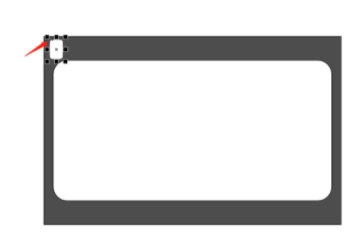
5. Select all the small rectangles, press [shift] to copy and pan them to the bottom
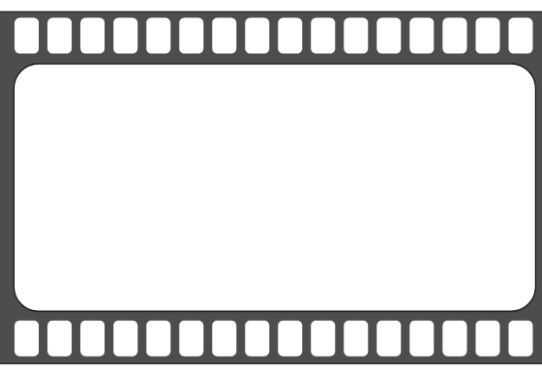
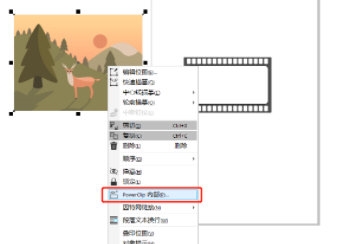
6. Import picture materials, select right-click [inside powerclip] and click the white rectangular box after the mouse changes to an arrow
If you want to make a more realistic film The effect can be made into a long piece of film by copying and splicing it. The above is the tutorial brought by the editor on how to create film special effects in CorelDRAW. I hope it can help everyone.
The above is the detailed content of How to create film special effects in CorelDRAW Production method tutorial. For more information, please follow other related articles on the PHP Chinese website!


