
php editor Xinyi presents you with a simple tutorial on how to use CorelDRAW to create honeycomb background material. Whether you're a designer, illustrator or graphic design enthusiast, mastering this technique can add a unique visual flair to your work. This tutorial will guide you through a few simple steps, allowing you to quickly create beautiful honeycomb background materials to enhance your design works. let's start!
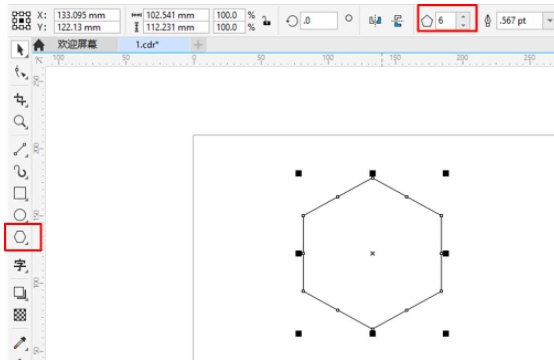
1. Open the CorelDRAW software and draw a regular hexagon
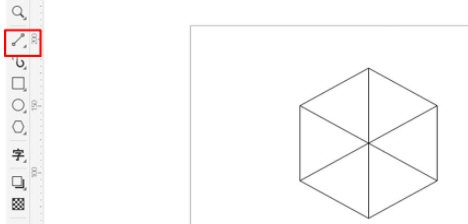
2. Use the [2-point line tool 】Connect the vertices
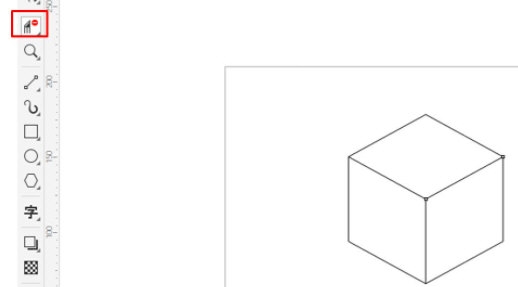
3. Use the [Virtual Segment Delete Tool] to delete some lines to form a cube
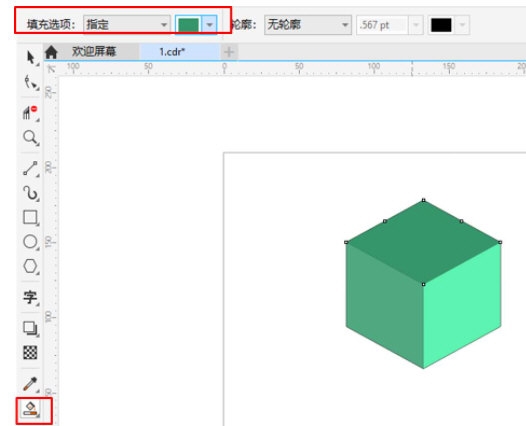
4. Use the fill tool to fill in the appropriate color. Pay attention to the color difference to make the cube more three-dimensional.
5. Right-click [Component]
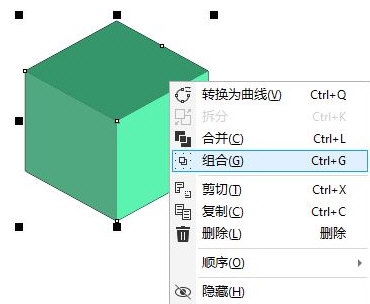
6. Copy the combined graphics and splice them together. After forming one piece, use the [Crop Tool] to intercept the appropriate part and save it as material
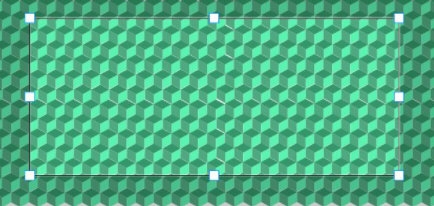
The same method can be used to make all similar template background materials. The above is the tutorial on how to make honeycomb background materials in CorelDRAW brought by the editor. I hope it can help everyone!
The above is the detailed content of How to create a honeycomb background material in CorelDRAW with just a few simple steps. For more information, please follow other related articles on the PHP Chinese website!


