php Xiaobian Baicao introduces you a simple method that can help you create a metal brushed effect in CorelDRAW. Whether you are a newbie or an experienced designer, you can get it done with just a few simple steps. By using some of the tools and effects in CorelDRAW, you can add realistic metallic touches and textures to your designs, making them look more vivid and attractive. Next, let’s learn how to achieve this effect!
In CorelDRAW software, click [Rectangle Tool] to create a rectangle of appropriate size, and then fill it with color. Next, select [Shading Fill] in [Fill Edit], and select [Gold Foil Shading] from [Sample].

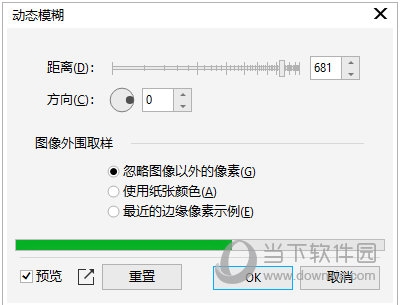
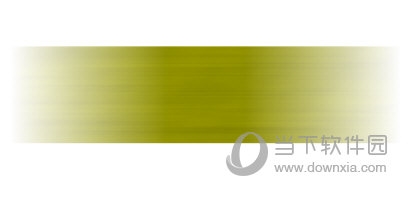
#2. After setting the fill color, right-click the [/] of the palette to cancel the stroke. Next, convert the rectangle to a bitmap. Click on the bitmap and then click [Convert to Bitmap]. Finally, add [Motion Blur Effect] to the graphics. Select the rectangle, click on the bitmap, and then click on Edit Bitmap, a new window will pop up. In the bitmap editing window, click Effects on the menu bar, then click [Blur] - [Motion Blur]. In the pop-up Dynamic Blur dialog box, set the attribute values of distance and direction, and check Preview to preview the rectangle. The effect after adding dynamic blur

3. By adjusting the [Distance Attribute], click [OK] after the brushed effect appears

Using similar methods, you can create various metallic effects to make your pictures look more beautiful. The above is the CorelDRAW related tutorial brought by the editor, I hope it can help everyone!
The above is the detailed content of How to create a brushed metal effect in CorelDRAW with just a few simple steps. For more information, please follow other related articles on the PHP Chinese website!


